 Photo by Distelfliege, Creative Commons, Attribution 2.0 Generic, text edits made by Artwork Archive
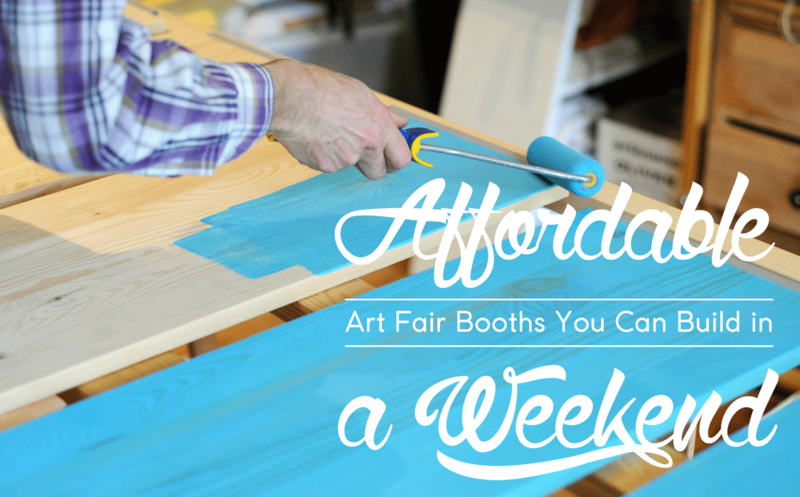
Many artists enjoy attending art fairs to showcase and sell their work.
Art fairs allow you to put inventory directly into the hands of consumers and give you the chance to talk to them about your work.
They can, however, be costly. After fees, setup, and transportation, your overhead can start to climb. Fortunately, if you’re willing to put in a little DIY time, you can reduce the cost of setting up your booth. We set a budget of $200 to try out a few DIY techniques. See which project best meets your display needs and try it out over the weekend!
Consider these ideas as a jumping off point and don’t be afraid to make them your own. Add your own touches to match your personal aesthetic. Let your booth reflect your creativity and highlight your work! At a fair with hundreds or thousands of booths, unique and personalized components can help differentiate your work from others.
 Photo by Geneva Vanderzeil, Creative Commons, Attribution 2.0 Generic
Build A Unique Table Space
Tables are endlessly configurable. Use this flexibility to your advantage and get creative. Going for a rustic aesthetic? Consider using a weathered wooden door (sanded to minimize splinters) or an old storm door with glass panes to illuminate your work from below.
We’ve had good luck finding doors and other display components at Habitat for Humanity’s ReStore locations. In the summer months, local garage sales can also be a great place to find table surfaces.
Once you’ve found the flat part of your table, retailers like Ikea offer inexpensive trestles and table legs that are easy to assemble and look professional. The great part about these tables is that they are easily collapsible, making for easy and fast transportation, yet they more personality and dimension to your display than your run of the mill folding table.
Looking to add a little height or color to your table? Check out this tutorial from Livet Hemma and featured on Remodelista that uses untreated Ikea storage boxes fixed together with binder clips. Added bonus: these boxes can double as transportation bins for your wares!
Total estimated cost: $60 - 100
Time: 3-6 hours, allow more for refinishing surfaces if necessary
Tools needed: Screwdriver, Allen wrench, sandpaper/finishing tools as needed
 Photo by Geneva Vanderzeil, Creative Commons, Attribution 2.0 Generic
Assemble Easy-to-Configure Shelves
If you have 3-dimensional work such as ceramics, glass or wood, you will probably find yourself needing more than just a table top. Maximize your booth space with these easy to assemble and adorable A-frame shelves.
You can achieve this look easily by rehabbing a used ladder with a fresh coat of stain or paint and cutting down some 1x12” boards to slide across the steps (they can do this for you at the hardware store). Or, you can start from scratch and follow one of these tutorials from Design by Studio C or Vintage Revivals (seriously, those shelves are gorgeous).
Total estimated cost: $50-100
Time: 2-6 hours, depending on the project
Tools needed: For salvaged ladder project - No tools necessary, just assembly and finishing supplies like paint, primer or stain.
For custom A-frame shelves: 1-1/4″ pocket hole screws, 1-1/4″ screws, Hinges, Wood Glue, Sandpaper (100, 150, 220 grits), Finishing supplies (primer and paint, or stain, sealer)
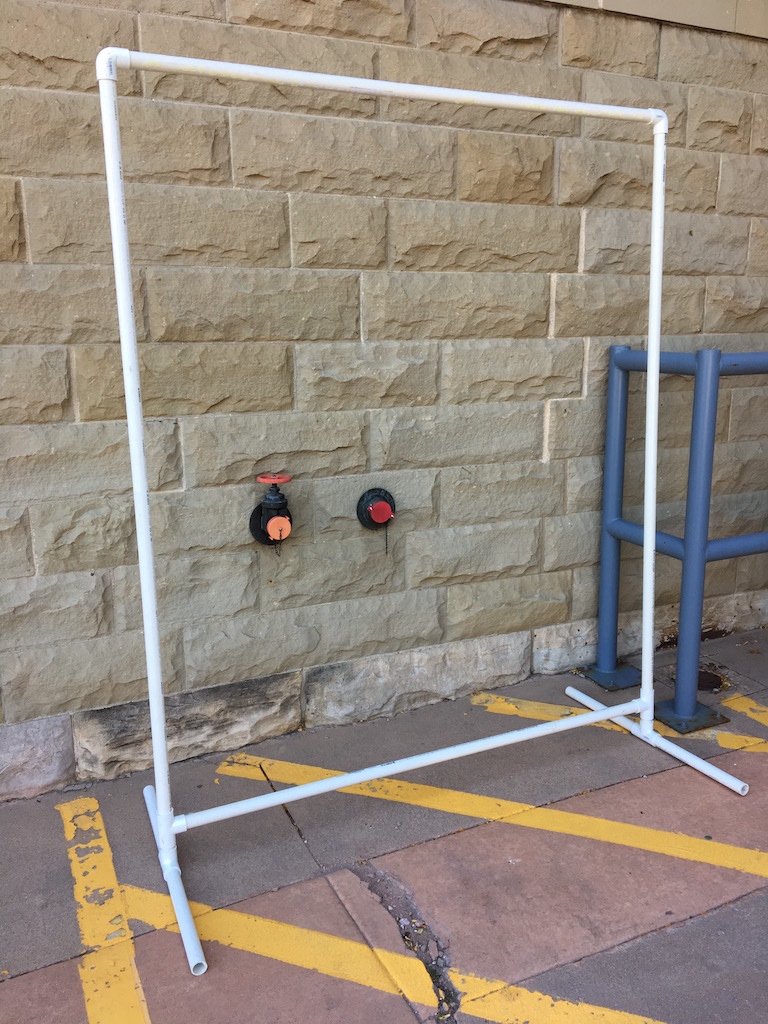
 Example of assembling a portable hanging wall. Photo and project by Joe Wood.
Make a Portable Hanging Wall
You may think of PVC pipes as mundane tubes for moving liquid (or potatoes), but they are also a lightweight and easily configurable building material. Home Depot will cut PVC pipes to your specified dimensions and sells fixtures that lets you assemble them like Tinker Toys.
Once you’ve measured the dimensions of your space, you will need 10 pieces of PVC pipe to be cut down to size and six joiners to hold them together (see image below).
With the framework assembled, drill holes in the vertical pipes to string picture wire through. This is an easy place to hang a variety of work from prints to paintings and textiles. You can paint the pipes or hang fabric from them to match the look of your booth. This set-up is quick to assemble, lightweight, and packs up easily too.
Total estimated cost: $30 - 60
Time: 1-2 hours
Tools needed: tape measure, drill, picture wire, saw (if pipe cutting is unavailable at your local hardware store)
Final Tip: Space requirements can vary from one show to another, so try and build something that is versatile enough to be reused in the future. Artwork Archive lets you take notes on past shows and keep on eye on the varying dimensions, costs, and logistical challenges of each.