
The one thing most artists don't find themselves listing at the top of their resume is "great organizational skills."
You know you need to get organized, of course. You also know it will help streamline your business, making things much easier on you in the long run. But, inventorying your art often feels like a faraway fantasy and getting over the initial hump of an inventory project sounds downright painful.
Don’t let stress and fear paralyze you! An art inventory project can go off without a hitch if you just know where to start. And when you're done, your business will run like clockwork, helping you sell more art and leaving you more time to create.
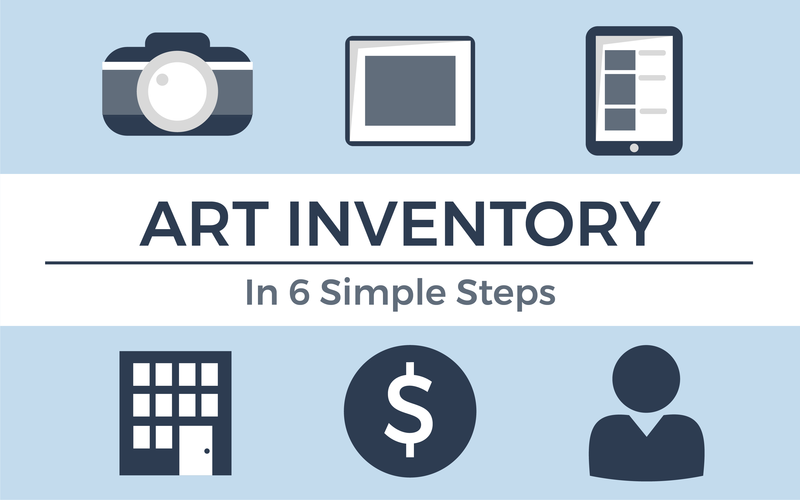
Follow these six simple steps to inventory your art and achieve organizational bliss.

1. Take Photos
As time goes by and your art passes from hand to hand, it can be easy to forget which painting goes with what title. And, you’ll need photo documentation for more than just inventory purposes! Hint: think business and marketing.
Take the time to capture high-quality images of your artwork. Whether you hire a professional or use these tips for photographing art, make sure your work is hung, illuminated, focused, and cropped correctly for the best outcome.

2. Number Each Piece
It’s useful to have a numbering system in place so you can track your work chronologically and know the basic information just from the label. There is no one way to inventory your art, but there are plenty of great ideas out there if you don’t know where to start.
For example, artist Cedar Lee organizes her art using two digits for the number of the painting she painted that year, then a letter for the month (January is A, February is B, etc.), and two digits for the year. You can also add letters to signify the type or medium of the work like OP for oil painting, S for sculpture, EP for edition print, and so one.

3. Add Some Details
After photos are taken and pieces are numbered, starting with the pieces that are most fresh in your mind and document every detail.
Important details to record: title, dimensions, inventory number, creation date, price, medium, and subject matter. Include notes on each piece, such as the story of its creation, your process, inspirations, materials used, and even if it was a gift or a commission.
Using an art inventory software like Artwork Archive allows you to look up these details as soon as collectors and galleries come calling!

4. Track Your Pieces
Your art is not stationary. It’s part of a bigger web comprised of many people and places. It leaves the studio and goes off to galleries, shows, and shops. Editions could be all over the place. And, they are often loaned or sold to different clients.
To keep your inventory organized, you need a way to keep track of all these moving parts. On Artwork Archive you can assign pieces to different locations, competitions, and contacts so you always know where your artwork is.

5. Register Any Sales
Next, you can register sales to specific contacts on Artwork Archive, recording exactly who bought what, when, and for how much. That way you can notify them when you’ve created similar work and hopefully make another sale. Plus, you'll gain sales insight to assist you with your business plans.

6. Share Your Work
Once you’ve inventoried all your artwork, you can quickly pull up information for buyers, generate professional reports, or turn on your Public Page and peruse a beautiful online gallery of your work. Share it with buyers and start selling more art!


