A-Z Listing of The Narrative Film Art and Personal Archive of Movie Poster Artist John Alvin (Updated 9/03/2026)
-
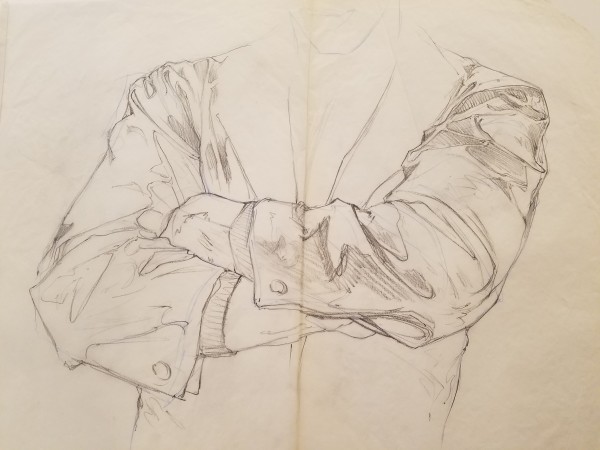
The Golden Child Poster Concept, Shaded Concept with Chandler's arms, c. 1985
Graphite on Paper
17 x 19 in
-
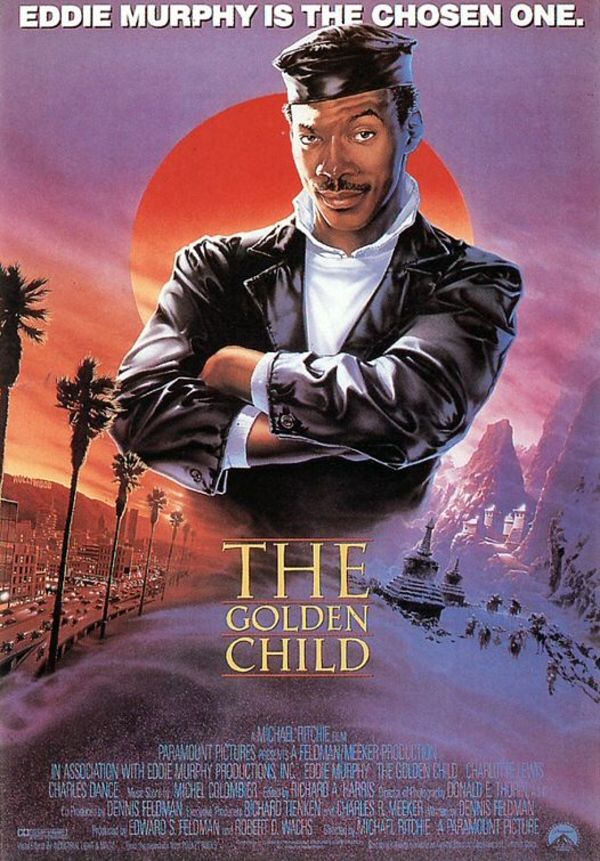
The Golden Child Theatrical Release Poster, c. 1985
41 x 27 in
-
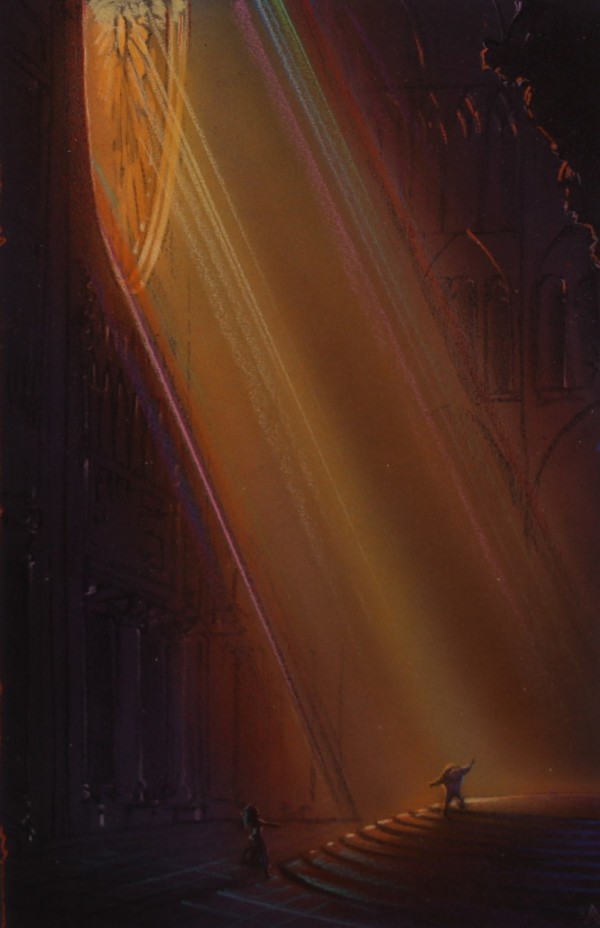
The Hunchback of Notre Dame Poster Color Concept, c. 1995
Acrylic and Graphite on Canson Paper
9.75 x 6.25 in
-
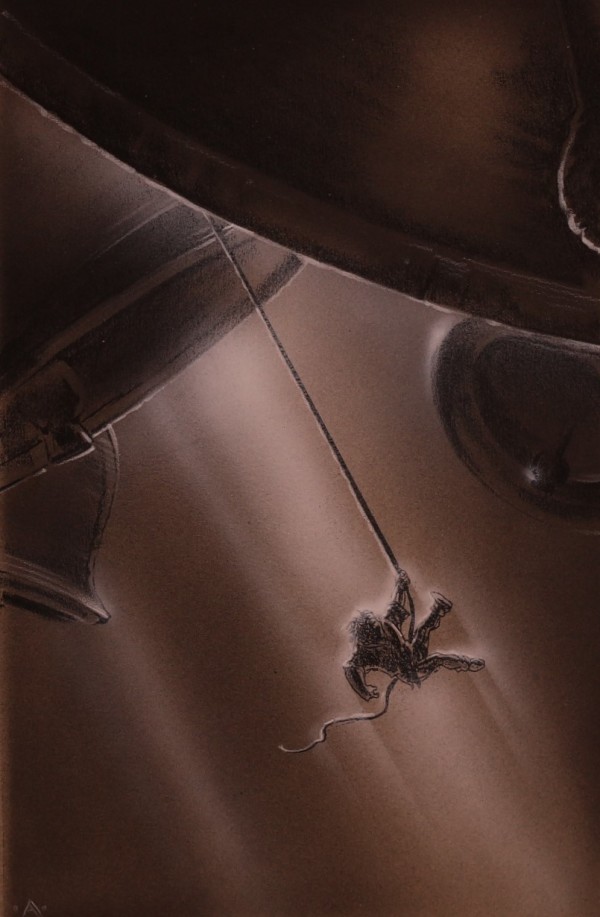
The Hunchback of Notre Dame Poster Color Concept, Bells, c. 1995
Acrylic and Prismacolor pencil on Canson Paper
9.75 x 6.25 in
-

The Hunchback of Notre Dame Poster Color Concept, Quasimodo, c. 1995
Acrylic and Prismacolor pencil on Canson Paper
9.75 x 6.25 in
-
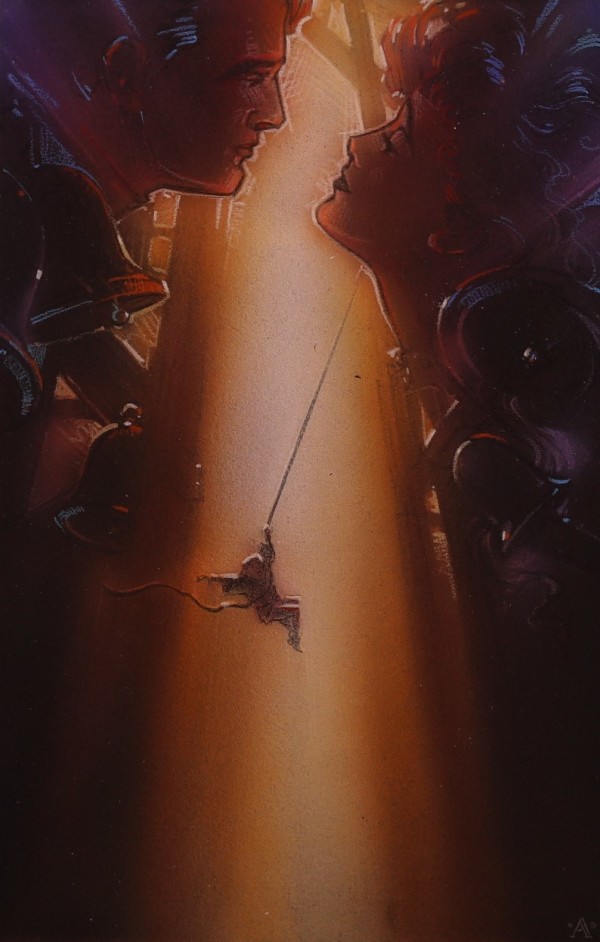
The Hunchback of Notre Dame Poster Color Concept, Quasimodo Swinging, c. 1995
Acrylic and Prismacolor penci on Canson Paper
9.75 x 6.25 in
-
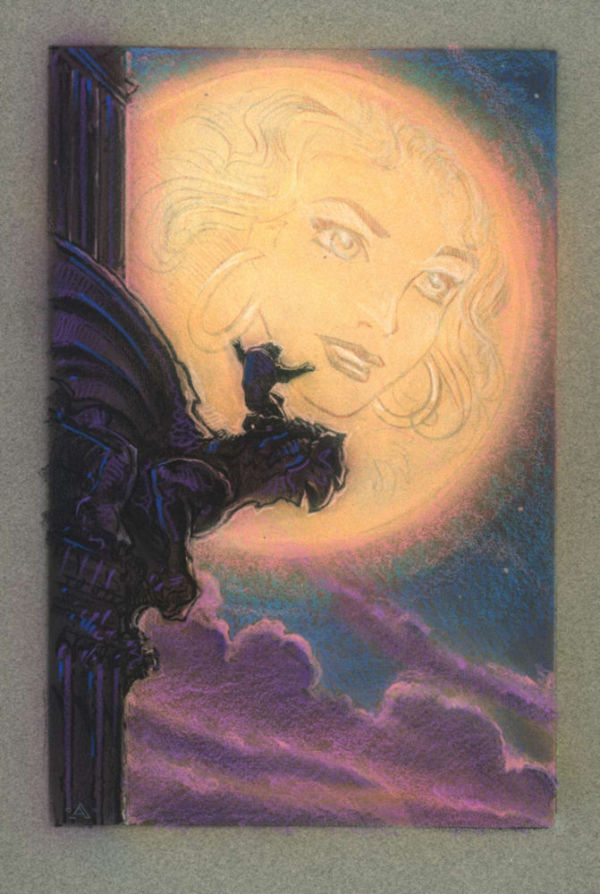
The Hunchback of Notre Dame Poster Color Concept, Singing to Esmeralda, c. 1995
Acrylic and Prismacolor penci on Canson Paper
9.75 x 6.25 in
-
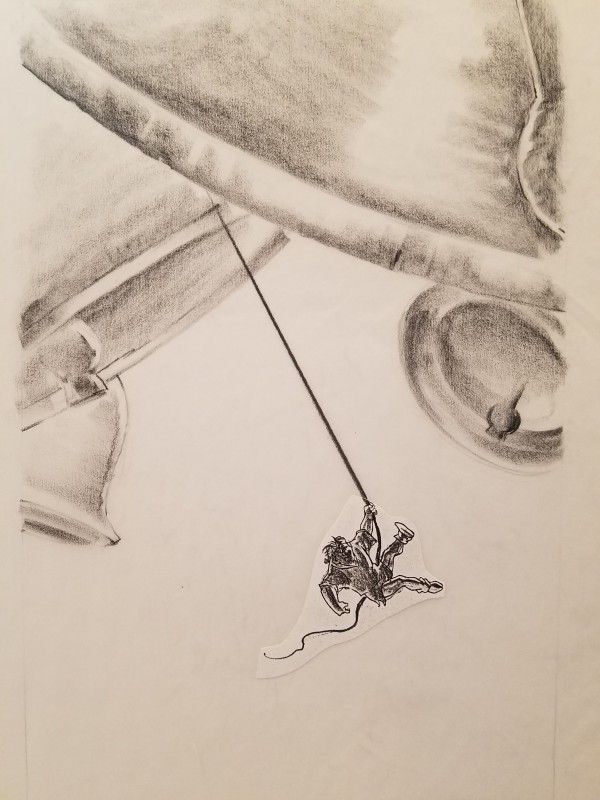
The Hunchback of Notre Dame Poster Concept, c. 1995
Graphite on Paper
9.75 x 6.5 in
-
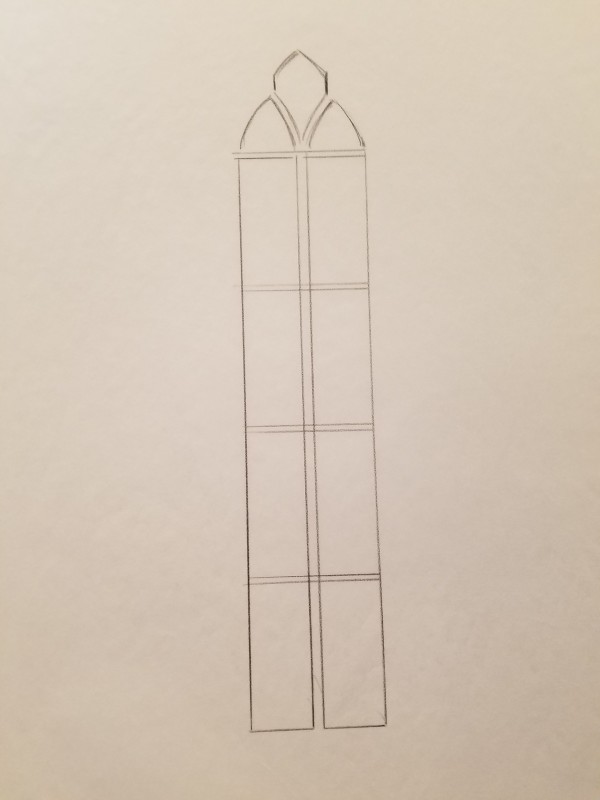
The Hunchback of Notre Dame Poster Concept, Cathedral Window Sketch, c. 1995
Graphite on Paper
9.5 x 1.75 in
-

The Hunchback of Notre Dame Poster Concept, Esmeralda Above, c. 1995
Graphite on Paper
10 x 6.5 in
-

The Hunchback of Notre Dame Poster Concept, Gargoyle, c. 1995
Acrylic and Prismacolor penci on Canson Paper
9.75 x 6.25 in
-
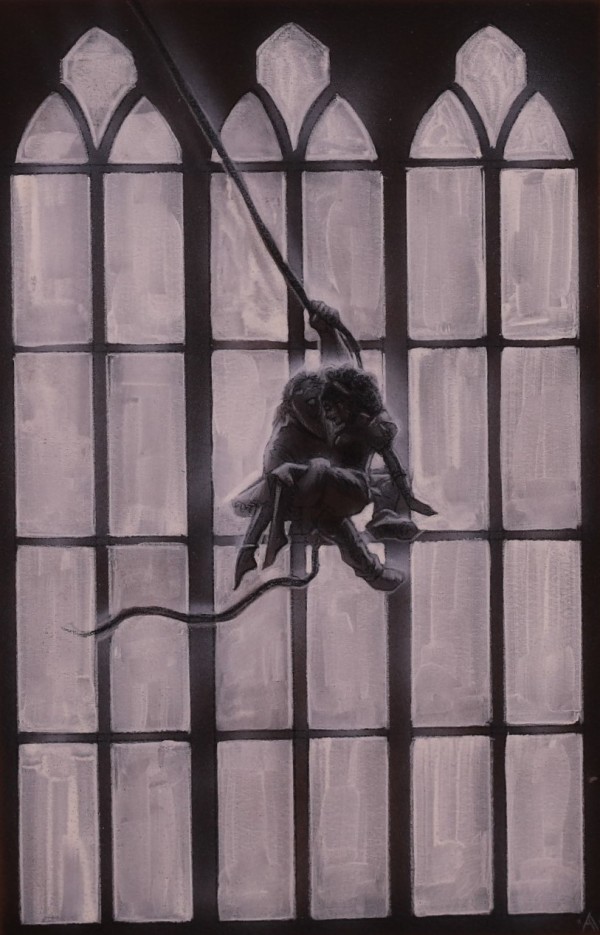
The Hunchback of Notre Dame Poster Concept, Quasimodo and Esmeralda, c. 1995
Acrylic and Prismacolor penci on Canson Paper
9.75 x 6.25 in
-
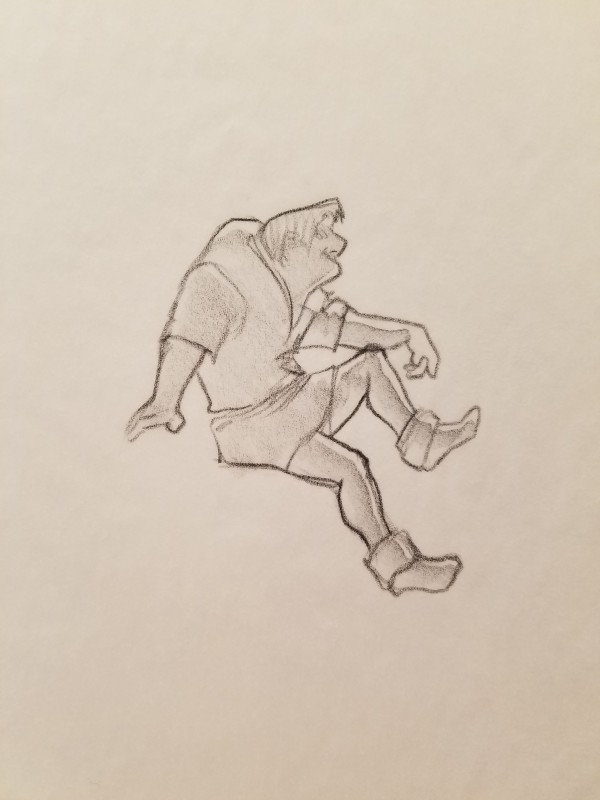
The Hunchback of Notre Dame Poster Concept, Quasimodo Leaning, c. 1995
Graphite on Paper
2.75 x 2.25 in
-

The Hunchback of Notre Dame Poster Concept, Quasimodo Letting Bird Go, c. 1995
Graphite on Paper
5 x 4 in
-
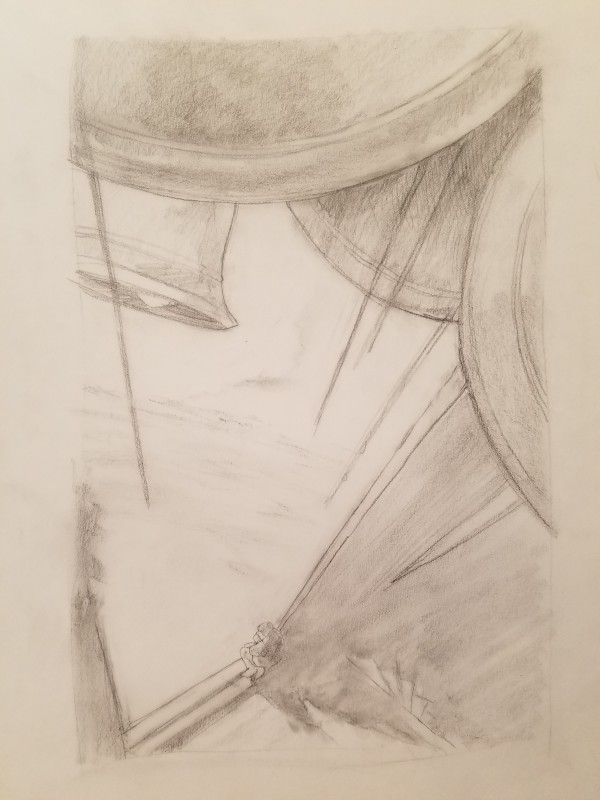
The Hunchback of Notre Dame Poster Concept, Quasimodo Sitting, c. 1995
Graphite on Paper
10 x 6.25 in
-
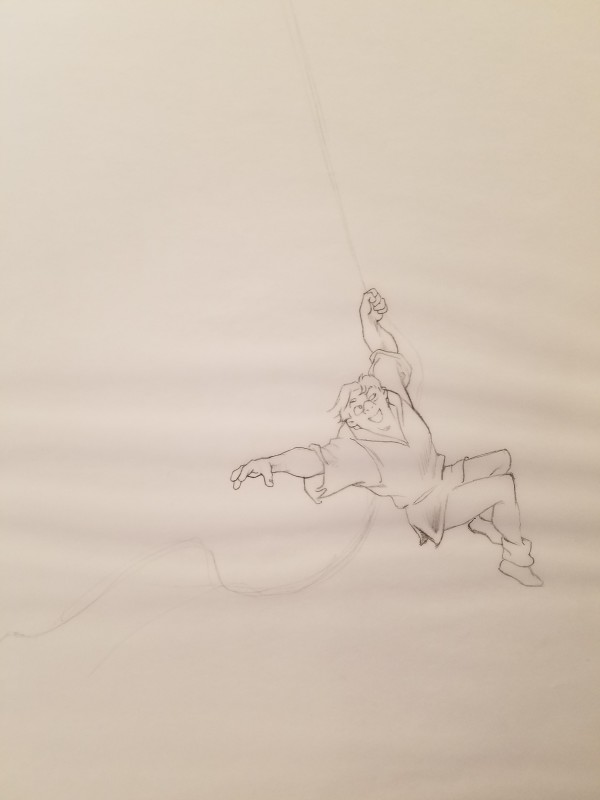
The Hunchback of Notre Dame Poster Concept, Quasimodo Swinging Right Arm Outstretched, c. 1995
Graphite on Paper
9.5 x 7 in
-

The Hunchback of Notre Dame Poster Concept, Quasimodo Swinging Study, Two Pieces, c. 1995
Graphite on Paper
13.75 x 9.25 in
-
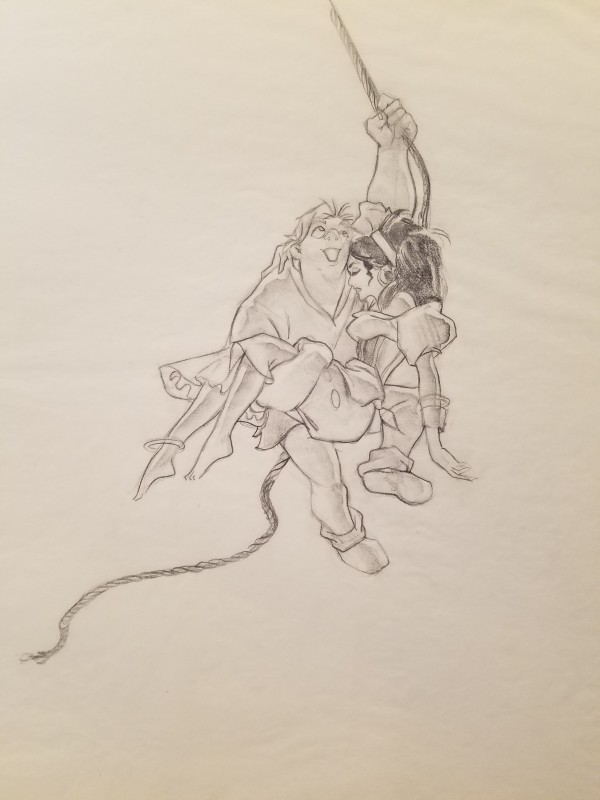
The Hunchback of Notre Dame Poster Concept, Quasimodo With Esmeralda, c. 1995
Graphite on Paper
9 x 6.75 in
-
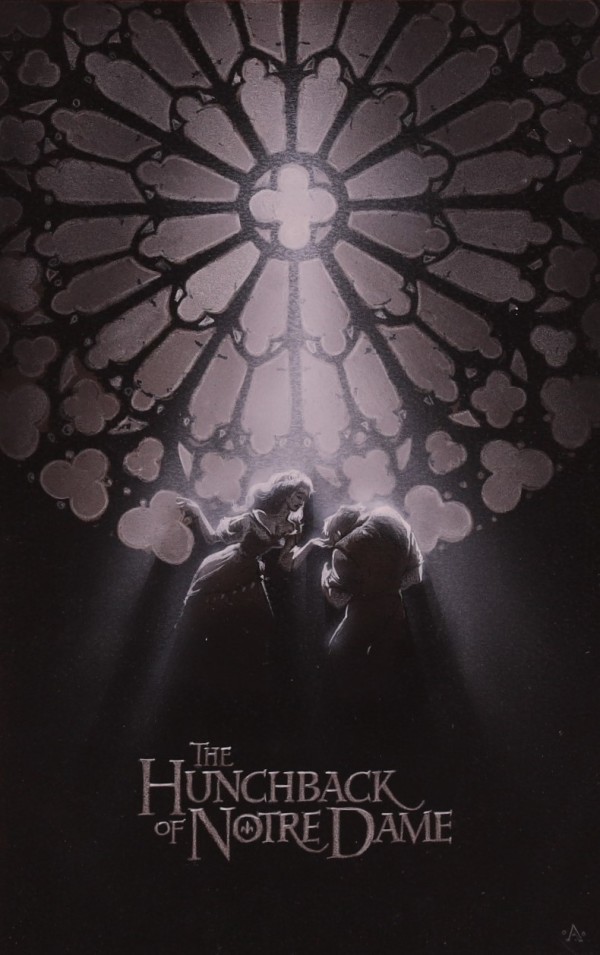
The Hunchback of Notre Dame Poster Concept, Rose Window, c. 1995
Acrylic and Prismacolor pencil on Canson Paper
9.75 x 6.25 in
-
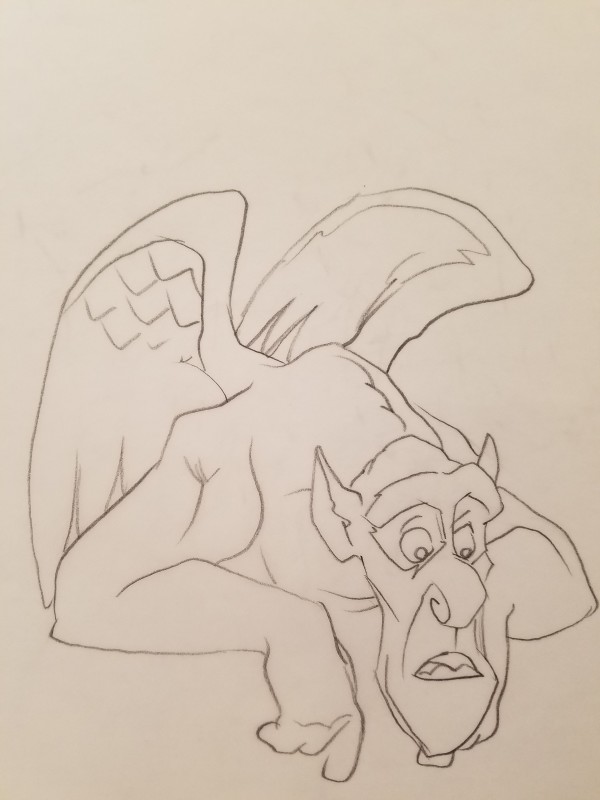
The Hunchback of Notre Dame Poster Concept, Victor the Gargoyle Pointing Down, c. 1995
Graphite on Paper
5.5 x 5 in
-
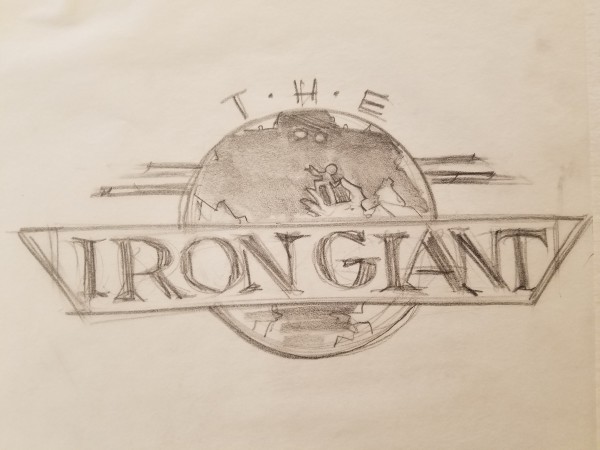
The Iron Giant Logo Concept, "T.H.E", Old Airliner Style With Robot and Hogarth, c. 1998
Graphite on Paper
4.25 x 8.25 in
-
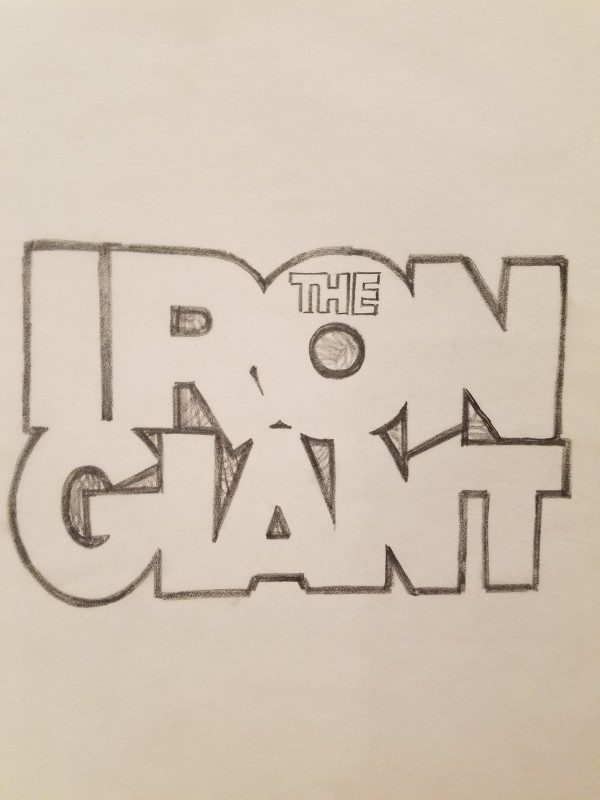
The Iron Giant Logo Concept, Big Block Font, "THE" Inside of "IRON", c. 1998
Graphite on Paper
4.25 x 6.25 in
-
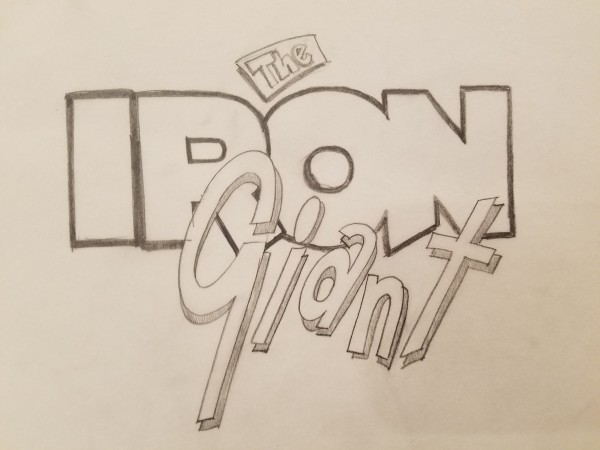
The Iron Giant Logo Concept, Boxed in "THE", Block "IRON", c. 1998
Graphite on Paper
6 x 6.25 in
-

The Iron Giant Logo Concept, Boxed in "THE", Metal Backed "IRON", Block "GIANT", c. 1998
Graphite on Paper
5.75 x 9 in
-

The Iron Giant Logo Concept, Boxed in "THE", Metal Plating "IRON", Basic "GIANT", c. 1998
Graphite on Paper
4.25 x 6.25 in
-
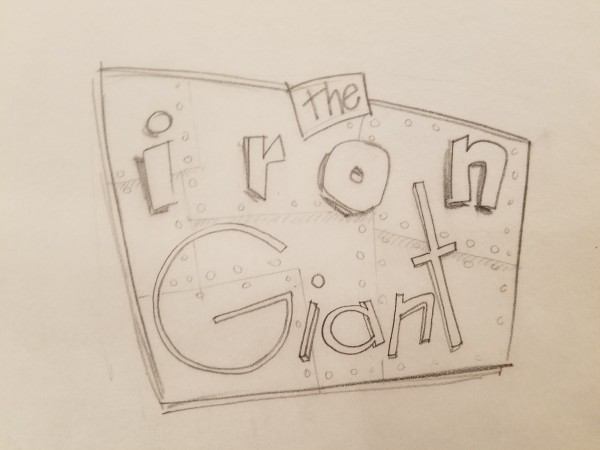
The Iron Giant Logo Concept, Boxed in "THE", Metal Stylized Metal Backed "IRON", c. 1998
Graphite on Paper
4 x 4.75 in
-

The Iron Giant Logo Concept, Boxed in "THE", Metal Stylized Metal Backed "IRON", c. 1998
Ink On Paper
6.5 x 7.75 in
-
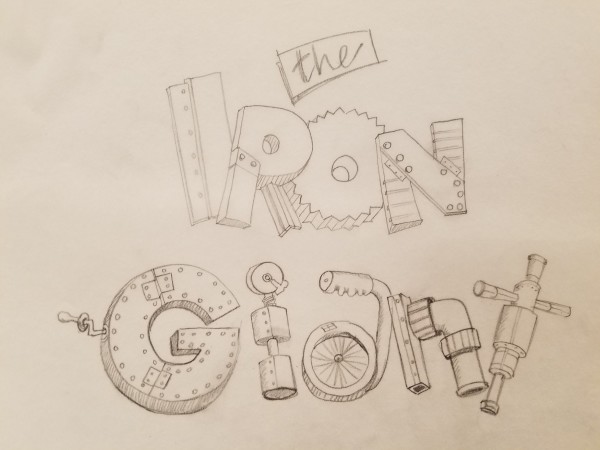
The Iron Giant Logo Concept, Boxed in Cursive "THE", Mechanical Parts "IRON GIANT", c. 1998
Graphite on Paper
5.5 x 7.5 in
-
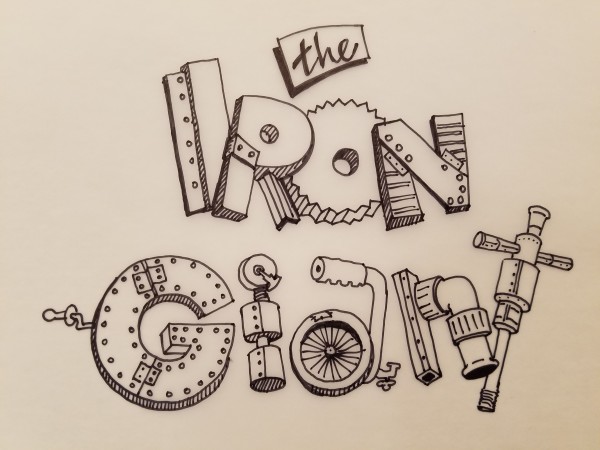
The Iron Giant Logo Concept, Boxed in Cursive "THE", Mechanical Parts "IRON GIANT", Inked, c. 1998
Ink On Paper
5.5 x 7.5 in
-

The Iron Giant Logo Concept, Business Sign "THE iron", Block "GIANT", c. 1998
Graphite on Paper
5 x 6.5 in
-
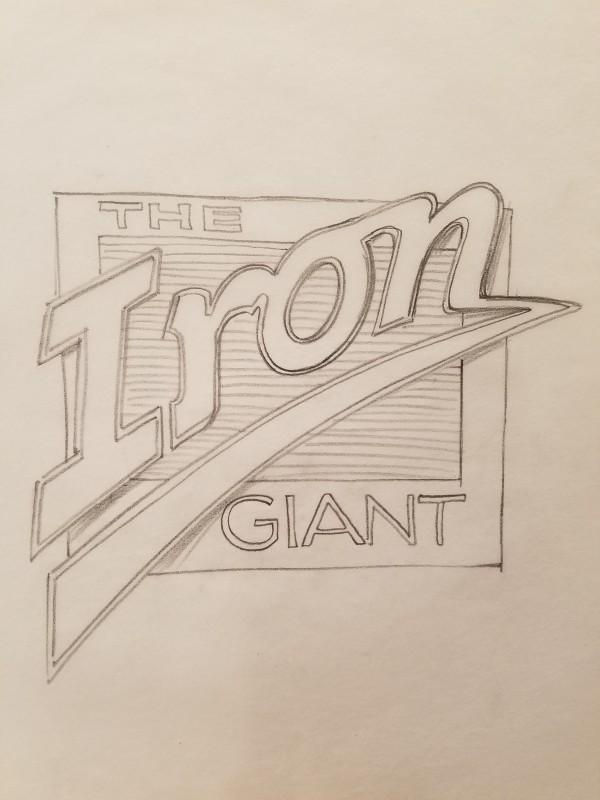
The Iron Giant Logo Concept, Classic Diner Style, c. 1998
Graphite on Paper
6.5 x 6.5 in
-

The Iron Giant Logo Concept, Cursive "THE", Mechanical Parts "IRON", c. 1998
Graphite on Paper
4.5 x 6.25 in
-

The Iron Giant Logo Concept, Cursive "THE", Mechanical Parts "IRON", Inked, c. 1998
Ink On Paper
3.75 x 6.5 in
-
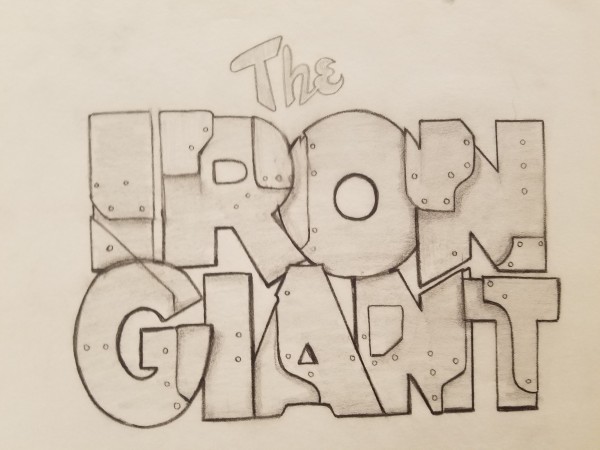
The Iron Giant Logo Concept, Cursive "THE", Metal Plating "IRON GIANT", c. 1998
Graphite on Paper
5.25 x 6.25 in
-
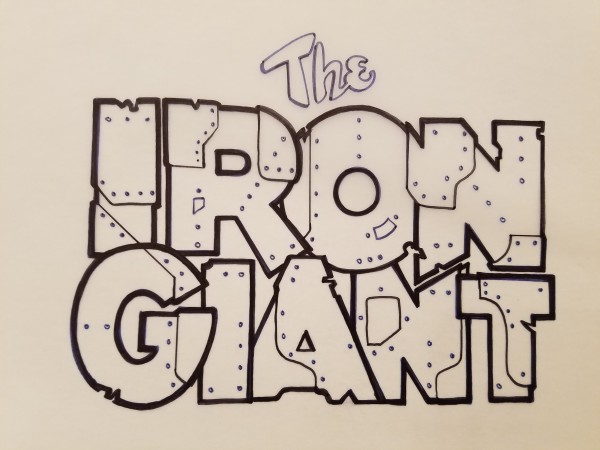
The Iron Giant Logo Concept, Cursive "THE", Metal Plating "IRON GIANT", Inked, c. 1998
Ink On Paper
6 x 7.25 in
-
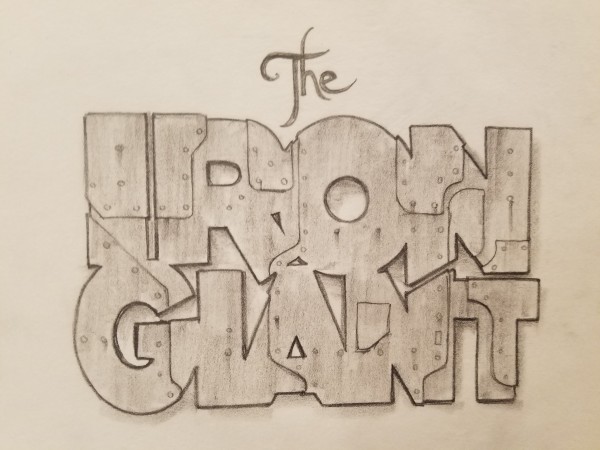
The Iron Giant Logo Concept, Fantasy "THE", Metal Plating "IRON GIANT", c. 1998
Graphite on Paper
5.5 x 6.25 in
-
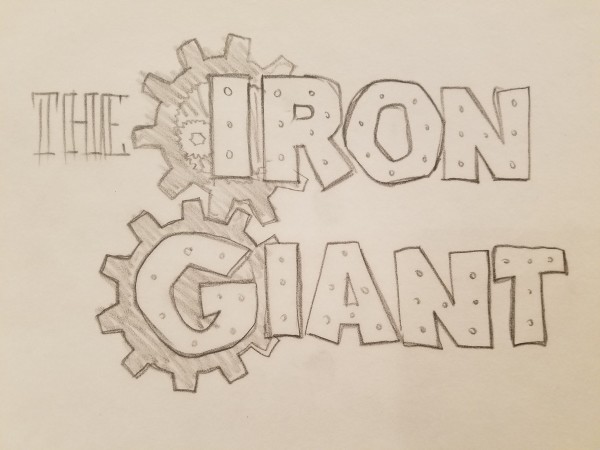
The Iron Giant Logo Concept, Gears Around "I" and "G", Metal Plating Font, c. 1998
Graphite on Paper
5 x 7.5 in
-
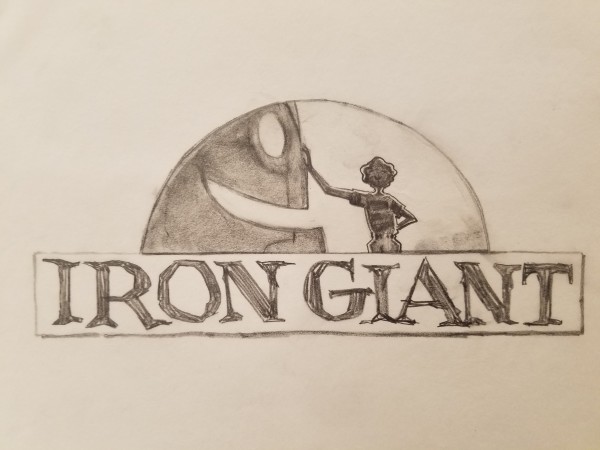
The Iron Giant Logo Concept, Hogarth Leaning on Robot's Face, c. 1998
Graphite on Paper
3.5 x 8 in
-
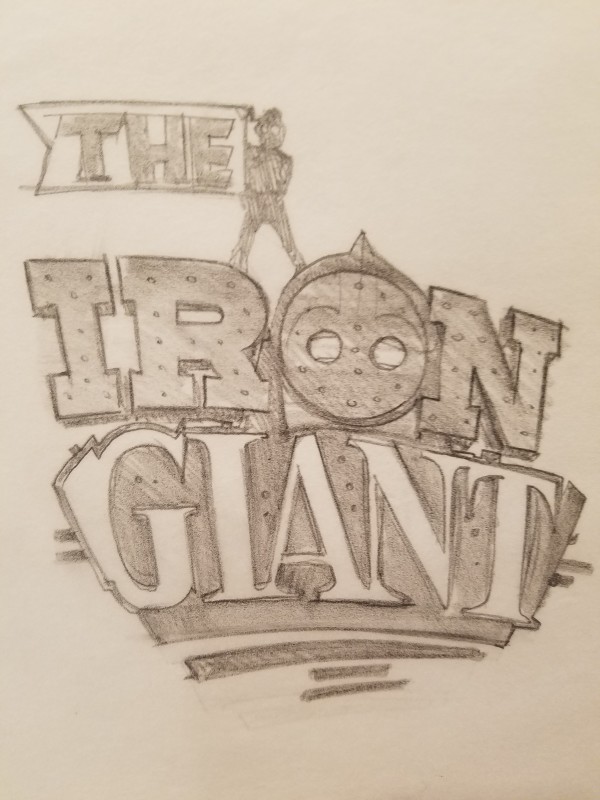
The Iron Giant Logo Concept, Hogarth Next to "THE", c. 1998
Graphite on Paper
5.25 x 4.75 in
-
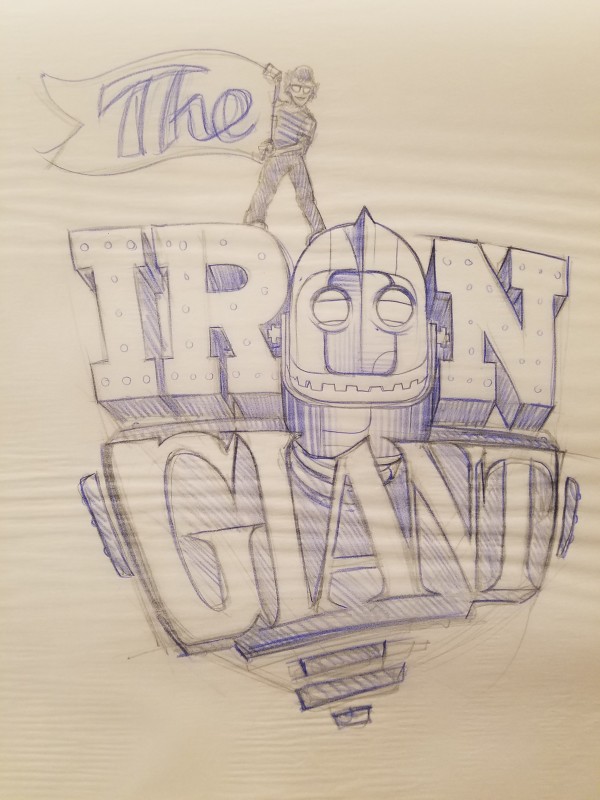
The Iron Giant Logo Concept, Hogarth Next to "THE" Flag, c. 1998
Graphite and Prismacolor on Paper
11.5 x 9 in
-
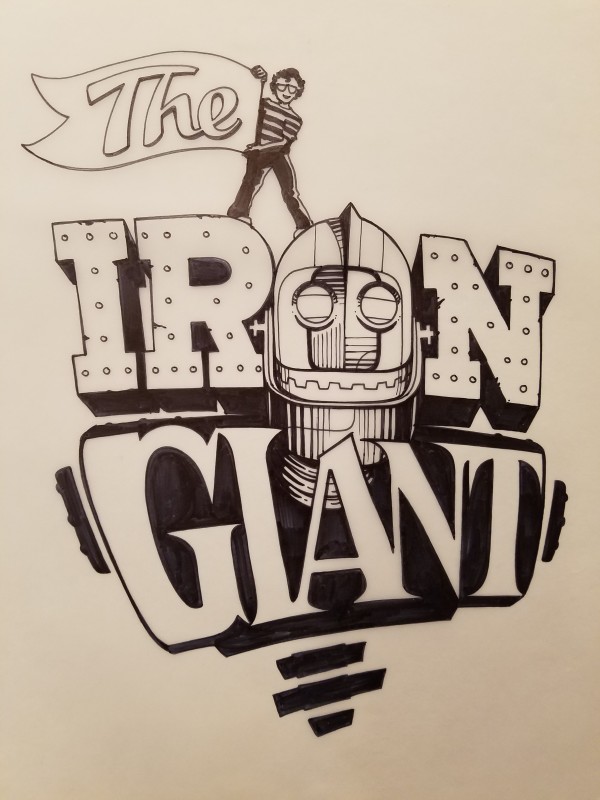
The Iron Giant Logo Concept, Hogarth Next to "THE" Flag, c. 1998
Ink On Paper
11.5 x 9 in
-
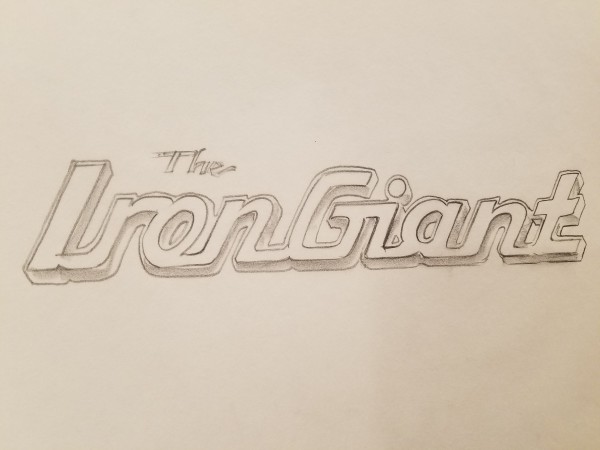
The Iron Giant Logo Concept, Hot Rod Styling, c. 1998
Graphite on Paper
2 x 8.75 in
-
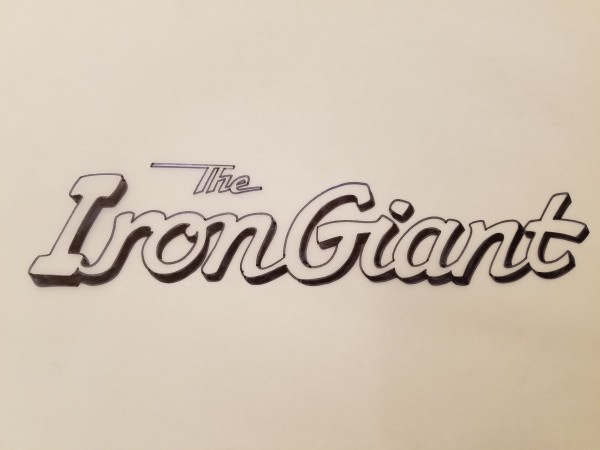
The Iron Giant Logo Concept, Hot Rod Styling, Inked, c. 1998
Ink On Paper
2 x 9 in
-
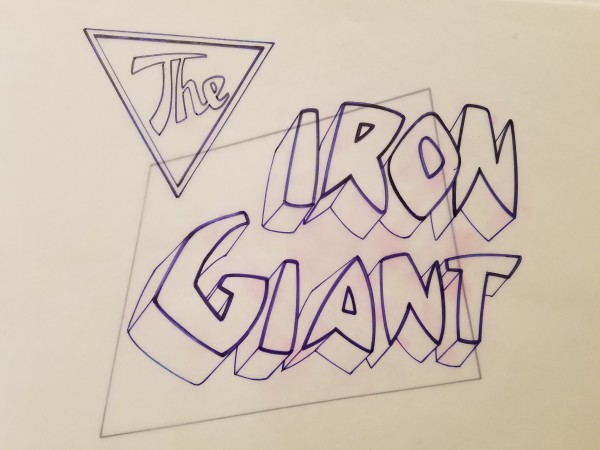
The Iron Giant Logo Concept, Jagged "IRON GIANT", c. 1998
Ink On Paper
7.25 x 8 in
-
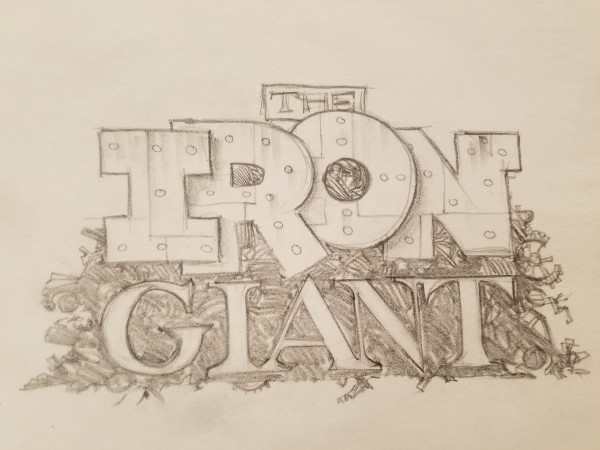
The Iron Giant Logo Concept, Metal Plating "IRON", Scrap Heap Design, c. 1998
Graphite on Paper
4.25 x 7.25 in
-

The Iron Giant Logo Concept, Old Aviator Style, c. 1998
Graphite on Paper
3.5 x 8.5 in
-
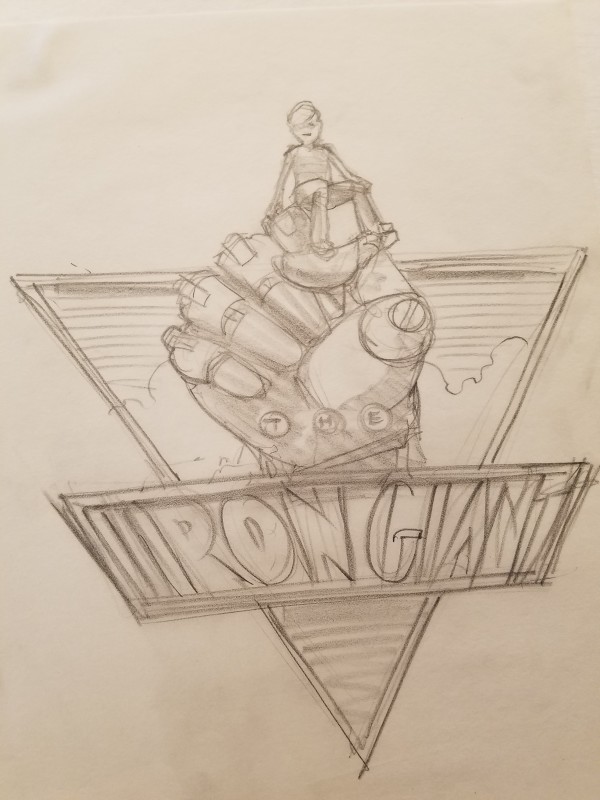
The Iron Giant Logo Concept, Robot Hand Holding Up Hogarth, c. 1998
Graphite on Paper
9.5 x 8 in
-
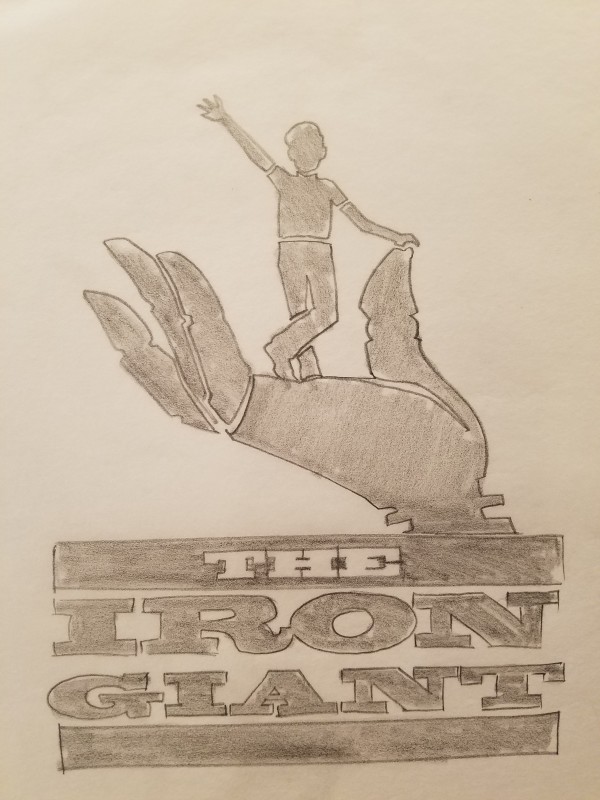
The Iron Giant Logo Concept, Robot Hand Holding Up Waving Hogarth, c. 1998
Graphite on Paper
7.5 x 5.5 in
-
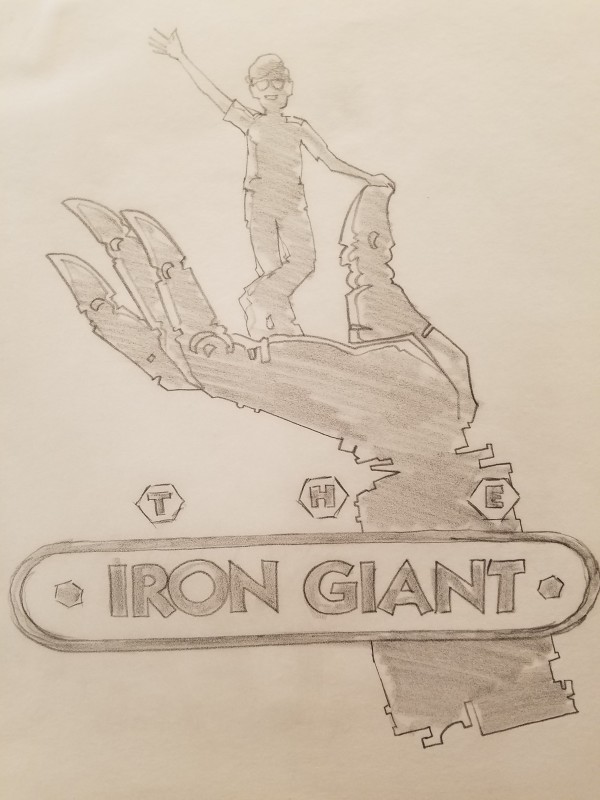
The Iron Giant Logo Concept, Robot Hand Holding Up Waving Hogarth, c. 1998
Graphite on Paper
9 x 7.75 in
-
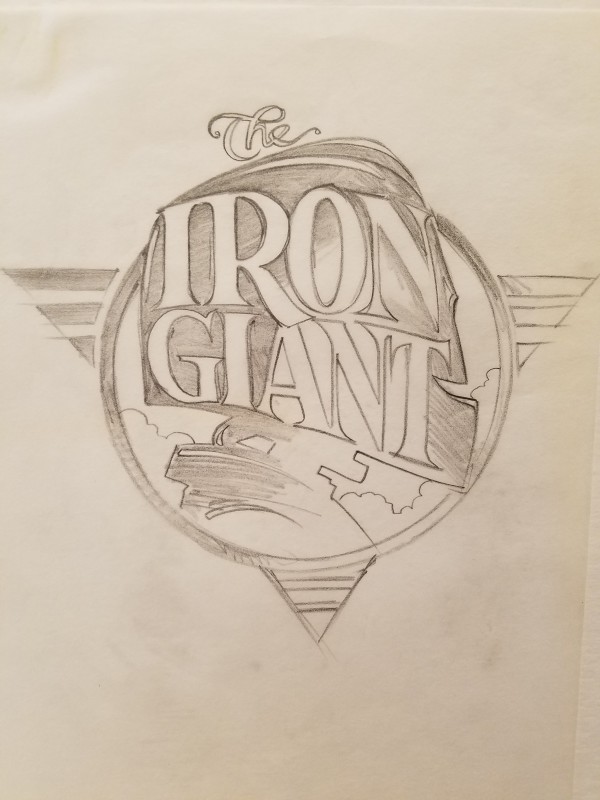
The Iron Giant Logo Concept, Robot Head Behind Title, c. 1998
Graphite on Paper
7.75 x 8.25 in
-

The Iron Giant Logo Concept, Robot Holding Hogarth's Hand, c. 1998
Graphite on Paper
6.5 x 7.25 in
-

The Iron Giant Logo Concept, Robot Holding Up "IRON", c. 1998
Graphite on Paper
6 x 5.5 in
-
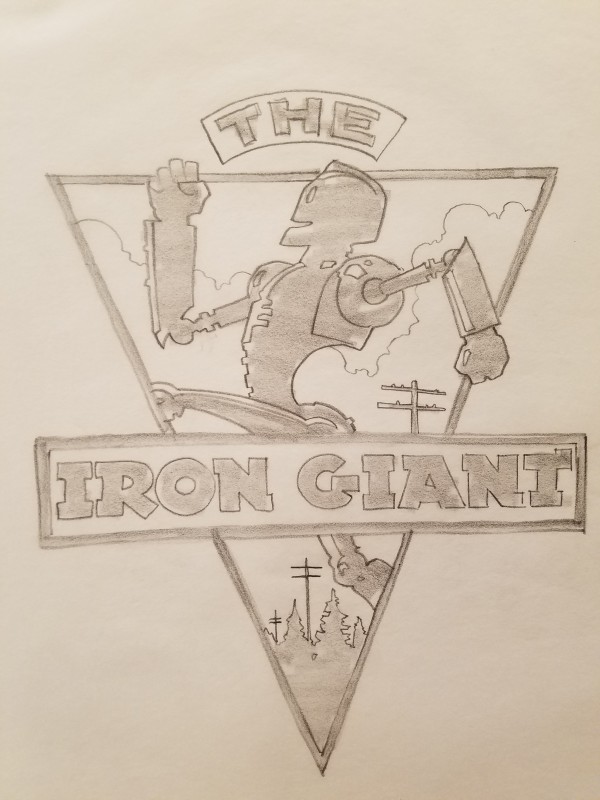
The Iron Giant Logo Concept, Robot Running to Left, c. 1998
Graphite on Paper
8.75 x 7.25 in
-
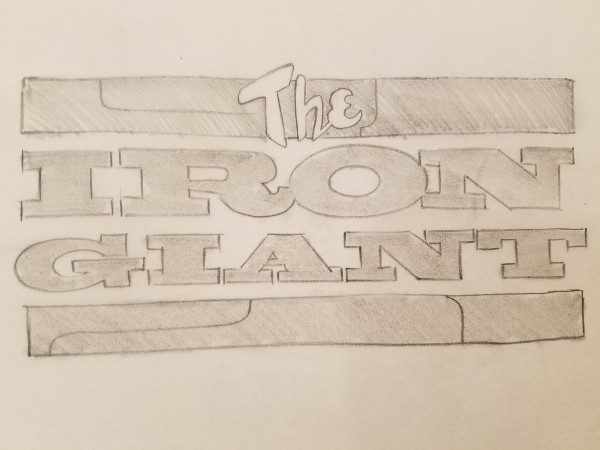
The Iron Giant Logo Concept, Steel Bars Bordering Title, c. 1998
Graphite on Paper
3.5 x 6.25 in
-
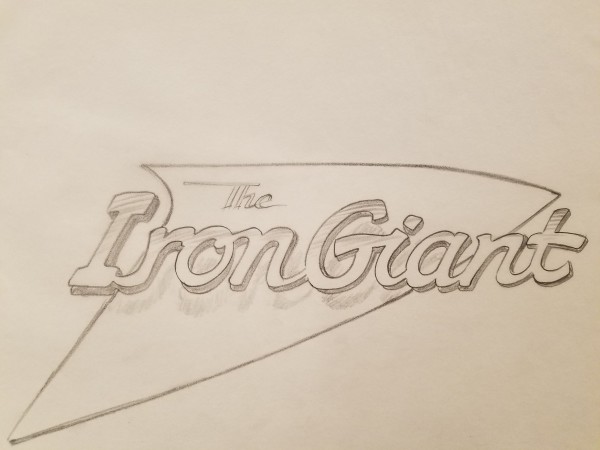
The Iron Giant Logo Concept, Sweeping Triangle, c. 1998
Graphite on Paper
4.75 x 9.75 in
-
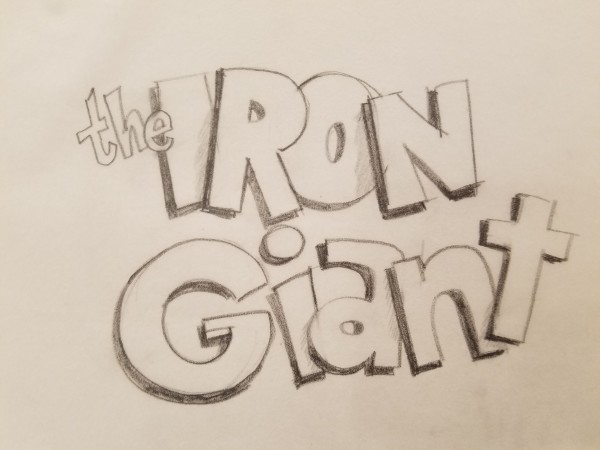
The Iron Giant Logo Concept, Whimsical and Block Style, c. 1998
Graphite on Paper
4.25 x 6 in
-
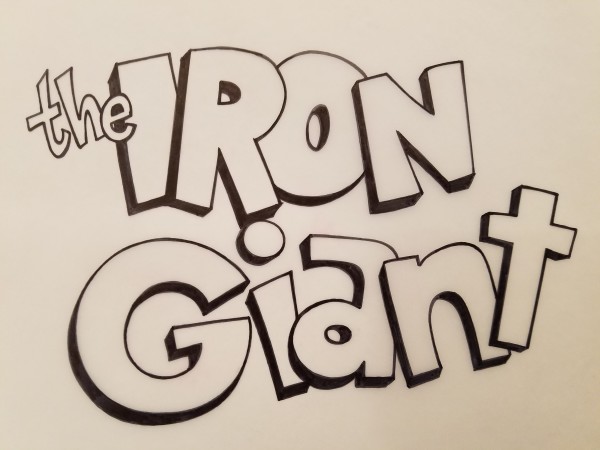
The Iron Giant Logo Concept, Whimsical and Block Style, c. 1998
Ink On Paper
5.25 x 8.25 in
-
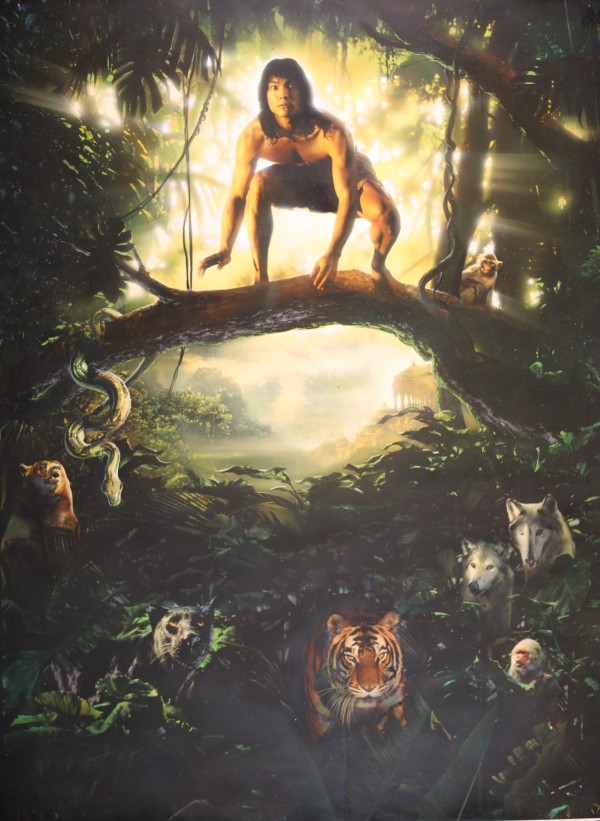
The Jungle Book 2016 Key Art, c. 1993
Acrylic and Prismacolor Pencil on Photographic Print
40 x 30 in
-
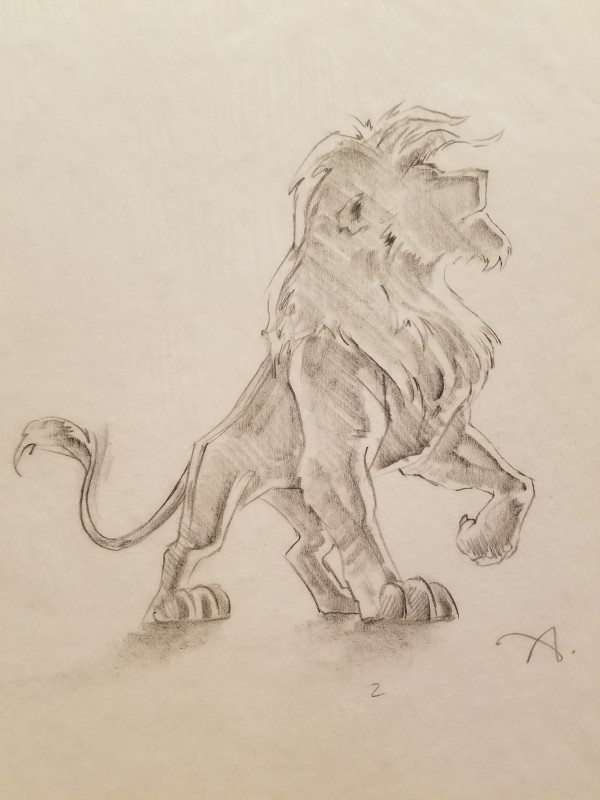
The Lion King IMAX Poster Concept Art, Simba Raising Front Paw, c. 1993
Graphite on Paper
6.75 x 6.25 in
-
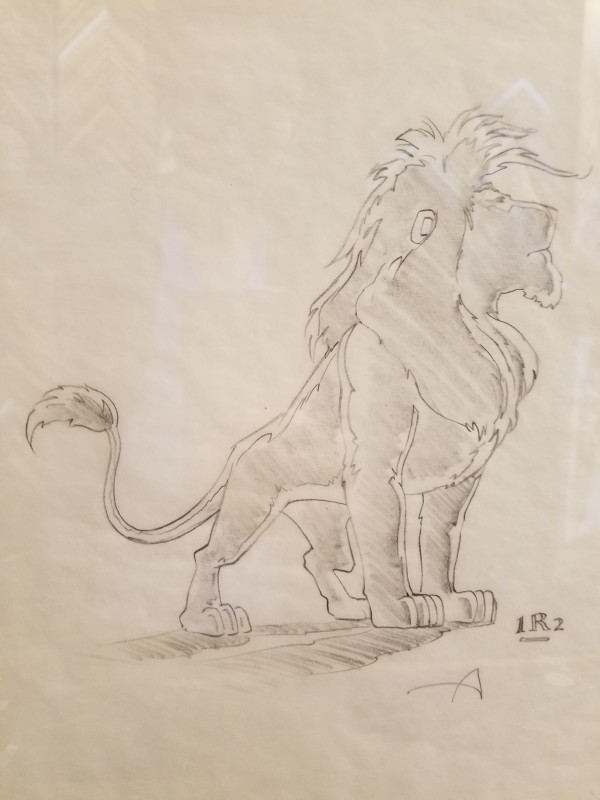
The Lion King IMAX Poster Concept Art, Simba Standing, c. 1993
Graphite on Paper
7.5 x 7.5 in
-
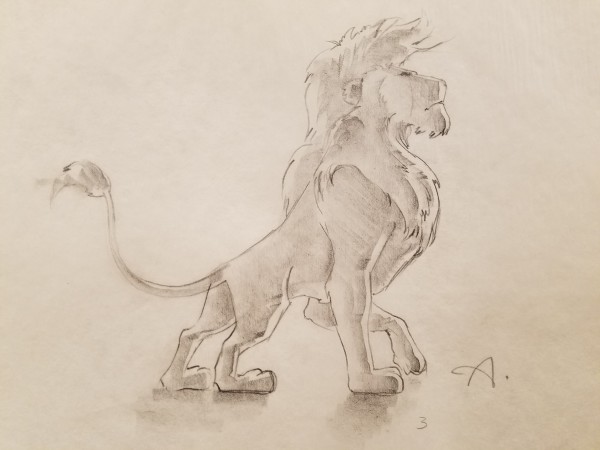
The Lion King IMAX Poster Concept Art, Simba Standing, c. 1993
Graphite on Paper
14 x 17 in (framed)
-
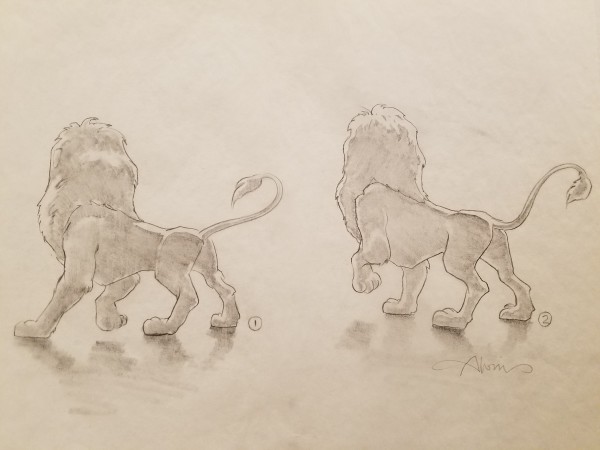
The Lion King IMAX Poster Concept Art, Two Simbas, c. 1993
Graphite on Paper
14 x 17 in (framed)
-
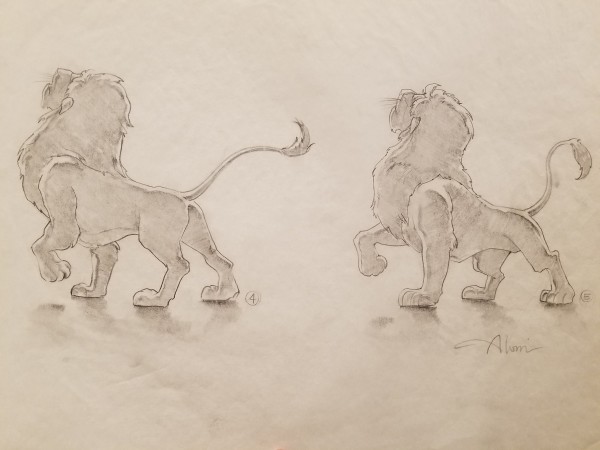
The Lion King IMAX Poster Concept Art, Two Simbas Facing Left & Away, c. 1993
Graphite on Paper
14 x 17 in (framed)
-

The Lion King IMAX Graphite for Key Art, c. 1993
Graphite on Paper
13 x 11 in
-
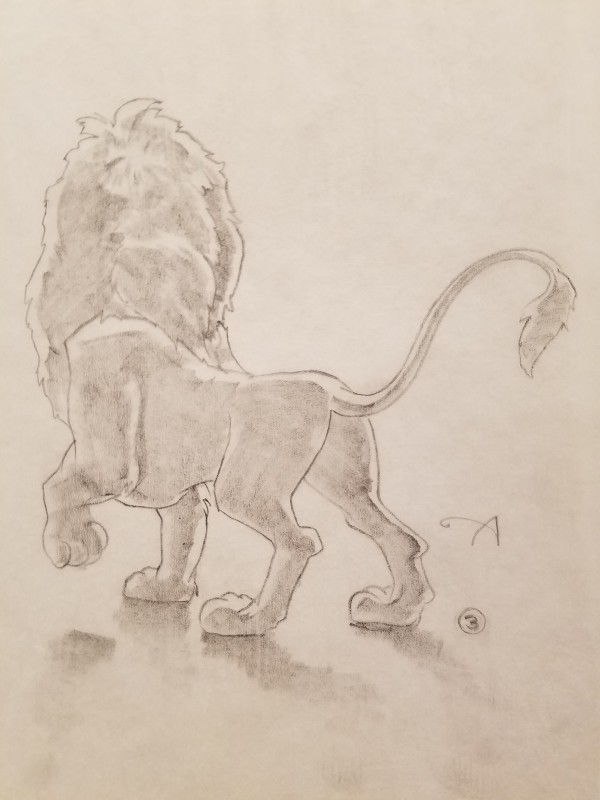
The Lion King IMAX Poster Concept Art, c. 1993
Graphite on Paper
14 x 17 in (framed)
-
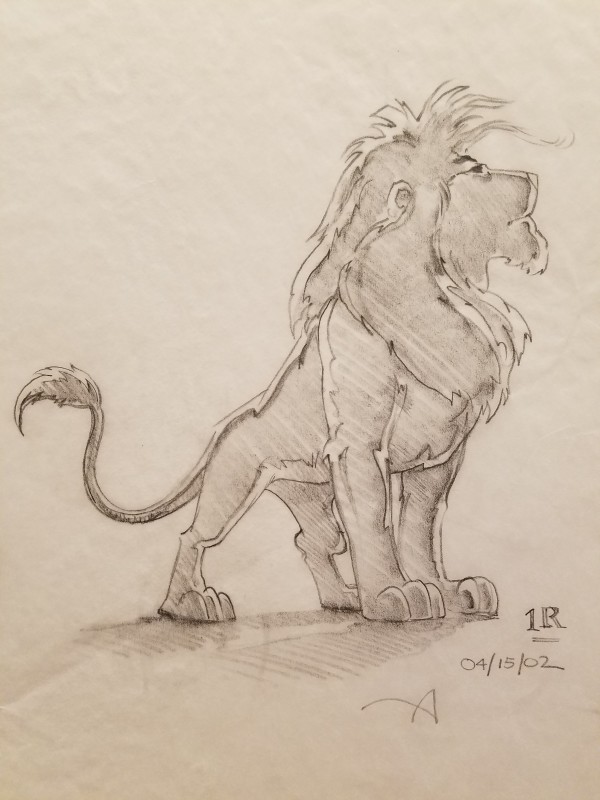
The Lion King IMAX Poster Concept Art, Simba Standing "1R", c. 1993
Graphite on Paper
8 x 7.25 in
-
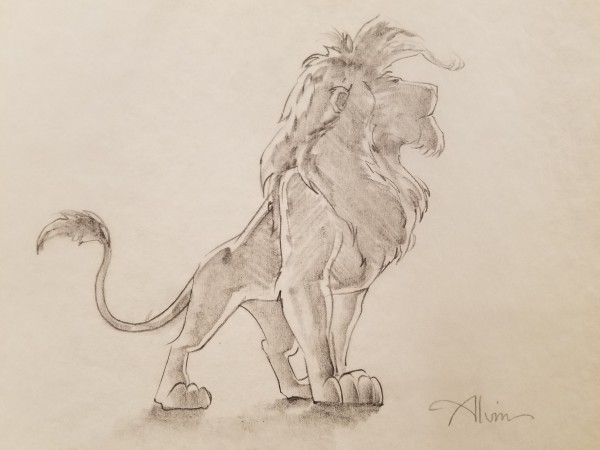
The Lion King IMAX Poster Concept Art, Simba Standing Facing Right, "1", c. 1993
Graphite on Paper
14 x 17 in (framed)
-
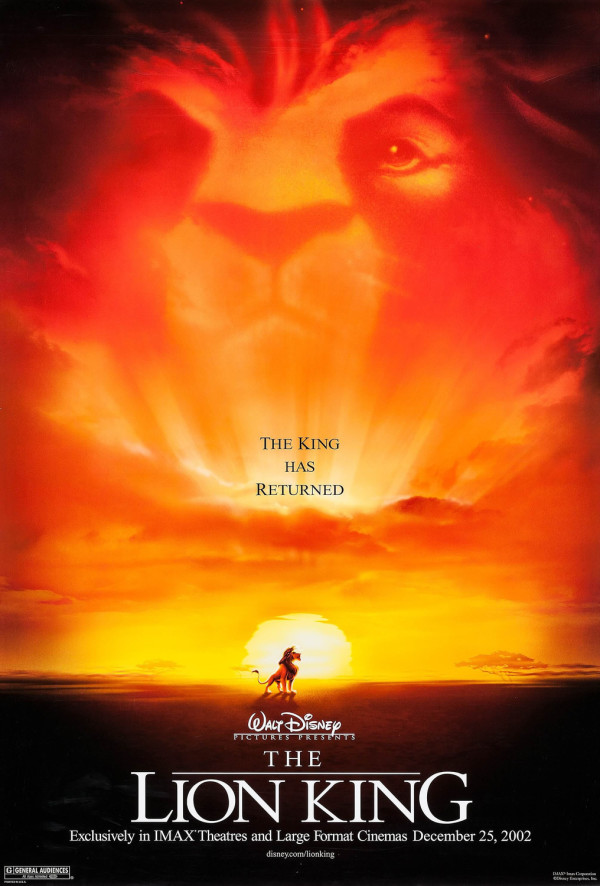
The Lion King IMAX Theatrical Release Poster, c. 1993
40 x 27 in
-

The Lion King Poster Concept Art, Simba Bus Advertisement, c. 1993
Graphite on Paper
7.5 x 23.5 in
-
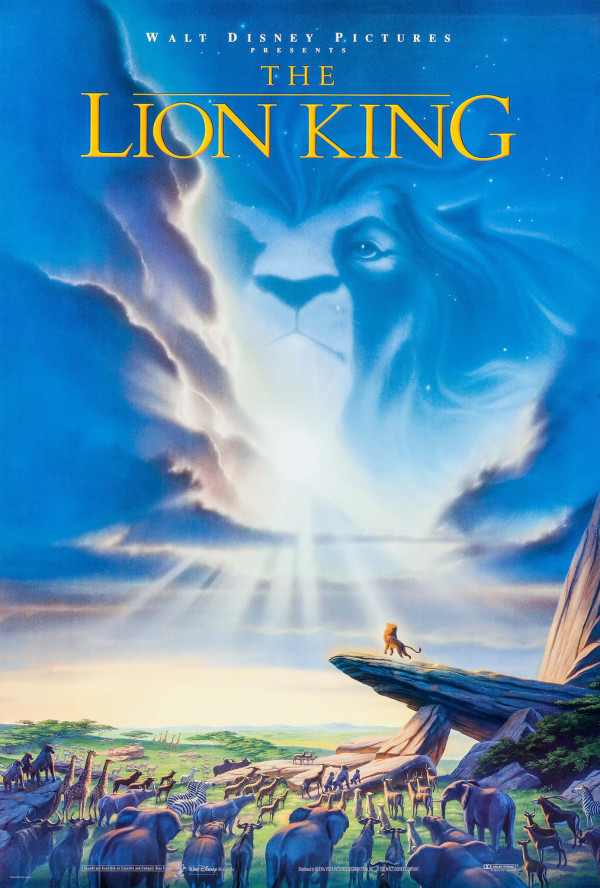
The Lion King Theatrical Release Poster, 1993
40 x 27 in
-
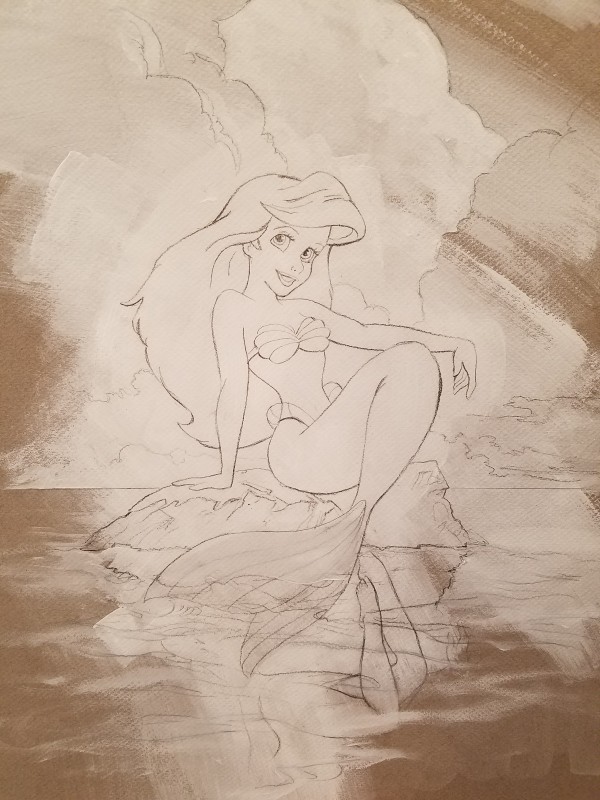
The Little Mermaid Limited Edition Original Concept
Acrylic and Prismacolor Pencil On Canson Illustration Board
20 x 15 x 0.5 in
-
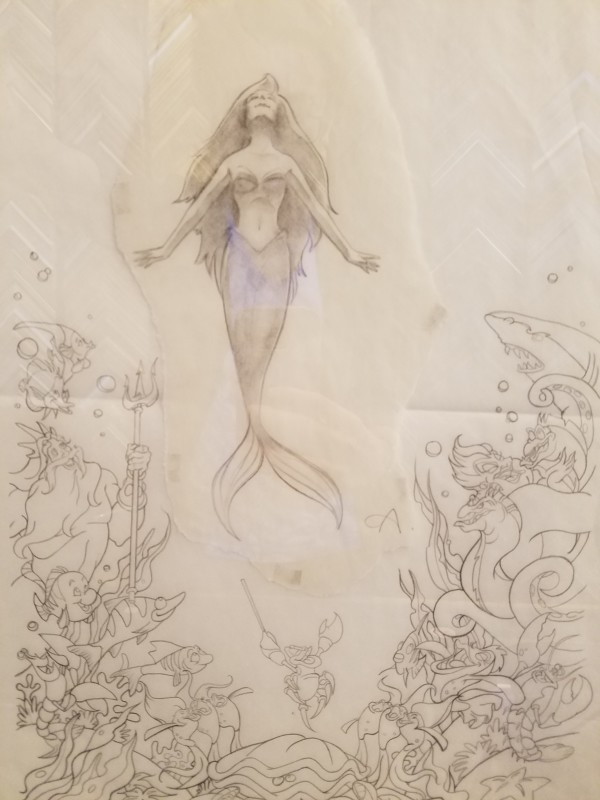
The Little Mermaid Poster Concept, Ariel Rising, c. 1988
Graphite on Paper
24.25 x 22 x 1 in (framed)
-
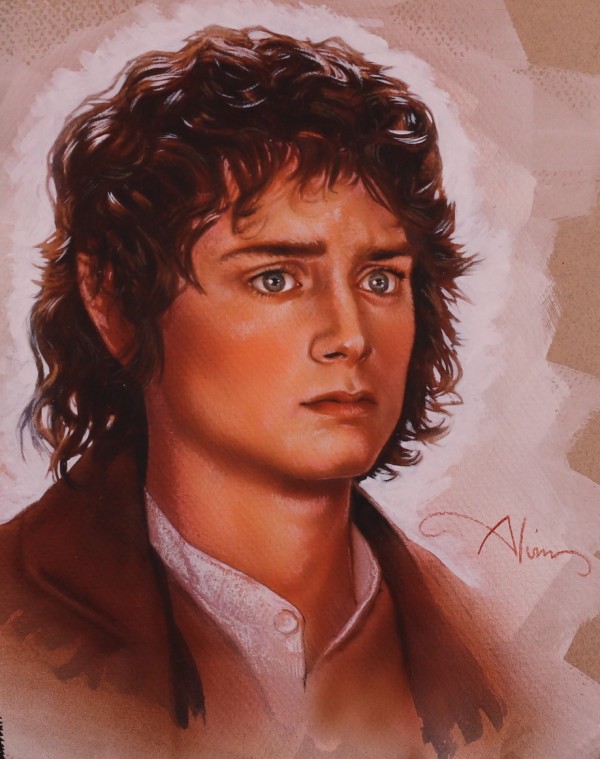
The Lord of the Rings, Frodo Baggins Portrait, c. 2004
Acrylic and Prismacolor pencil on illustration board
9 x 7.5 in
-
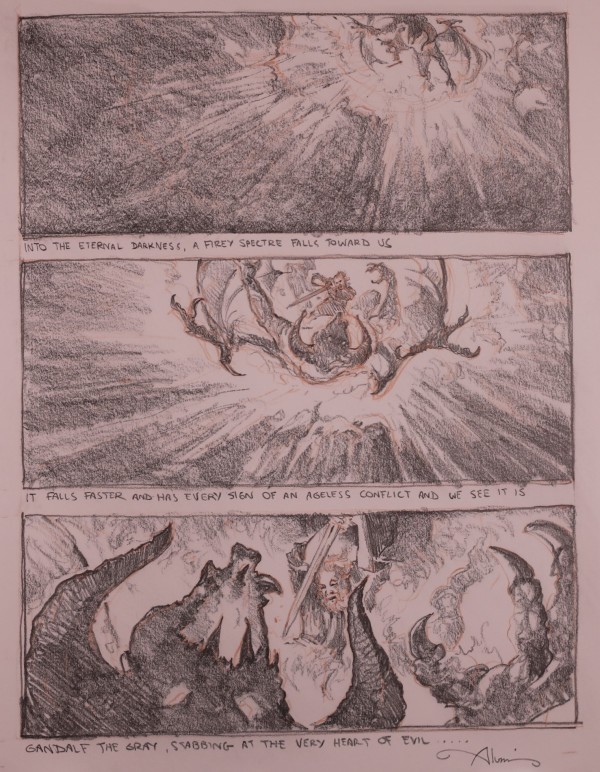
The Lord of the Rings, Gandalf Versus Balrog Storyboard Style Sketch, c. 2000
Graphite on Paper
14 x 10.5 in
-
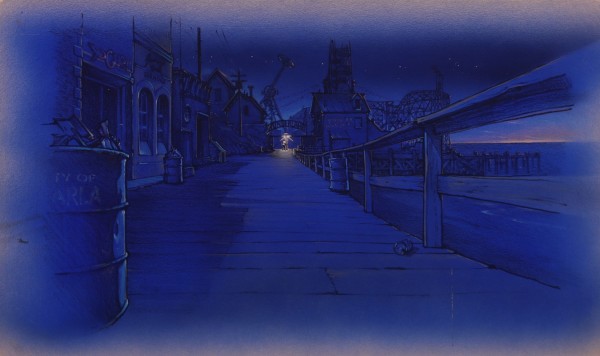
The Lost Boys Color Comp, Santa Carla Pier and Theme Park, c. 1986
Acrylic and Prismacolor pencil on illustration board
10 x 16 in
-
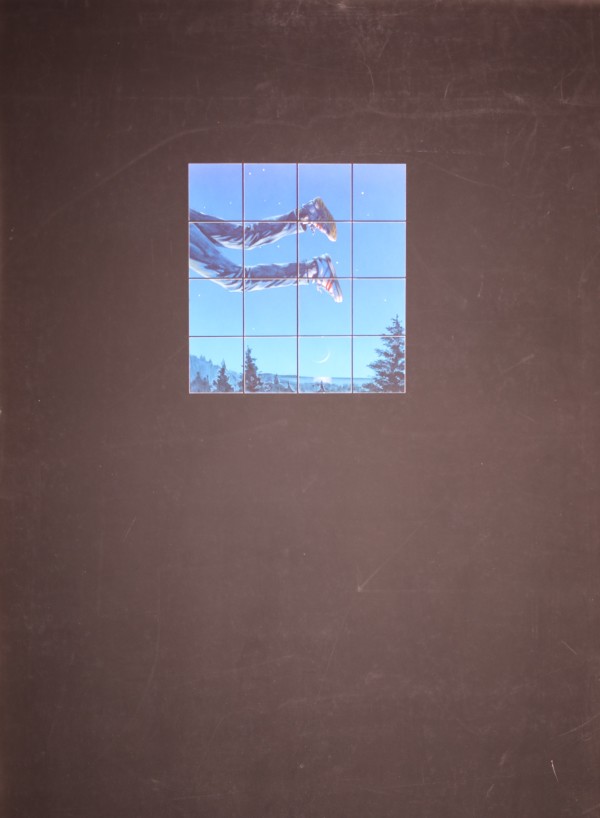
The Lost Boys Poster Color Comp, Flying, c. 1986
Acrylic and Prismacolor pencil on illustration board
34.25 x 24 in
-
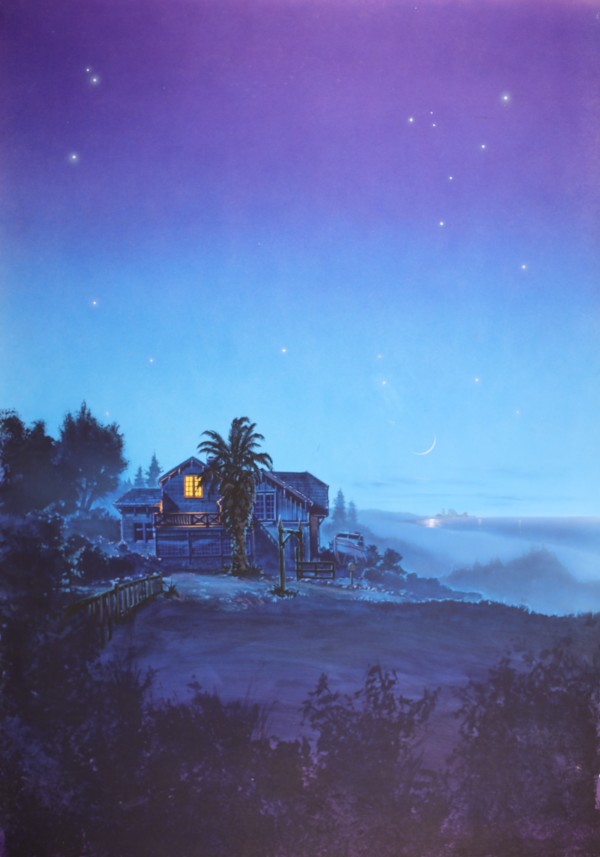
The Lost Boys Poster Color Comp, Santa Carla, c. 1986
Acrylic and Prismacolor pencil on illustration board
33 x 23 in
-
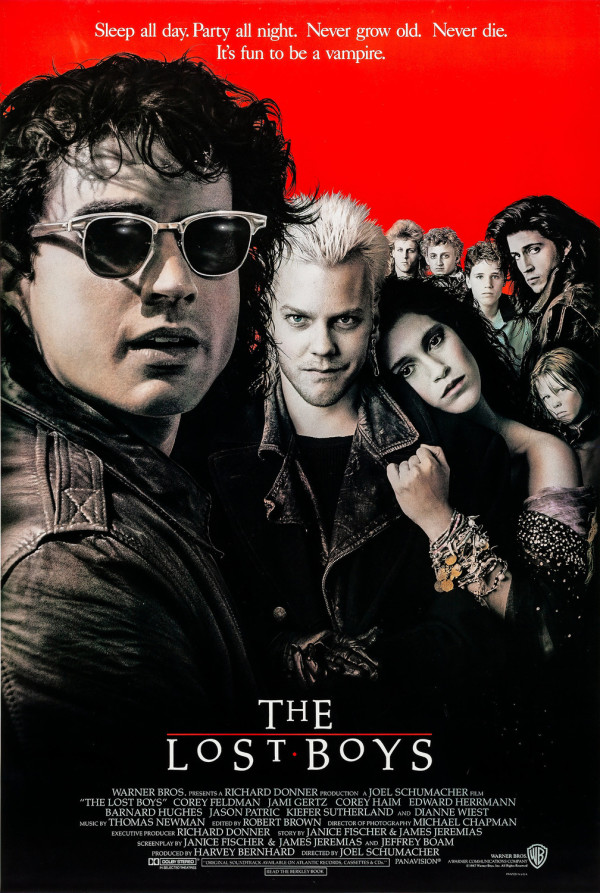
The Lost Boys Theatrical Release Poster, c. 1986
40 x 27 in
-
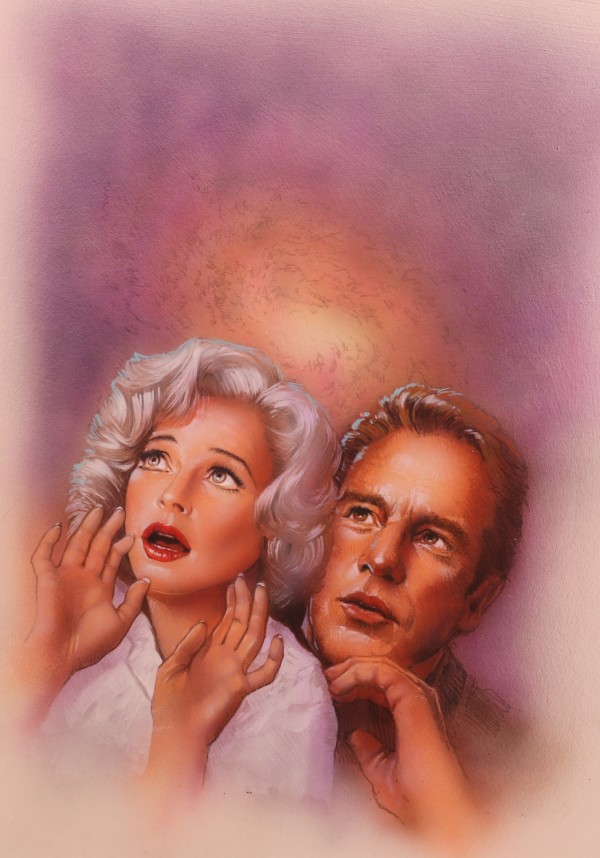
The Majestic Color Comp, Adele & Peter, c. 2000
Acrylic and Prismacolor pencil on illustration board
13 x 9 in
-

The Majestic Color Comp, Jim Carrey in Theater, c. 2000
Acrylic and Prismacolor pencil on illustration board
23 x 16 in
-
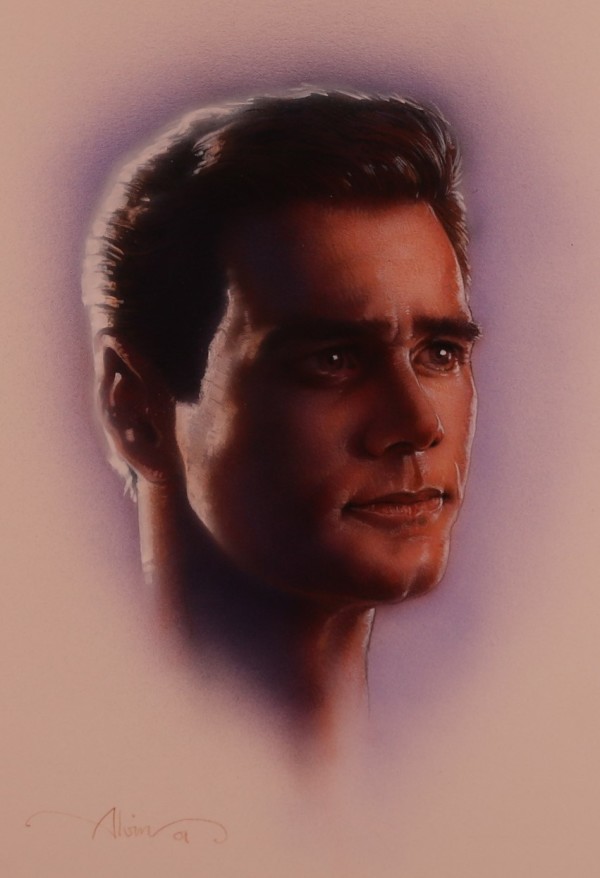
The Majestic Peter Appleton Jim Carrey Portrait, c. 2000
Acrylic and Prismacolor pencil on illustration board
21 x 16 x 1 in (framed)
-

The Majestic Poster Color Comp Peter Appleton Jim Carrey, c. 2000
Acrylic and Prismacolor pencil on illustration board
22.5 x 15.5 in
-

The Majestic Sand Pirates of the Sahara Logo Concept, c. 2000
Graphite on Paper
9.25 x 12 in
-
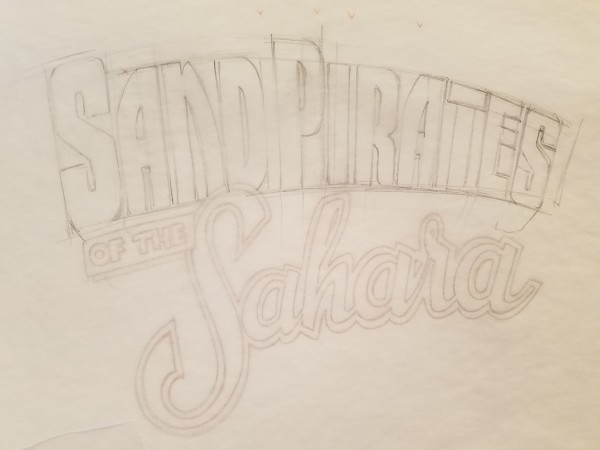
The Majestic Sand Pirates of the Sahara Logo Concept, c. 2000
Graphite and Prismacolor pencil on paper
10 x 13 in
-
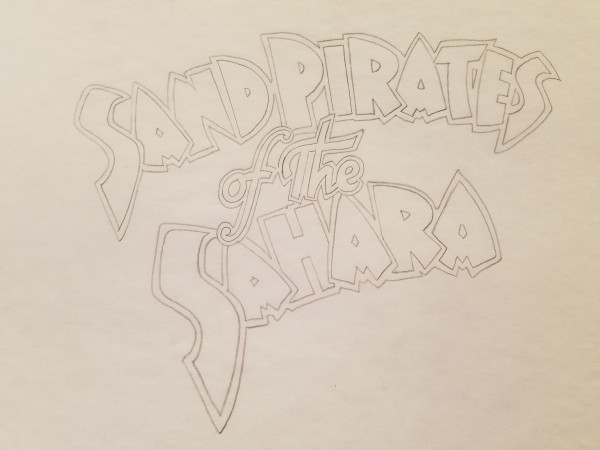
The Majestic Sand Pirates of the Sahara Logo Concept, Close to Final, c. 2000
Graphite on Paper
7 x 8 in
-
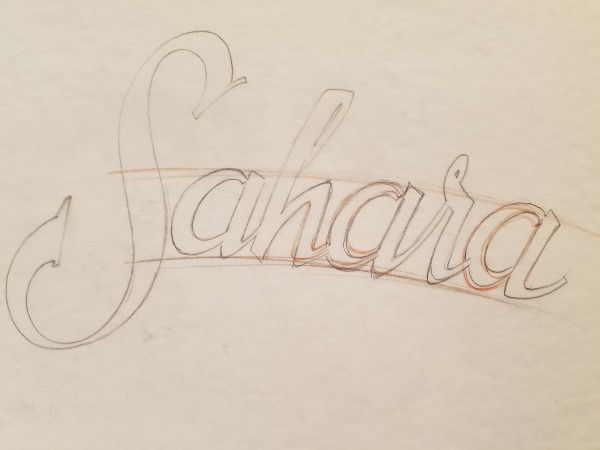
The Majestic Sand Pirates of the Sahara Logo Concept, Cursive, c. 2000
Graphite and Prismacolor pencil on paper
5.25 x 10 in
-
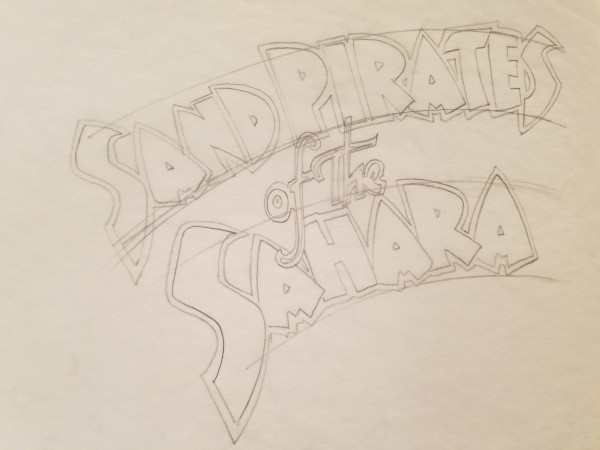
The Majestic Sand Pirates of the Sahara Logo Concept, Curved Logo, c. 2000
Graphite on Paper
7.5 x 6.5 in
-
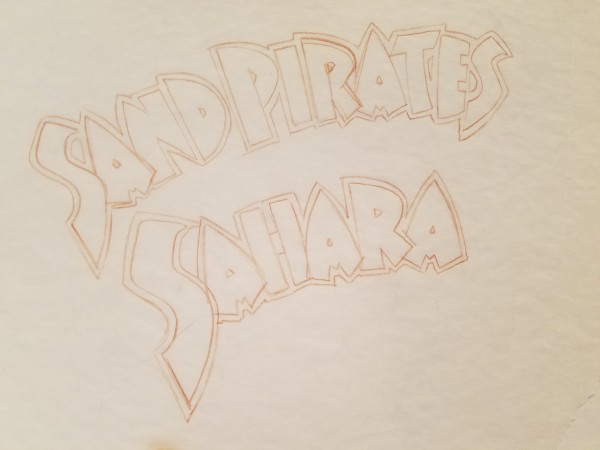
The Majestic Sand Pirates of the Sahara Logo Concept, Red Pencil, c. 2000
Graphite and Prismacolor pencil on paper
6.5 x 7.5 in
-

The Majestic Sand Pirates of the Sahara Poster Concept Art, c. 2000
Graphite on Paper
13.75 x 8.75 in
-
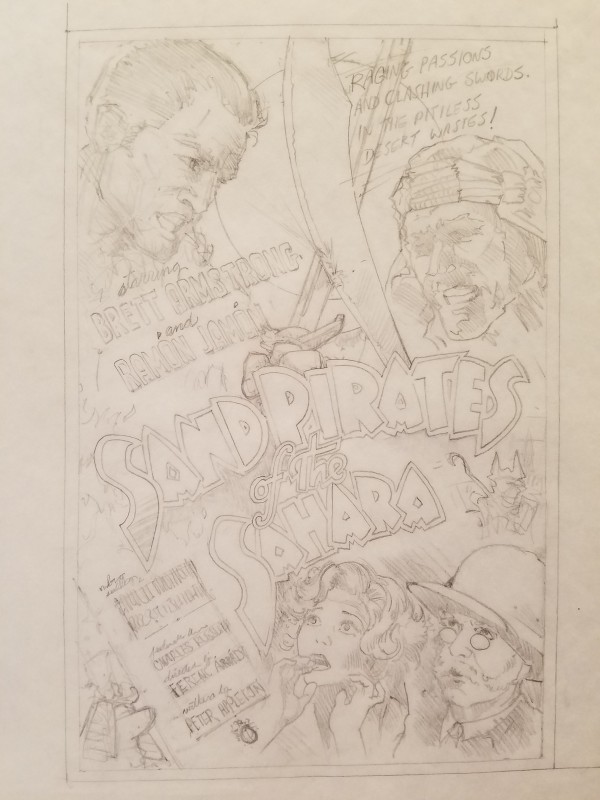
The Majestic Sand Pirates of the Sahara Poster Concept Art, Rough Sketch, c. 2000
Graphite on Paper
9.5 x 6.25 in
-
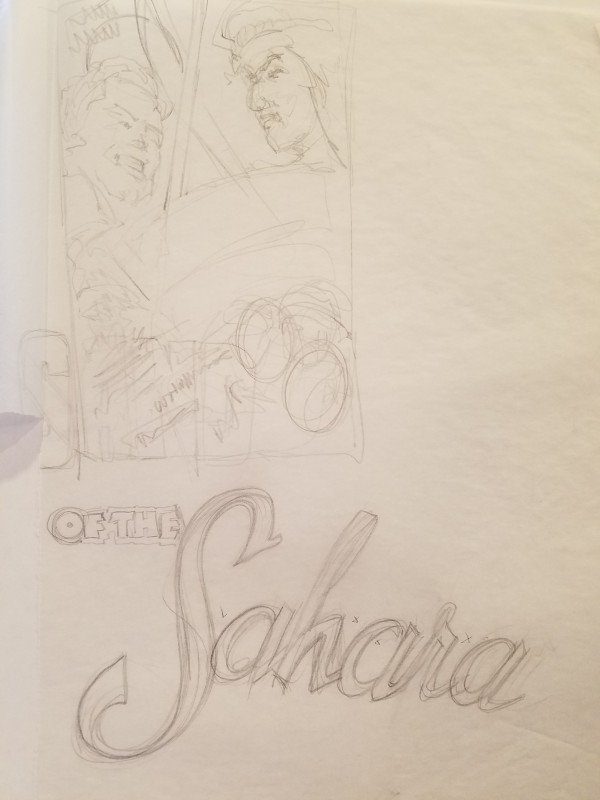
The Majestic Sand Pirates of the Sahara Poster Concept, Layout Sketch, c. 2000
Graphite on Paper
15 x 10 in
-
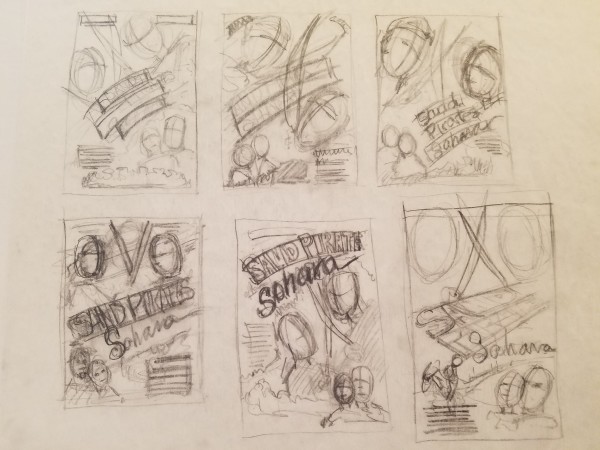
The Majestic Sand Pirates of the Sahara Poster Concept, Six Layout Sketches, c. 2000
Graphite on Paper
11 x 12 in
-
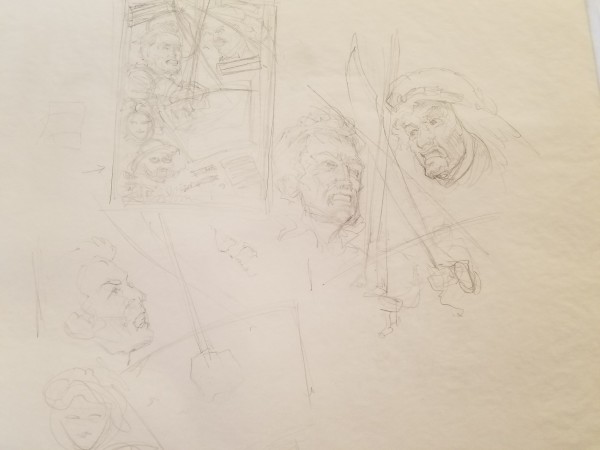
The Majestic Sand Pirates of the Sahara Poster Concepts & Studies, c. 2000
Graphite on Paper
16 x 16 in
-
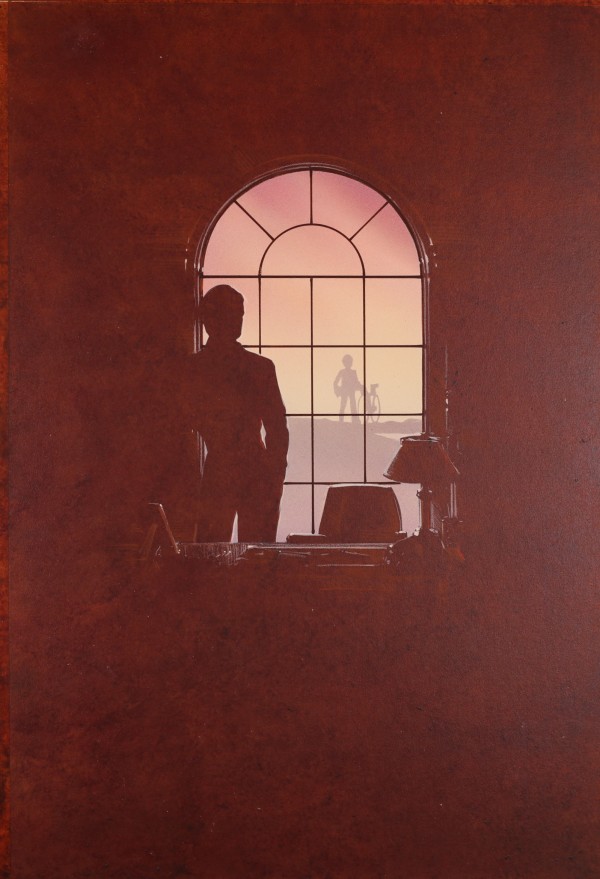
The Man Without a Face Color Comp, c. 1992
Acrylic on Illustration board
19 x 13 in
-
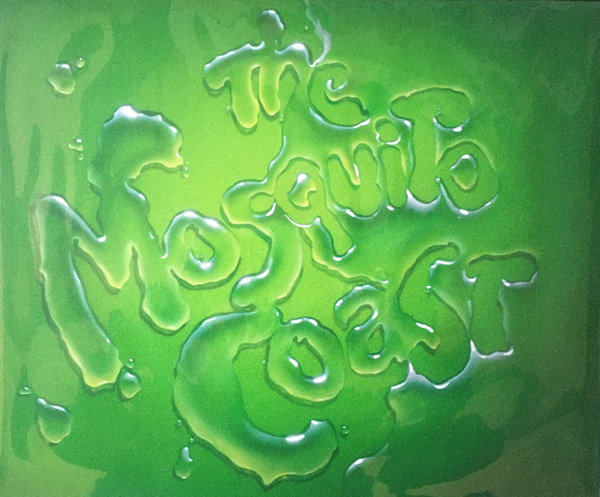
The Mosquito Coast Trailer Logo, c. 1985
Acrylic and Prismacolor on Illustration board
13 x 17 in
-

The Neverending Story Poster Concept for Video Packaging 1, c. 1983
Graphite on Paper
9.75 x 6.25 in
-
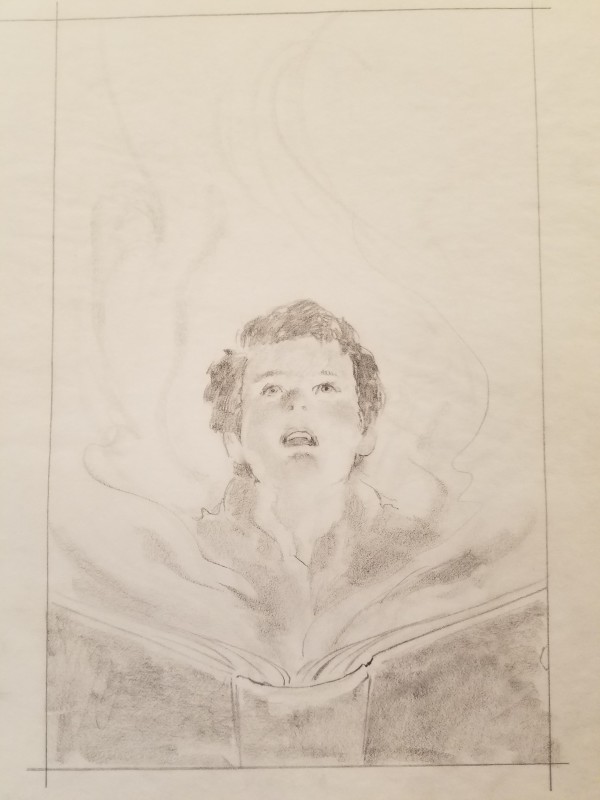
The Neverending Story Poster Concept for Video Packaging 2, c. 1983
Graphite on Paper
9.75 x 6.25 in
-
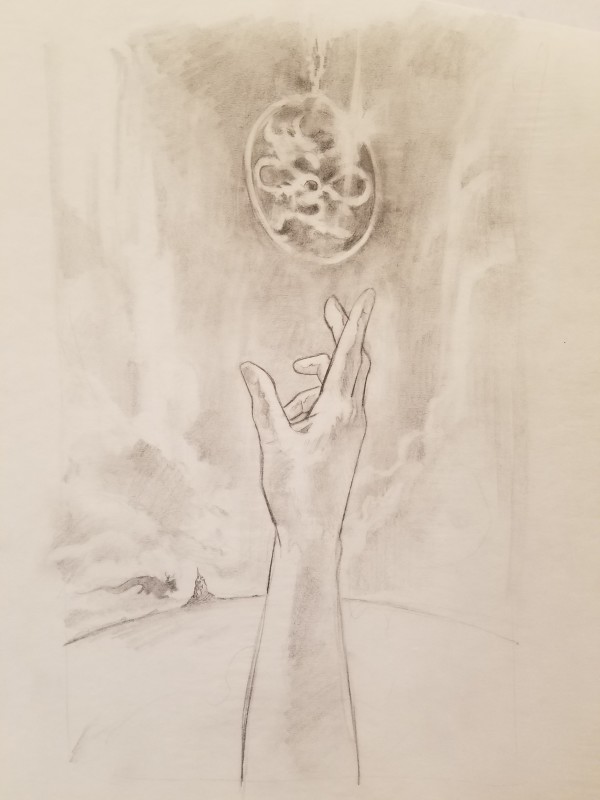
The Neverending Story Poster Concept for Video Packaging 3, c. 1983
Graphite on Paper
10 x 6 in
-
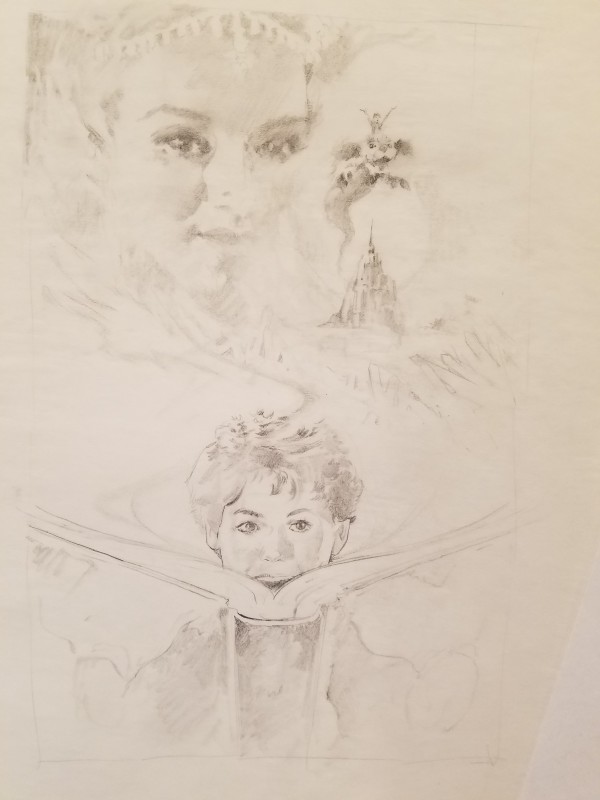
The Neverending Story Poster Concept for Video Packaging 4, c. 1983
Graphite on Paper
9.75 x 6.25 in
-
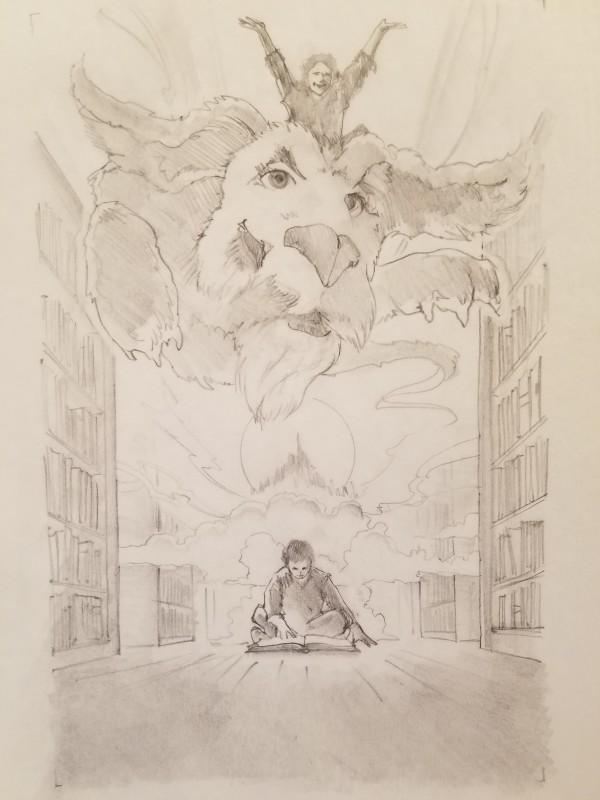
The Neverending Story Poster Concept for Video Packaging 5, c. 1983
Graphite on Paper
9.75 x 6.25 in