A-Z Listing of The Narrative Film Art and Personal Archive of Movie Poster Artist John Alvin (Updated 9/03/2026)
-
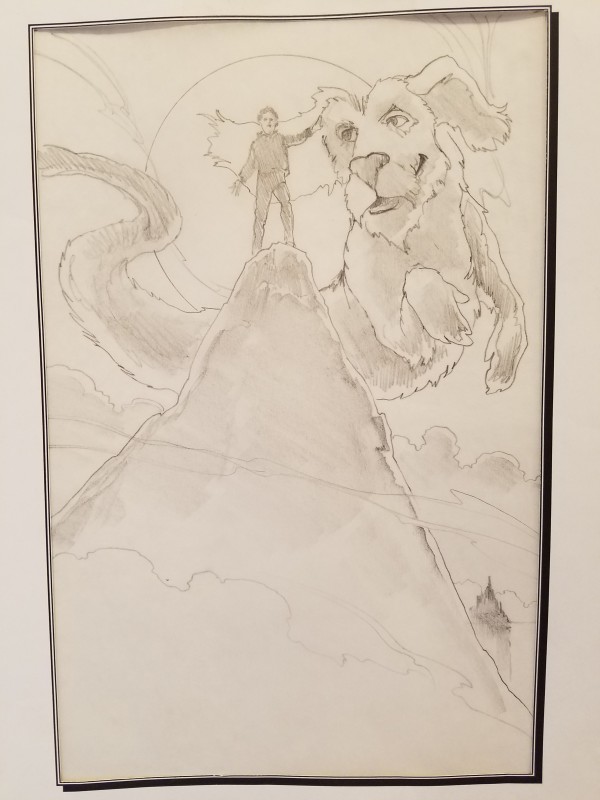
The Neverending Story Poster Concept for Video Packaging 6, c. 1983
Graphite on Paper
9.75 x 6.25 in
-

The Neverending Story Poster Concept for Video Packaging 7, c. 1983
Graphite on Paper
9.75 x 6.25 in
-
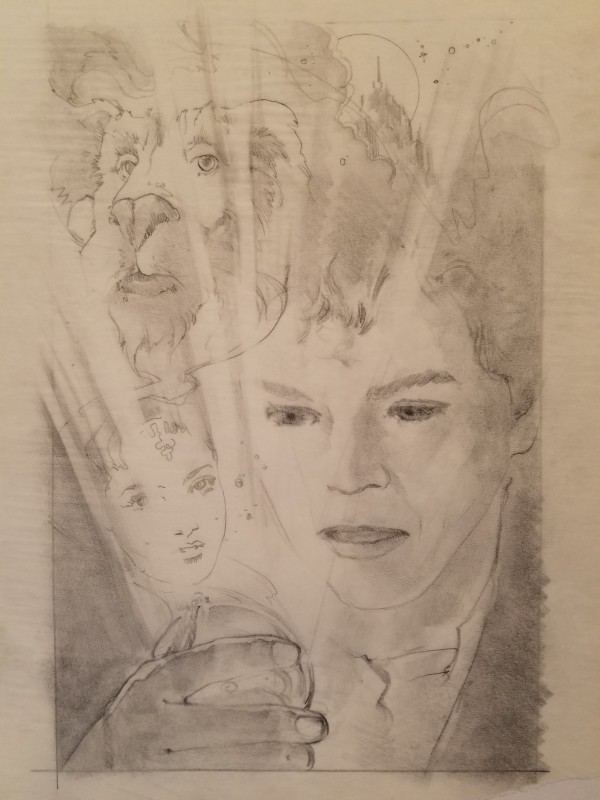
The Neverending Story Poster Concept for Video Packaging 8, c. 1983
Graphite on Paper
9.75 x 6.5 in
-
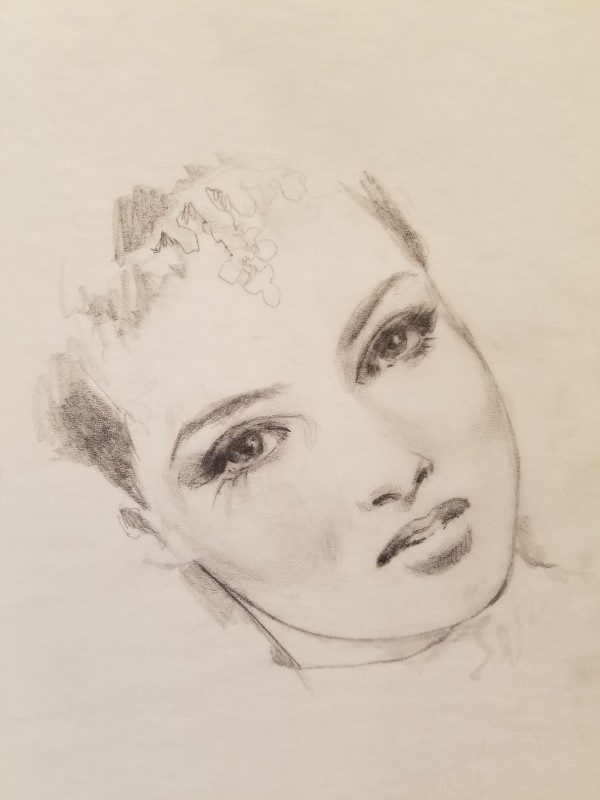
The Neverending Story Poster Concept for Video Packaging 9, c. 1983
Graphite on Paper
4.5 x 4.5 in
-
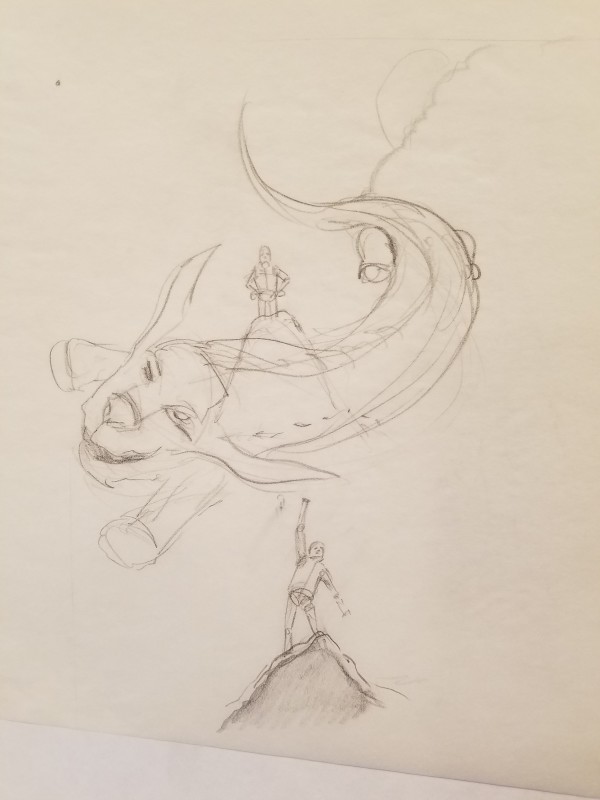
The Neverending Story Poster Concept for Video Packaging 10, c. 1983
Graphite on Paper
8.5 x 7 in
-
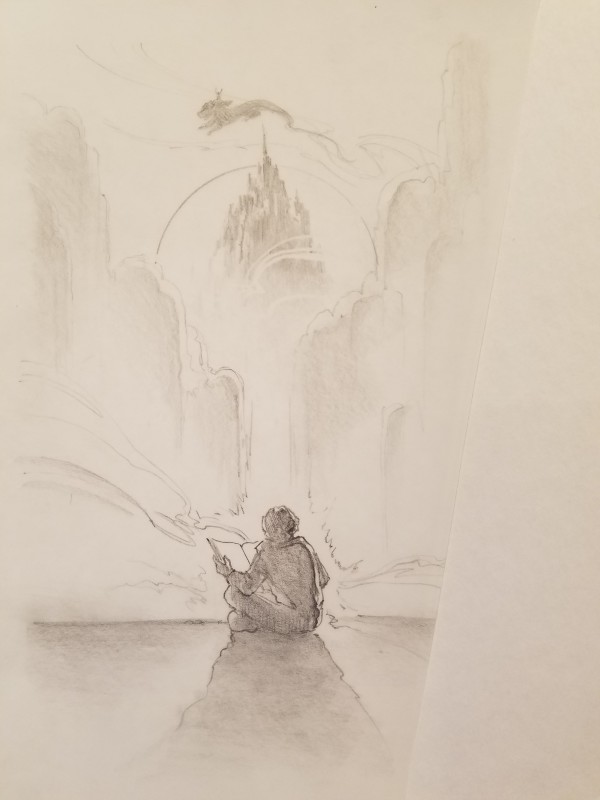
The Neverending Story Poster Concept for Video Packaging 11, c. 1983
Graphite on Paper
9.5 x 6 in
-
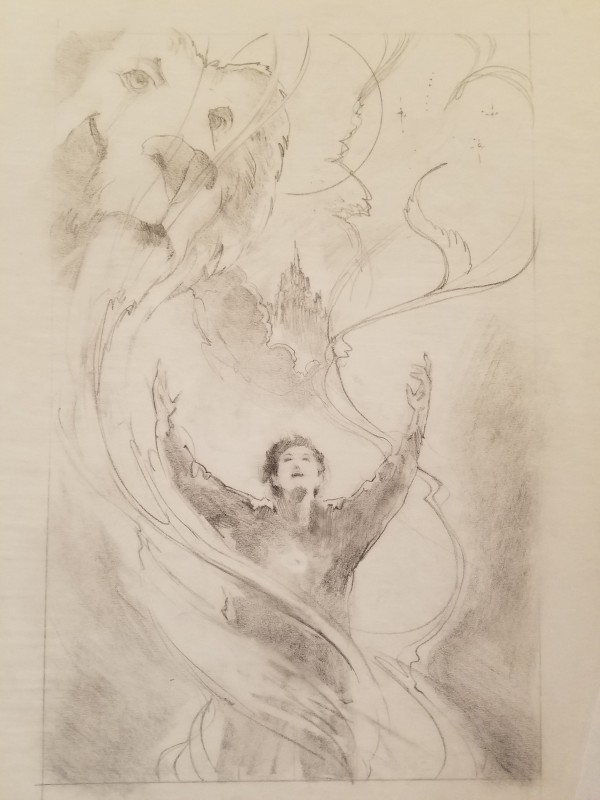
The Neverending Story Poster Concept for Video Packaging 12, c. 1983
Graphite on Paper
10 x 6.25 in
-
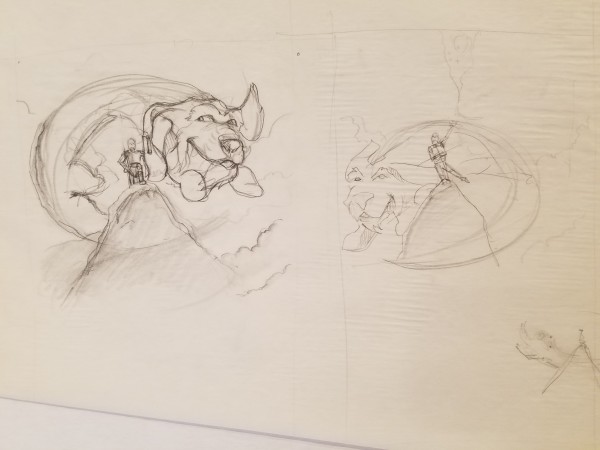
The Neverending Story Poster Concept for Video Packaging Rough Sketches, c. 1983
Graphite on Paper
8 x 15 in
-

The Nutcracker Prince Key Art, Used as Final Poster, c. 1989
Acrylic on Illustration board
43.5 x 29.75 in
-
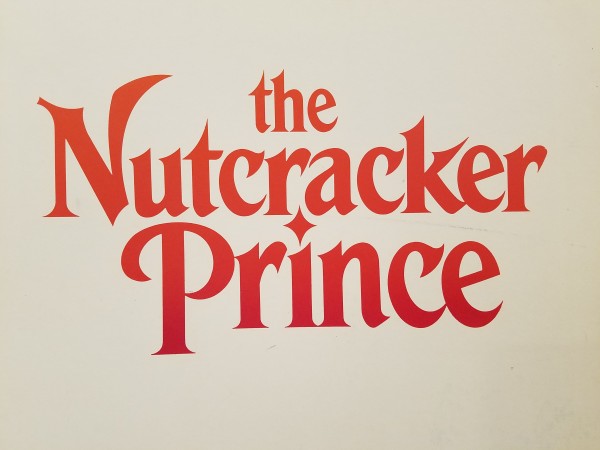
The Nutcracker Prince Logo, Used for Final Poster and Logo, c. 1989
Acrylic on Illustration board
8.25 x 14.5 in
-
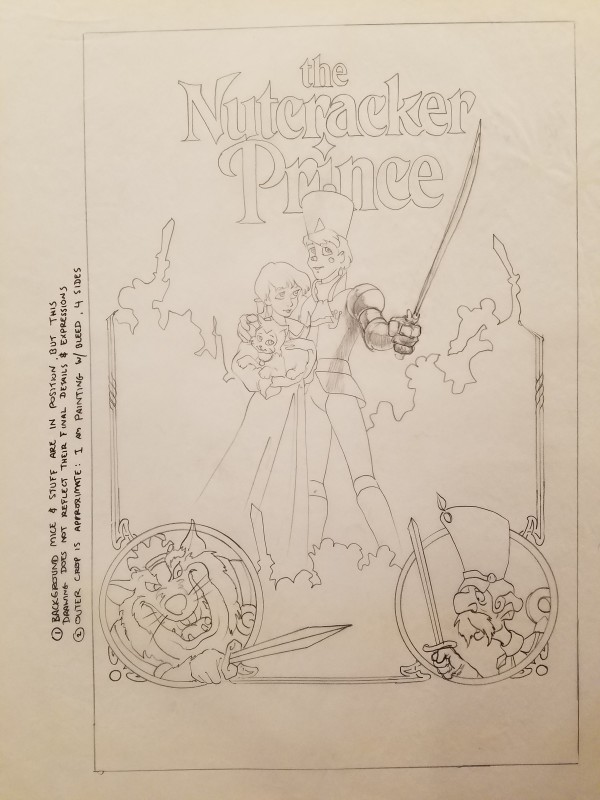
The Nutcracker Prince Poster Concept, Close to Final Poster, c. 1989
Graphite on Paper
14.75 x 10.75 in
-

The Nutcracker Prince Poster Concept, Detailed Sketch Used for Key Art, c. 1989
Graphite on Paper
38.75 x 25 in
-

The Nutty Professor Color Comp, Similar Design to Final Poster, c. 1995
Acrylic on Illustration board
30 x 20 in
-
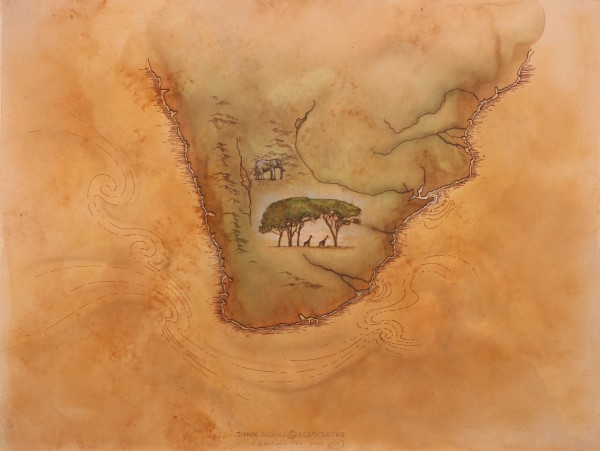
The Power of One Title art 2, c. 1991
Acrylic on Illustration board
23 x 30 in
-
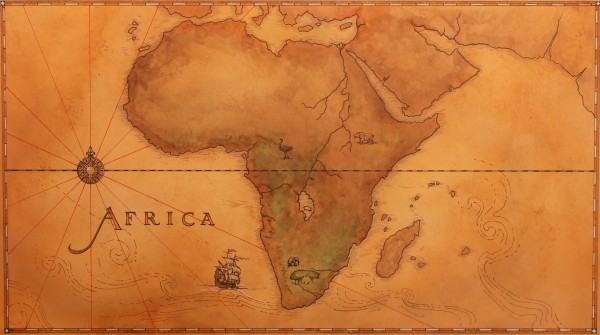
The Power of One Title Art Movie Title Sequence 1, c. 1991
Acrylic on Illustration board
12.25 x 22 in
-

The Princess Bride Poster Concept, c. 1986
Graphite on Paper
7.5 x 12 in
-
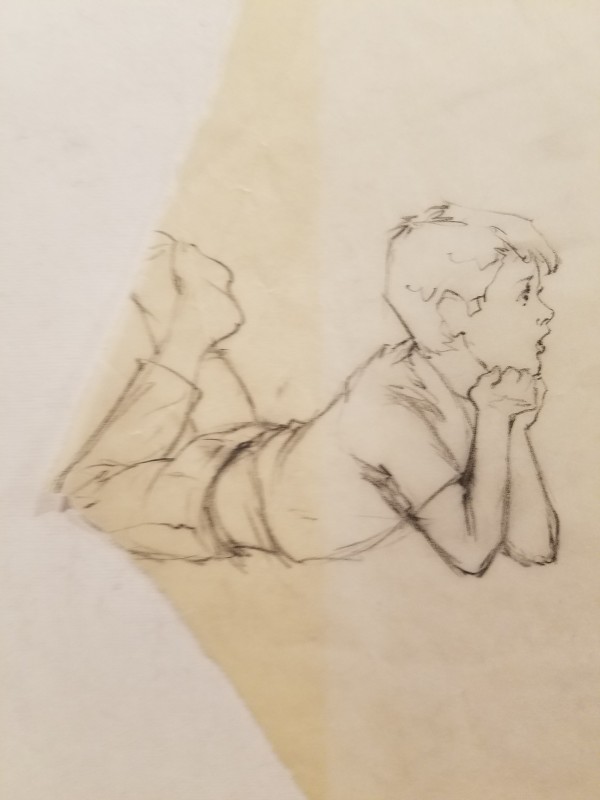
The Princess Bride Poster Concept, Grandson, c. 1986
Graphite on Paper
3 x 3.75 in
-
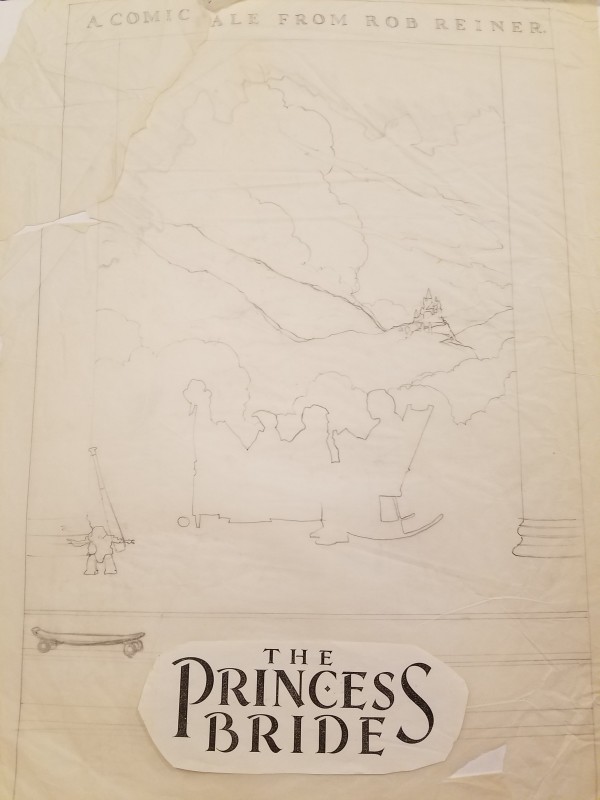
The Princess Bride Poster Concept, Layout Sketch With Printed Title Over Graphite, Close to Final, c. 1986
Graphite on Paper
19.5 x 12.5 in
-
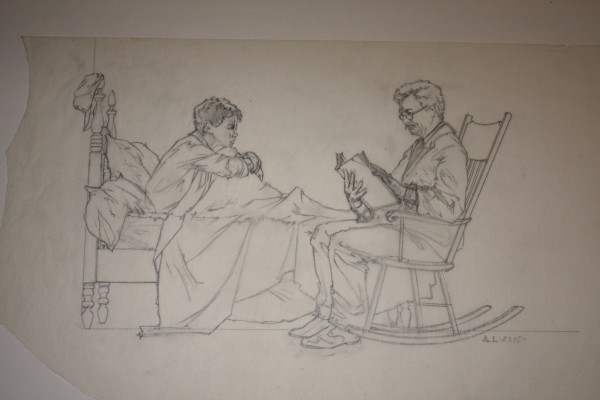
The Princess Bride Poster Concept, Poses Used for Final Poster, c. 1986
Graphite on Paper
13.5 x 8 in
-
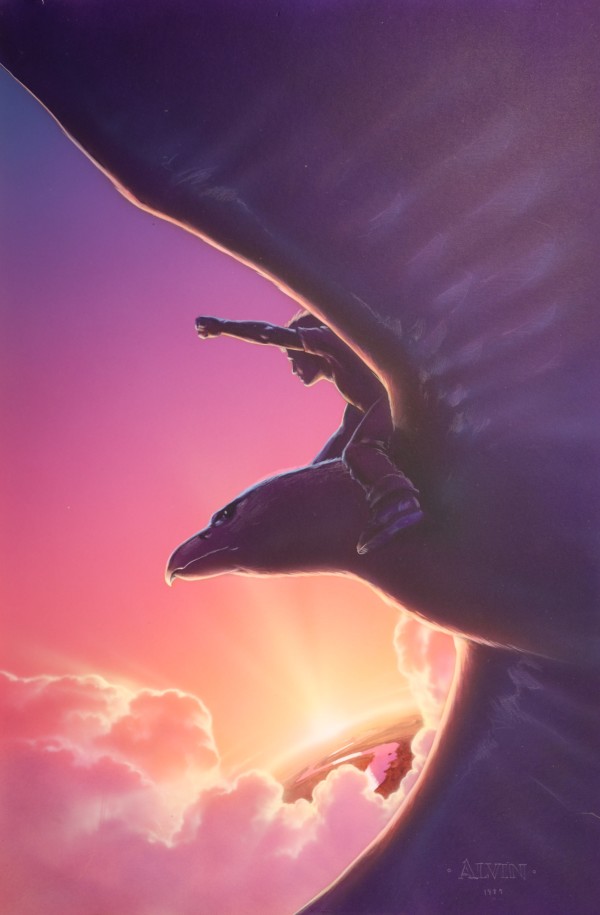
The Rescuers Down Under Color Key Art, c. 1989
Acrylic on Illustration board
30 x 20 in
-
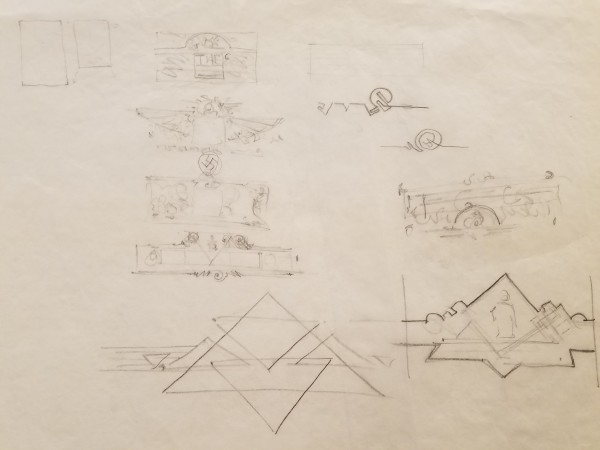
The Rocketeer Concept, Nazi Building Background Study, c. 1990
Graphite on Paper
11 x 15 in
-

The Rocketeer Concept, Three Pieces, c. 1990
Graphite on Paper
7.75 x 9.75 in
-
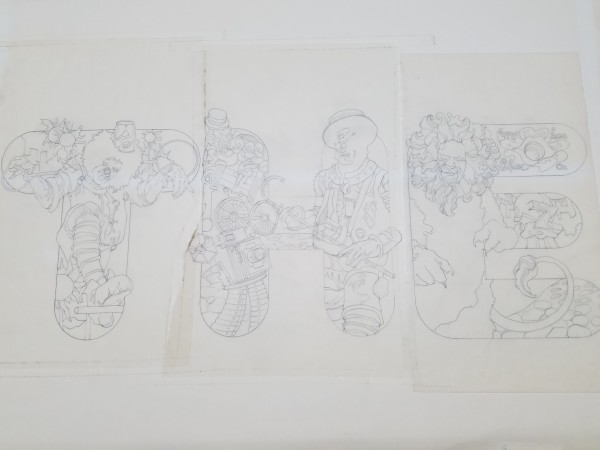
The Wiz Poster Concept "THE", c. 1977
Graphite on Paper
10 x 24 in
-
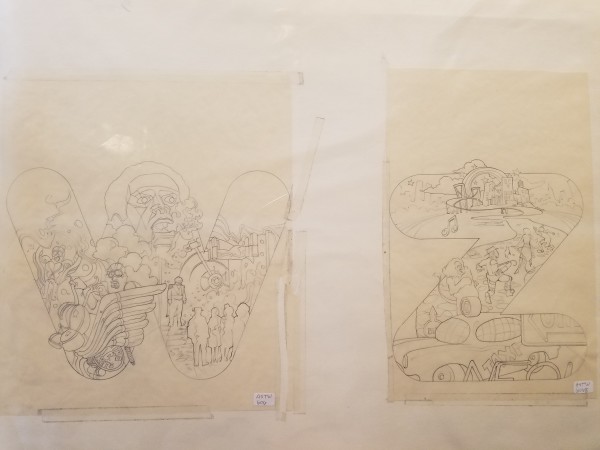
The Wiz Poster Concept "W" and "Z", c. 1977
Graphite on Paper
9.25 x 24 in
-
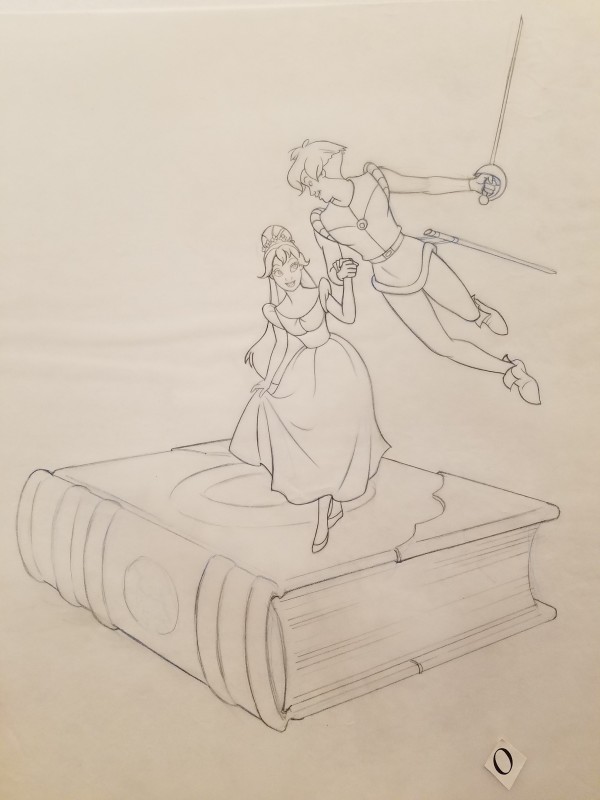
Thumbelina Poster Concept, Flying Prince & Princess, c. 1989
Graphite on Paper
15 x 11.5 in
-
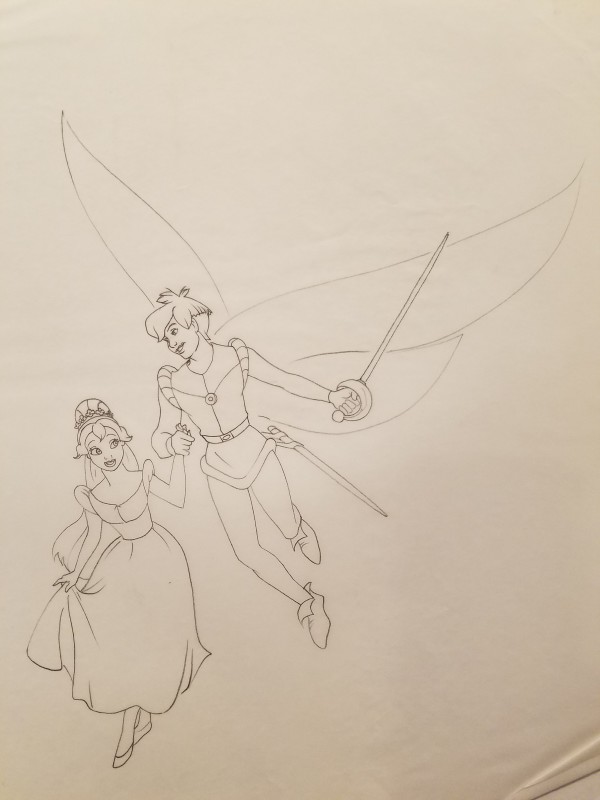
Thumbelina Poster Concept, Pose in Final, c. 1989
Graphite on Paper
12.25 x 11.75 in
-
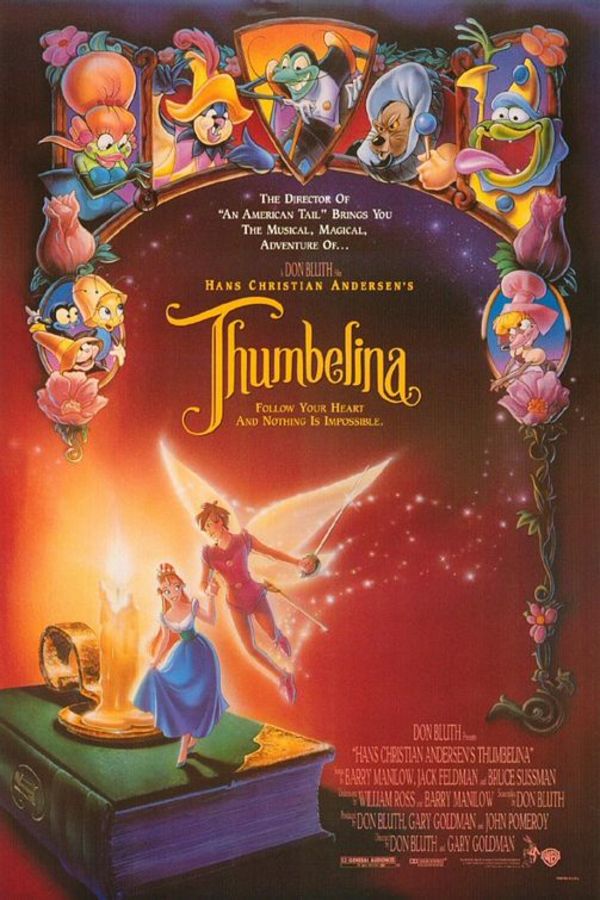
Thumbelina Theatrical Release Poster, c. 1993
40 x 27 in
-
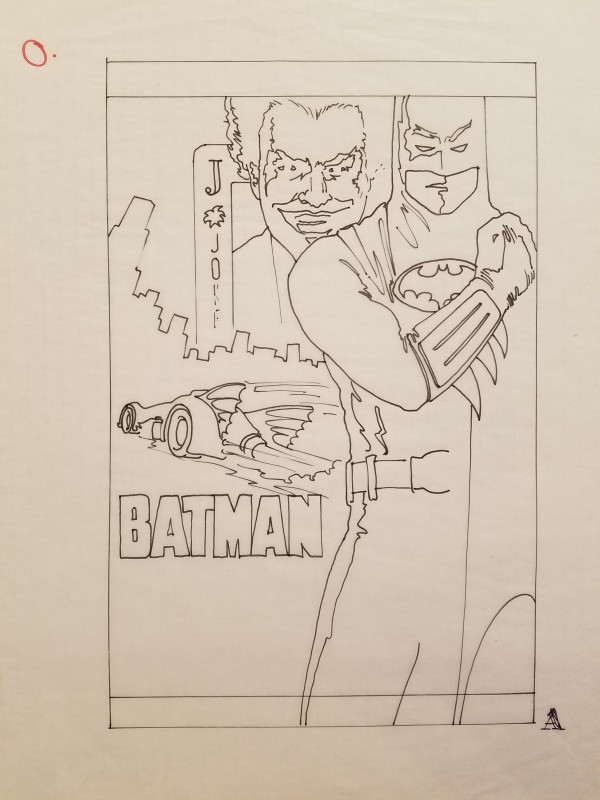
Tim Burton's Batman Poster Concept in Pen, Final Layout, c. 1988
Ink On Paper
10 x 6.5 in
-

To Have and Have Not Humphrey Bogart and Lauren Bacall: Sepia Portrait, c. 2003
Acrylic and Prismacolor pencil on Canson Paper
10 x 11.5 in
-
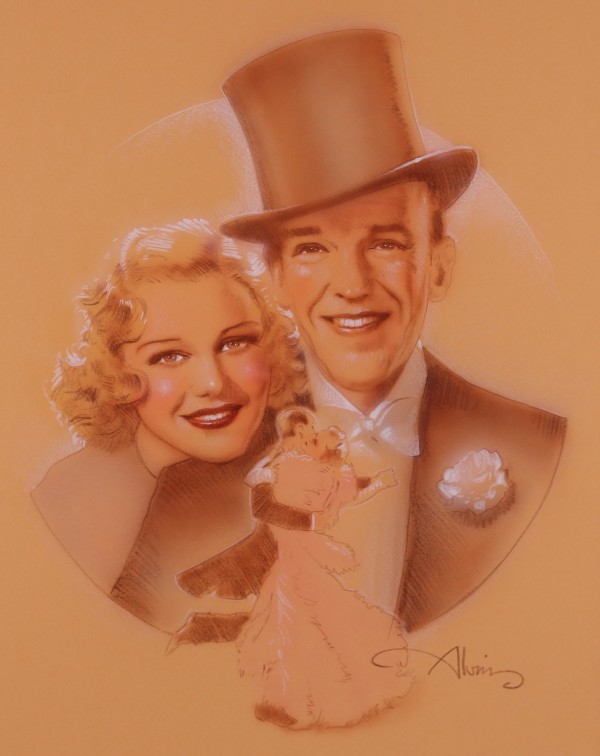
Top Hat Ginger Rogers and Fred Astaire: Sepia Portrait, c. 2003
Graphite and Prismacolor Pencil on Canson Paper
13 x 9.5 in
-

Treasure Planet Concept Art Solar Sailing, c. 2001
Acrylic and Prismacolor pencil on Canson Paper
8 x 12.5 in
-

Troll in Central Park Color Comp, c. 1993
Acrylic and Prismacolor Pencil on Illustration board
30 x 20 in
-
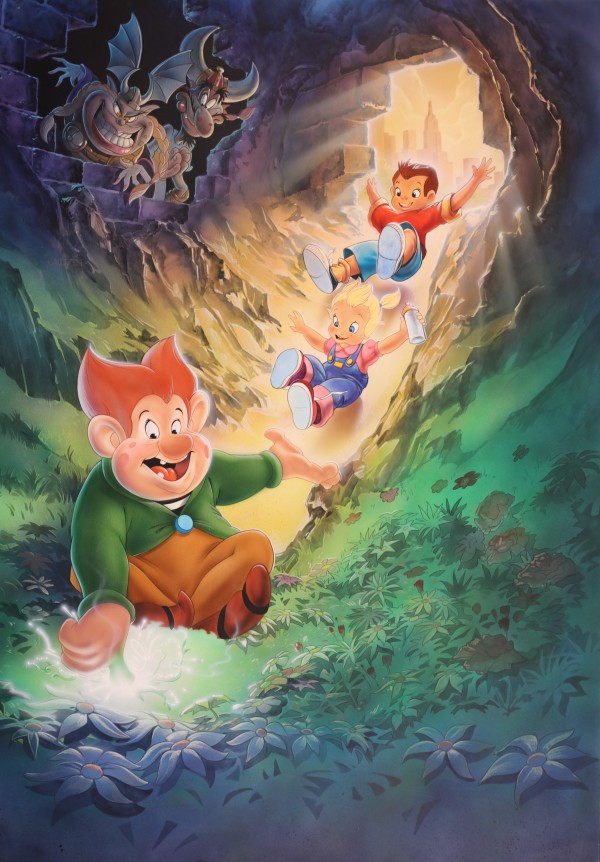
Troll in Central Park Key Art, c. 1993
Acrylic and Prismacolor Pencil on Illustration board
40 x 28.5 in
-
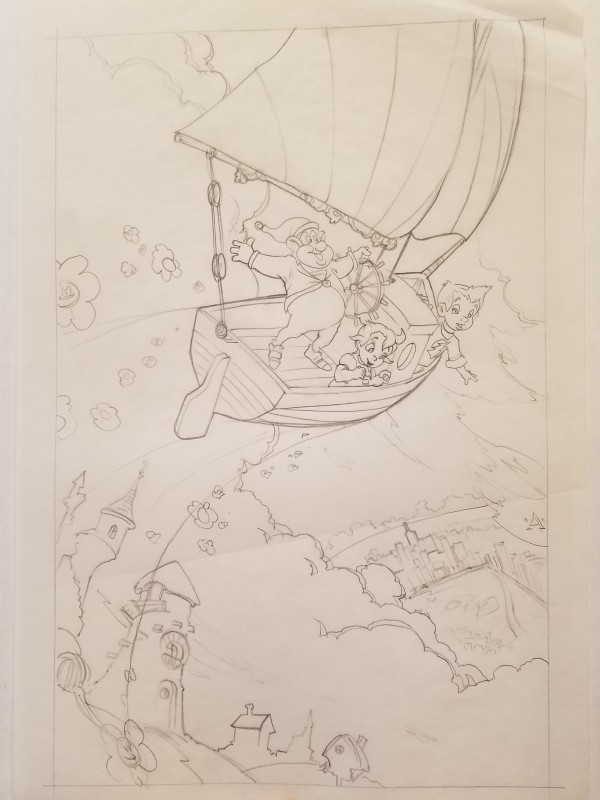
Troll in Central Park Poster Concept, Troll & Kids, c. 1993
Graphite on Paper
12.5 x 8 in
-

Troll in Central Park Poster Concept, Troll & Kids Sliding, c. 1993
Graphite on Paper
12.5 x 8 in
-

Troll in Central Park Poster Concept, Troll & Kids Under Tree, c. 1993
Graphite on Paper
12.5 x 8 in
-
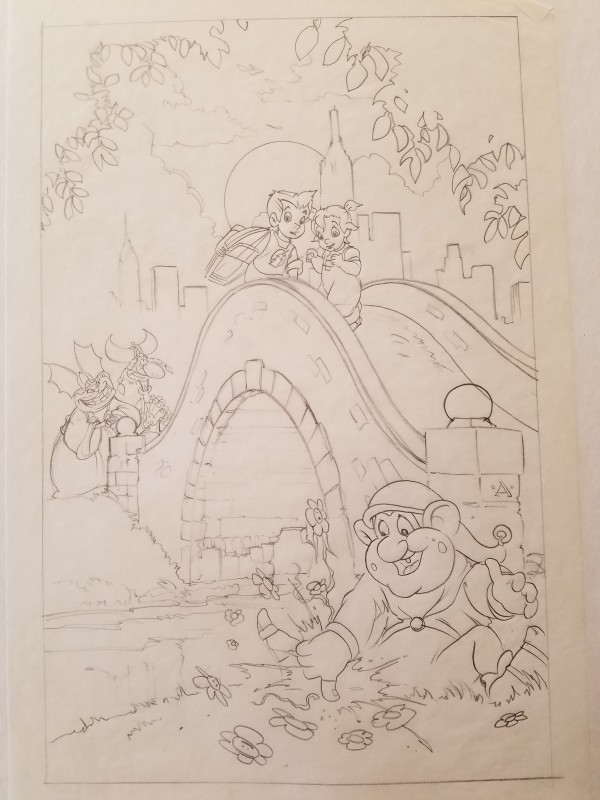
Troll in Central Park Poster Concept, Troll & Kids With Boat, c. 1993
Graphite on Paper
12.5 x 8 in
-

Troll in Central Park Poster Concept, Troll in Bush, c. 1993
Graphite on Paper
12.5 x 8 in
-
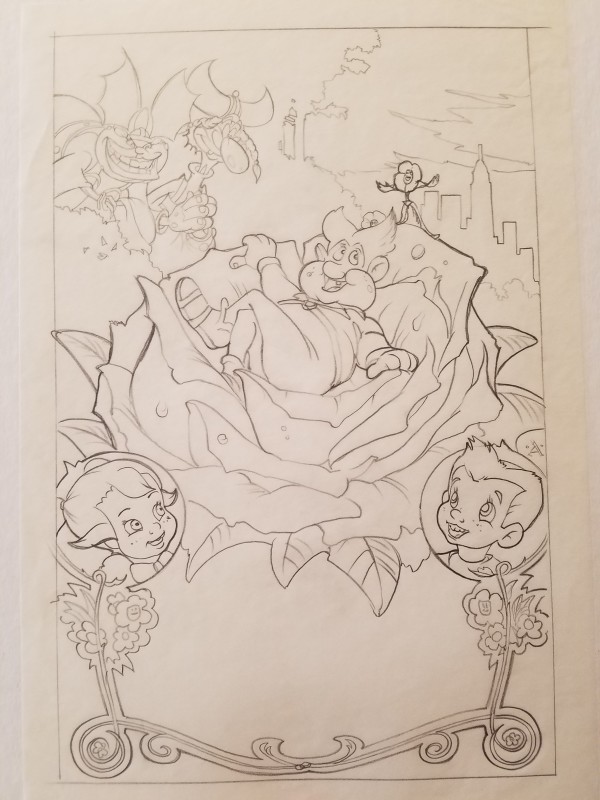
Troll in Central Park Poster Concept, Troll Lounging, c. 1993
Graphite on Paper
12.5 x 8 in
-

TV's 1-800-Missing Key Art for Ad Campaign, 2002
Acrylic and Prismacolor on Illustration board
20 x 15 in
-
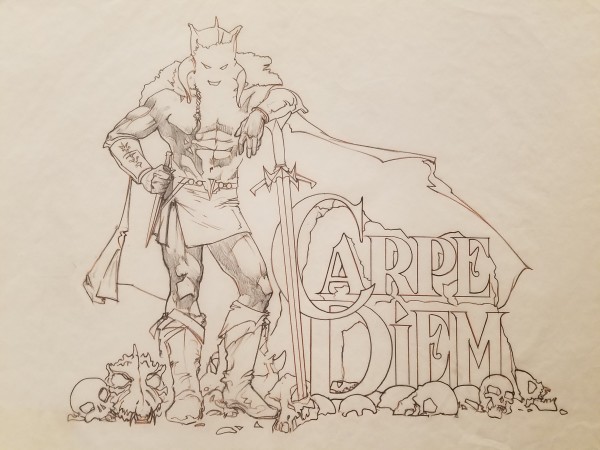
Virtual World Video Game Graphite close to Key Art, Carpe Diem, c. 1989
Graphite on Paper
10.25 x 12 in
-

Virtual World Video Game Graphite for Key Art, Call of the Wild, c. 1989
Graphite on Paper
8.75 x 13.75 in
-
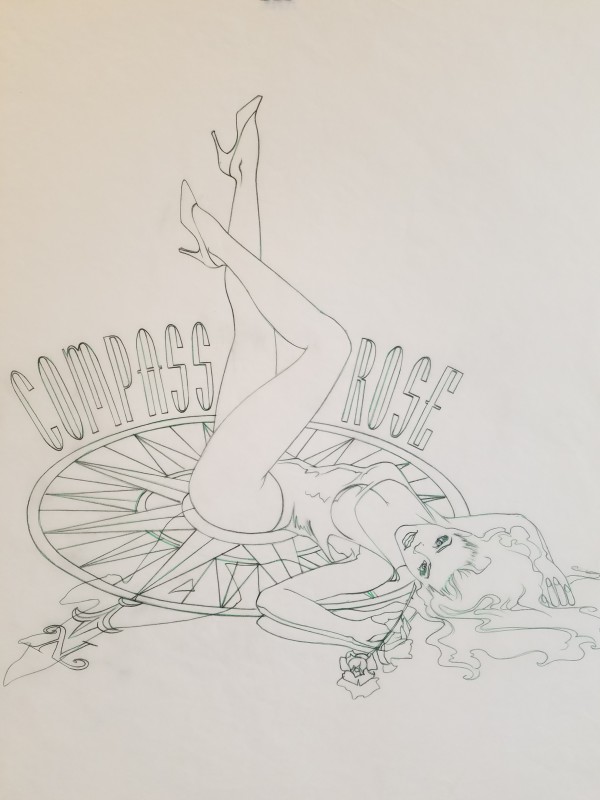
Virtual World Video Game Graphite for Key Art, Compass Rose, c. 1989
Graphite on Paper
12.25 x 12 in
-

Virtual World Video Game Graphite for Key Art, Flying Dutchman, c. 1989
Graphite on Paper
13.5 x 11 in
-

Virtual World Video Game Graphite for Key Art, Martian Belle, c. 1989
Graphite on Paper
14.75 x 11 in
-
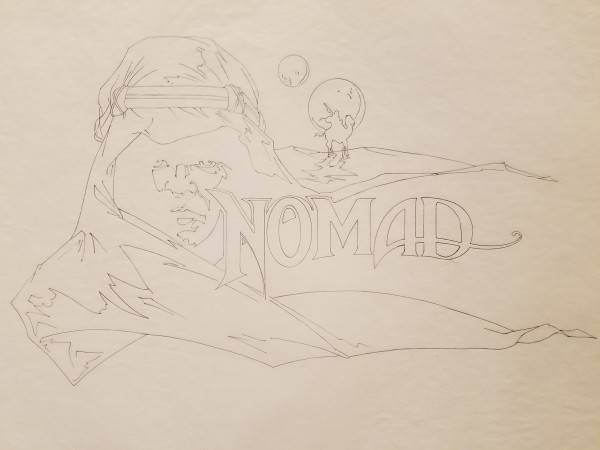
Virtual World Video Game Graphite for Key Art, Nomad, c. 1989
Graphite on Paper
9 x 14.5 in
-
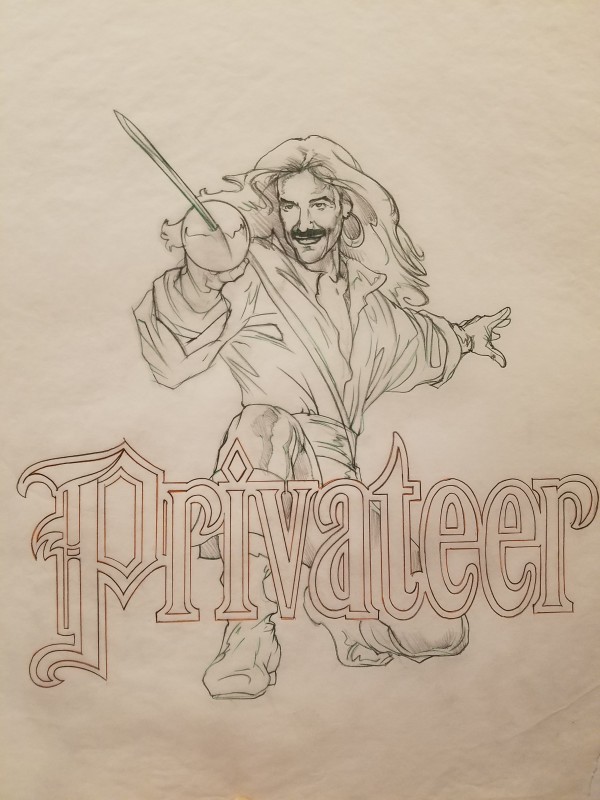
Virtual World Video Game Graphite for Key Art, Privateer, c. 1989
Graphite on Paper
11.75 x 11 in
-
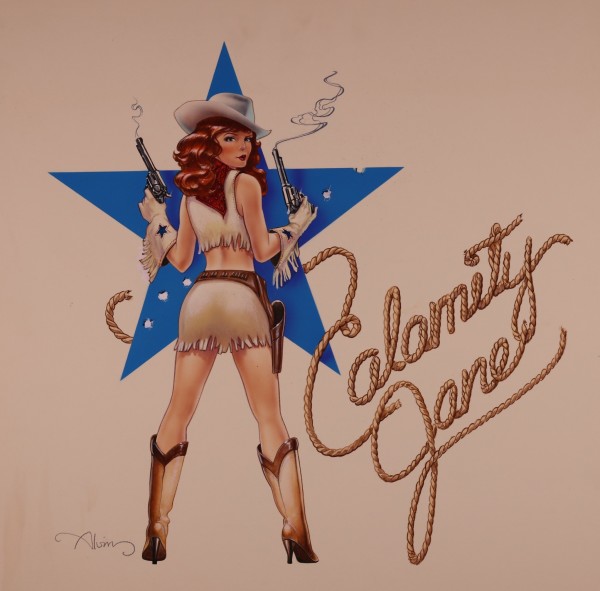
Virtual World Video Game Key Art, Calamity Jane, c. 1989
Acrylic and Prismacolor pencil on illustration board
14 x 14 in
-

Virtual World Video Game Key Art, Call of the Wild, c. 1989
Acrylic and Prismacolor pencil on illustration board
9.5 x 13.5 in
-

Virtual World Video Game Key Art, Flying Blind, c. 1989
Acrylic and Prismacolor pencil on illustration board
13 x 13.75 in
-

Virtual World Video Game Key Art, Flying Dutchman, c. 1989
Acrylic and Prismacolor pencil on illustration board
13.5 x 10.5 in
-
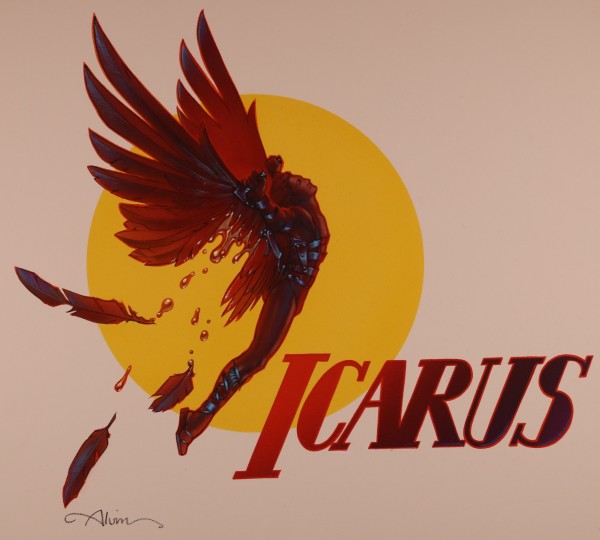
Virtual World Video Game Key Art, Icarus, c. 1989
Acrylic and Prismacolor pencil on illustration board
13.25 x 14.5 in
-
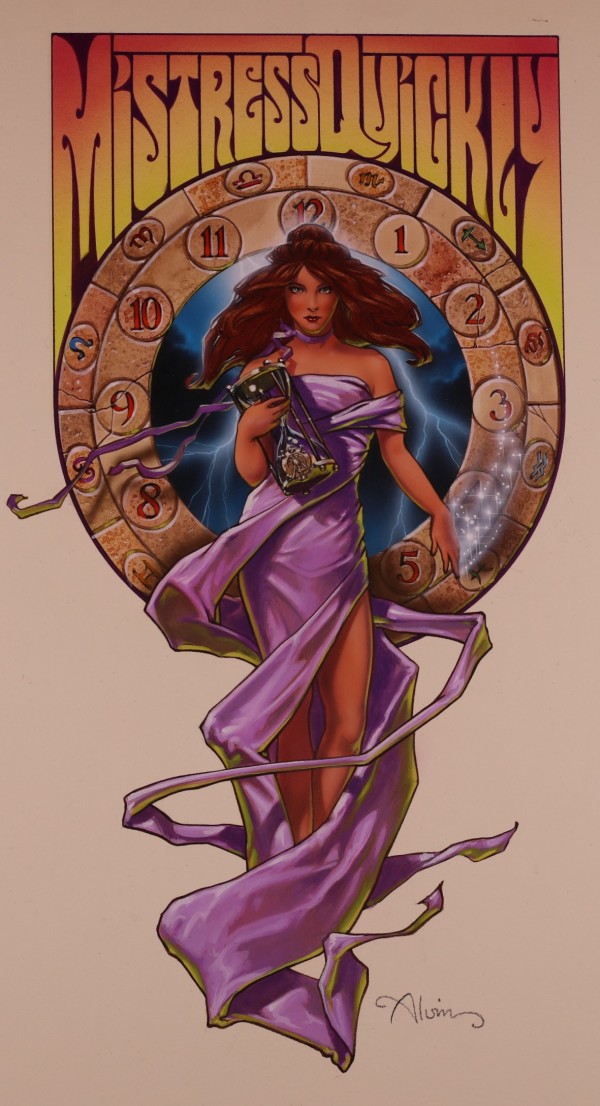
Virtual World Video Game Key Art, Mistress Quickly, c. 1989
Acrylic and Prismacolor pencil on illustration board
15 x 8 in
-

Virtual World Video Game Key Art, Nomad, c. 1989
Acrylic and Prismacolor pencil on illustration board
9 x 14.5 in
-
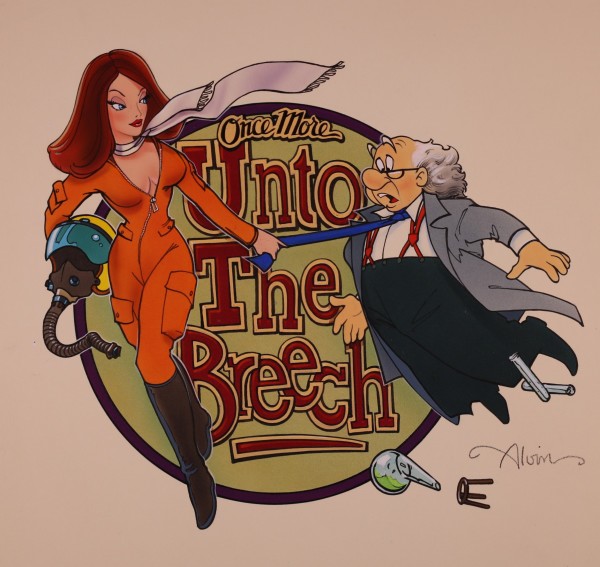
Virtual World Video Game Key Art, Once More Unto the Breech Title, c. 1989
Acrylic and Prismacolor pencil on illustration board
11 x 12.5 in
-
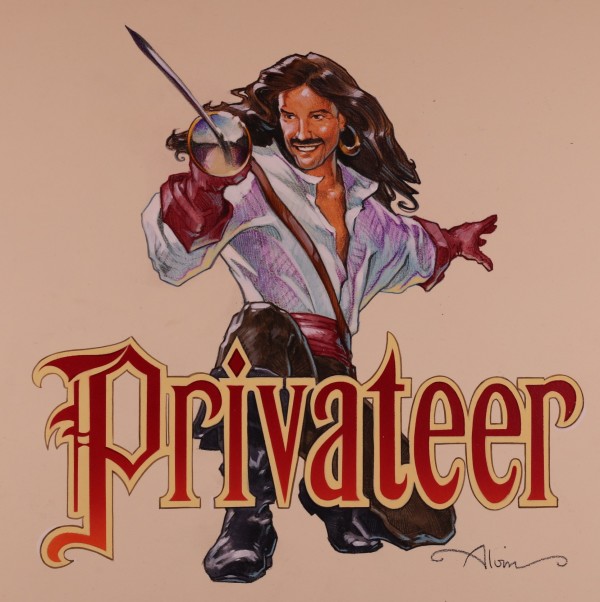
Virtual World Video Game Key Art, Privateer, Privateer, c. 1989
Acrylic and Prismacolor pencil on illustration board
11.5 x 11.5 in
-
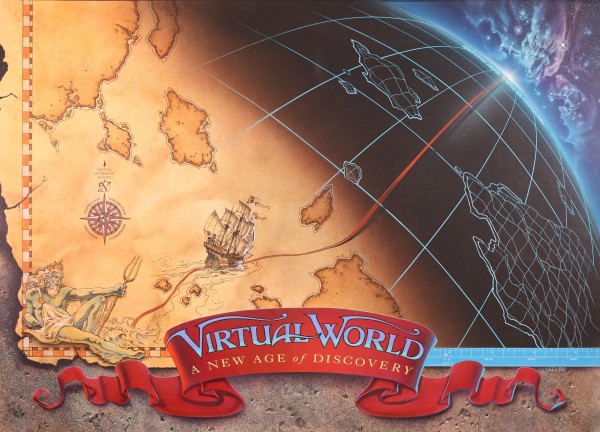
Virtual World Video Game Poster Key Art, c. 1989
Acrylic and Prismacolor pencil on illustration board
26 x 36 in
-

Waterworld Poster Concept, Dirt, c. 1994
Graphite on Paper
9.75 x 6.25 in
-

Waterworld Poster Concept, Fish Swimming Around Statue of Liberty, c. 1994
Graphite on Paper
9.75 x 6.25 in
-
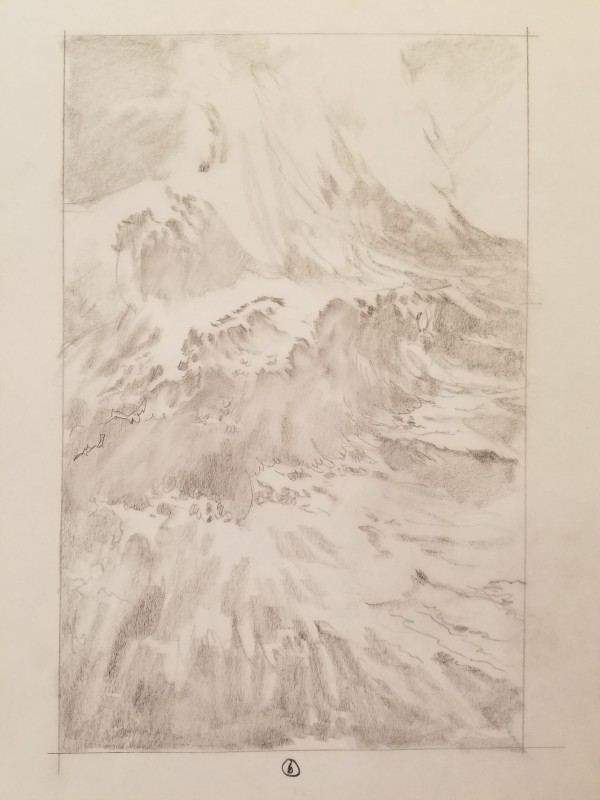
Waterworld Poster Concept, Giant Crashing Waves, "6", c. 1994
Graphite on Paper
9.75 x 6.25 in
-
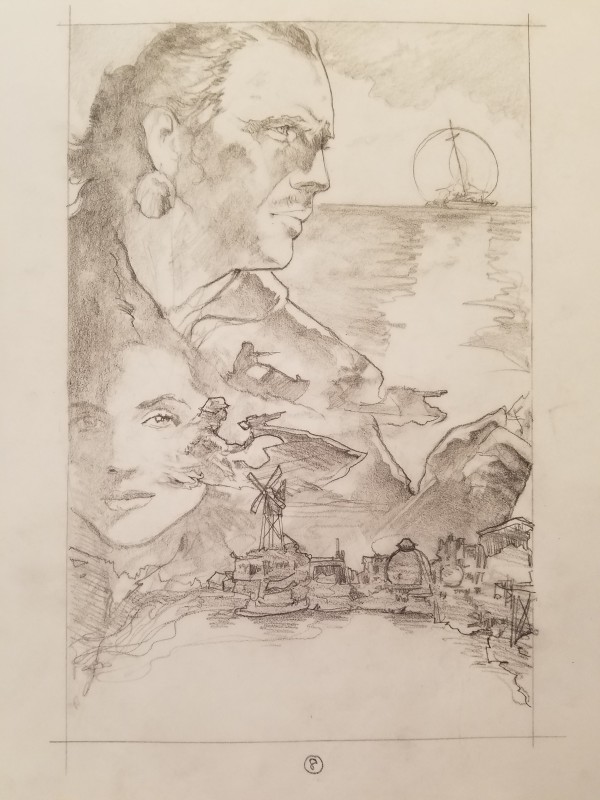
Waterworld Poster Concept, Mariner and Helen, c. 1994
Graphite on Paper
9.75 x 6.25 in
-
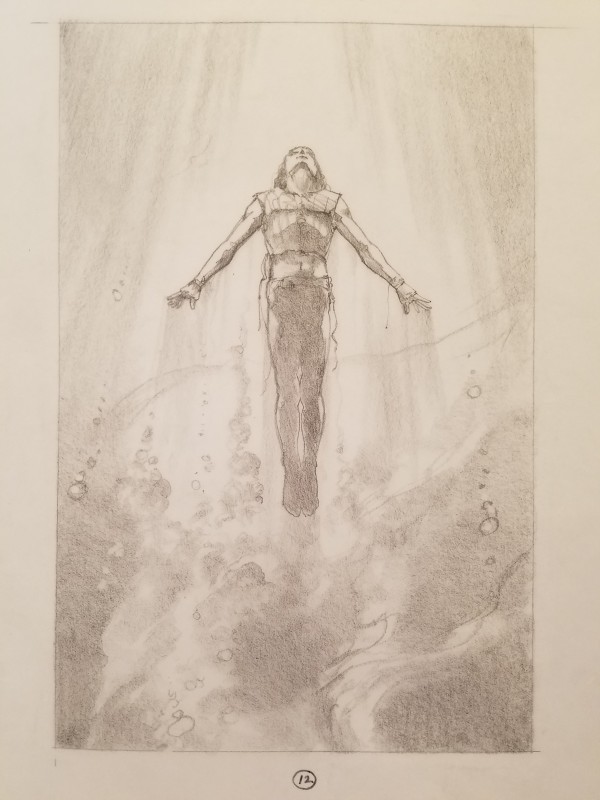
Waterworld Poster Concept, Mariner Ascending, c. 1994
Graphite on Paper
9.75 x 6.25 in
-

Waterworld Poster Concept, Mariner Diving, c. 1994
Graphite on Paper
9.75 x 6.25 in
-
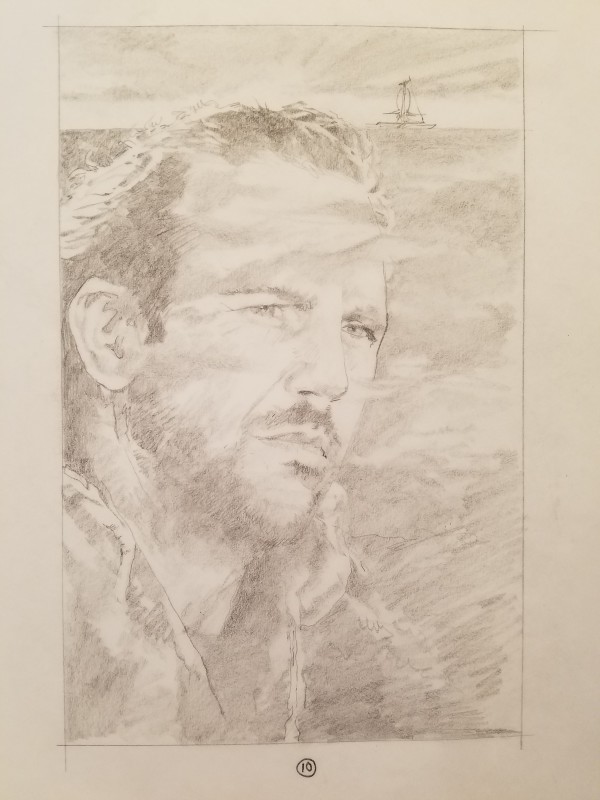
Waterworld Poster Concept, Mariner Looking Into Distance, c. 1994
Graphite on Paper
9.75 x 6.25 in
-
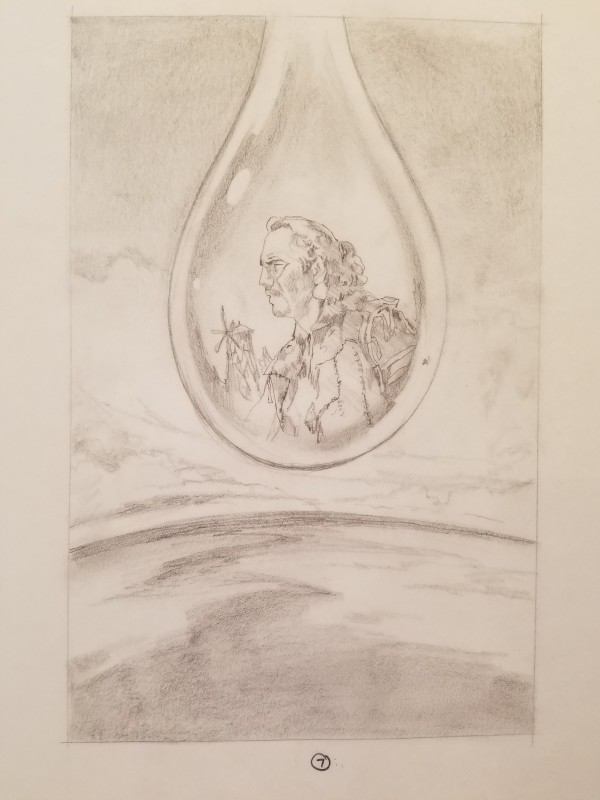
Waterworld Poster Concept, Mariner Reflected in Water, c. 1994
Graphite on Paper
9.75 x 6.25 in
-
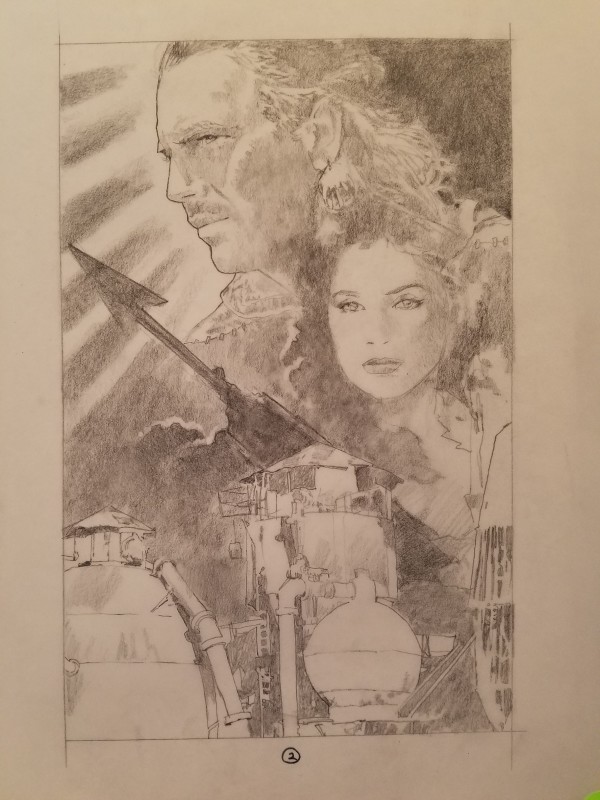
Waterworld Poster Concept, Mariner, Helen & Settlement, c. 1994
Graphite on Paper
9.75 x 6.25 in
-

Waterworld Poster Concept, Raft Floating, c. 1994
Graphite on Paper
9.75 x 6.25 in
-

Waterworld Poster Concept, Smoking Settlement, c. 1994
Graphite on Paper
9.75 x 6.25 in
-
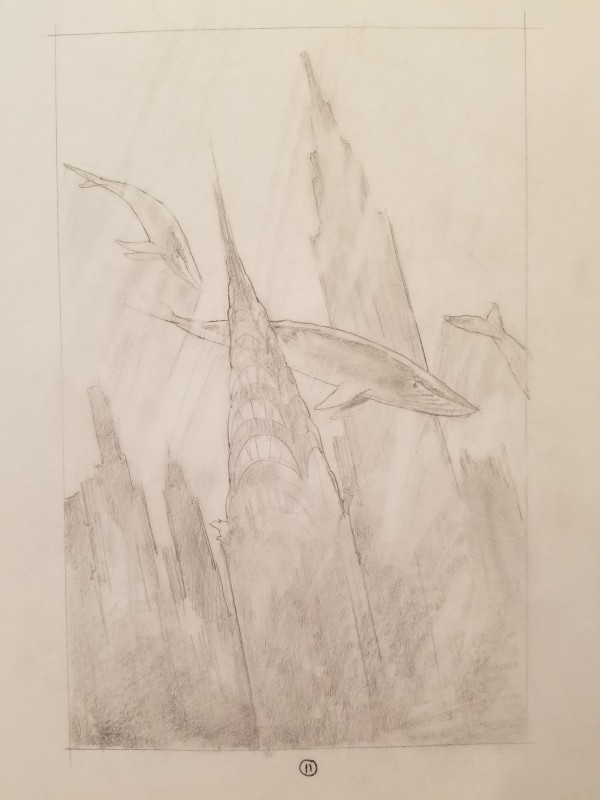
Waterworld Poster Concept, Whales Swimming, c. 1994
Graphite on Paper
9.75 x 6.25 in
-
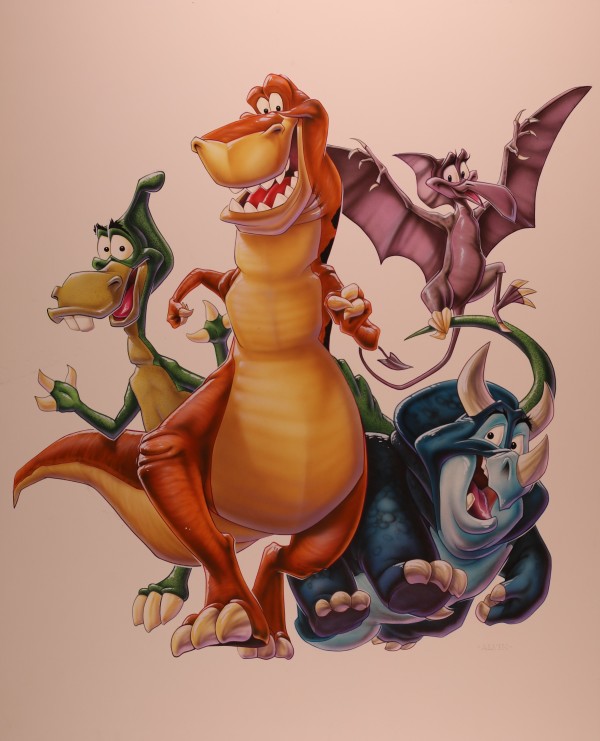
We're Back! A Dinosaur's Story Finish, c. 1992
Acrylic and Prismacolor pencil on illustration board
31 x 25 in
-
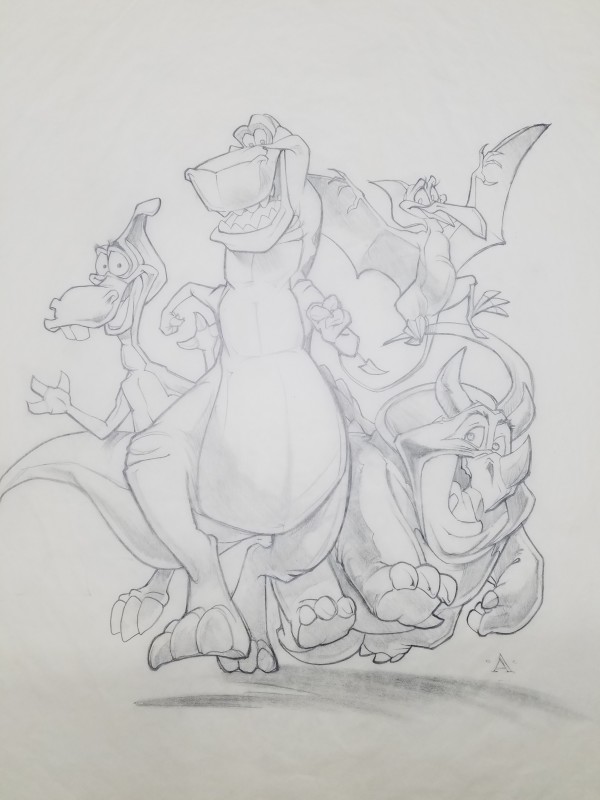
We're Back! A Dinosaur's Story Poster Concept Used for Key Art, c. 1992
Graphite on Paper
14 x 13 in
-
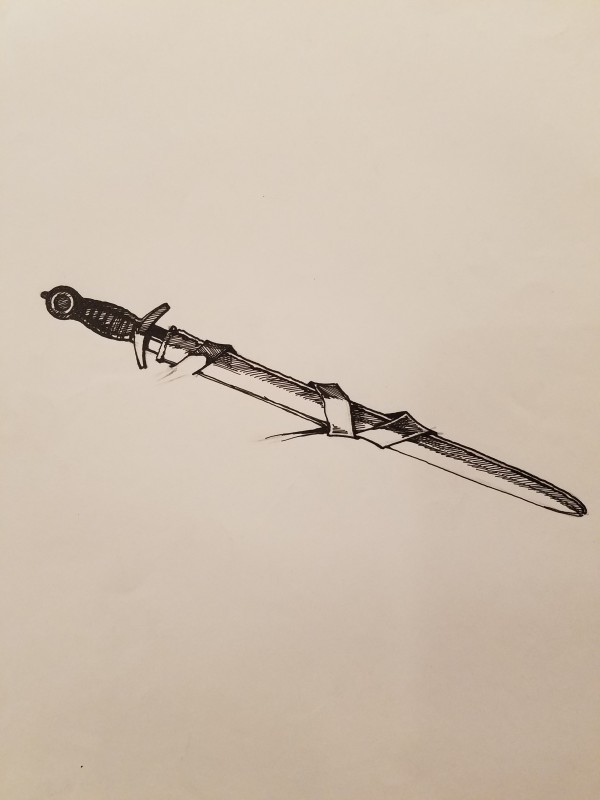
Willow Concept, Sword in Sheath in Pen, c. 1987
Ink On Paper
3 x 6 in
-

Willow in Pen, Holding Elora, c. 1987
Ink On Paper
5.75 x 5 in
-

Willow in Pen, Sword Pointing Bottom Right, c. 1987
Ink On Paper
6.5 x 5.25 in
-
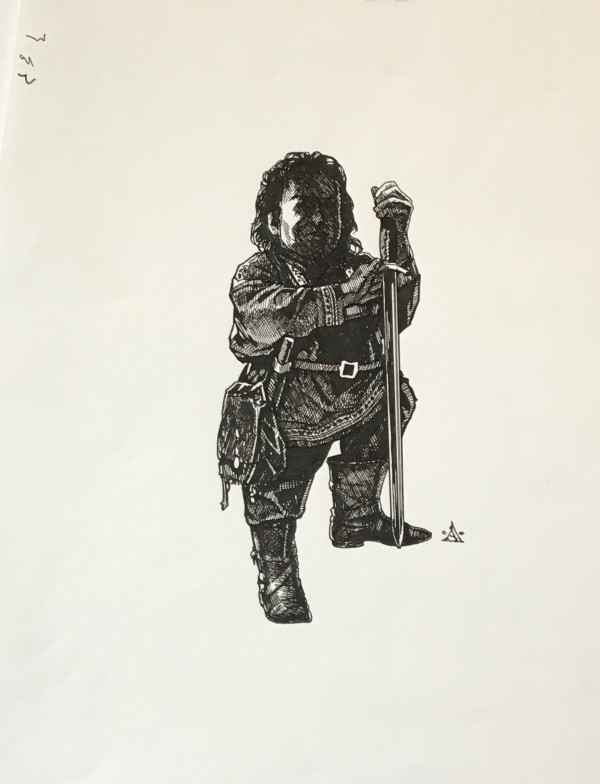
Willow in Pen, Sword Pointing Straight Down, c. 1987
Ink On Paper
6.5 x 3.25 in
-
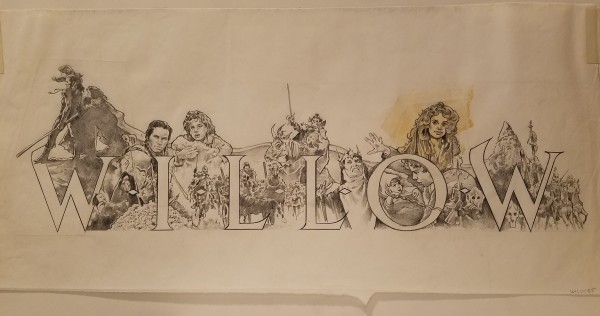
Willow Logo Concept, Characters Throughout Each Letter of Title, c. 1987
Graphite on Paper
6.75 x 22.75 in
-
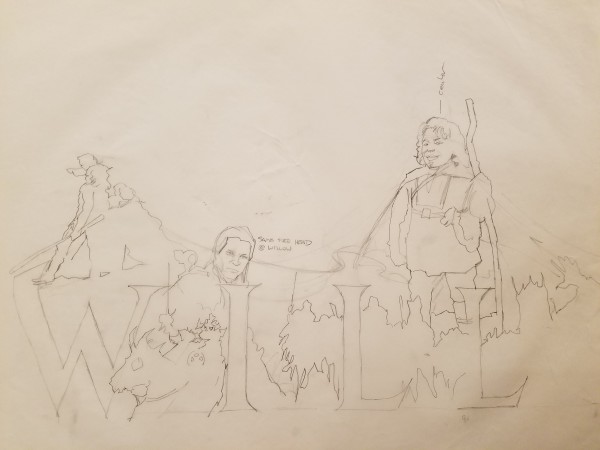
Willow Logo Concept, Outline Sketch of Full Logo Sketch, c. 1987
Graphite on Paper
14 x 22 in
-
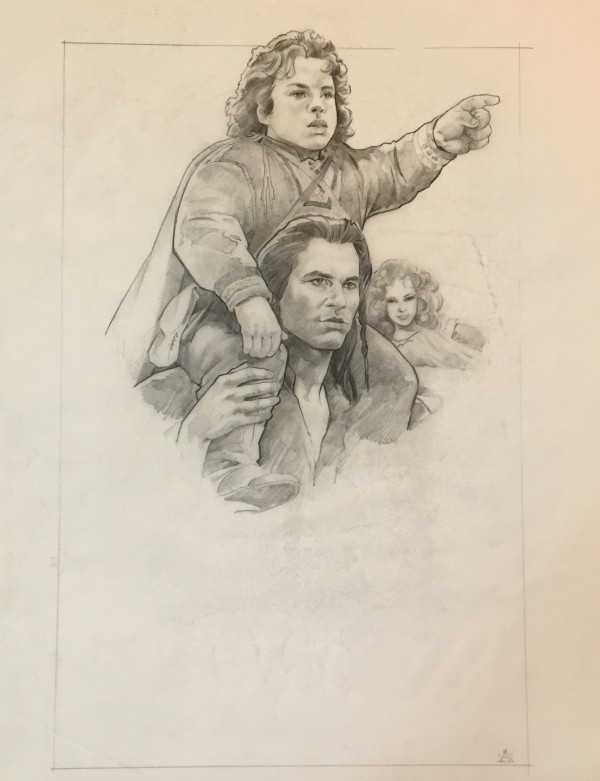
Willow on Madmortigan's Shoulders, Sorsha Behind, c. 1987
Graphite on Paper
13.5 x 11 in
-

Willow Poster Concept, "Forget All You Know or Think You Know", c. 1987
Graphite on Paper
10 x 6 in
-

Willow Poster Concept, "Full-value dynamic group on dark foreground", c. 1987
Graphite on Paper
21.5 x 16 in
-
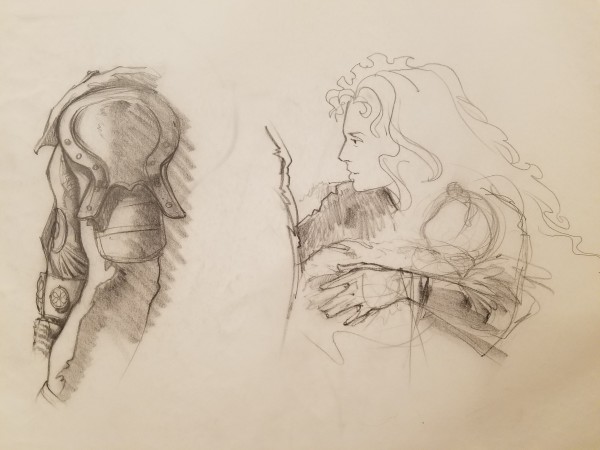
Willow Poster Concept, Armored Arm, c. 1987
Graphite on Paper
10 x 15 in
-
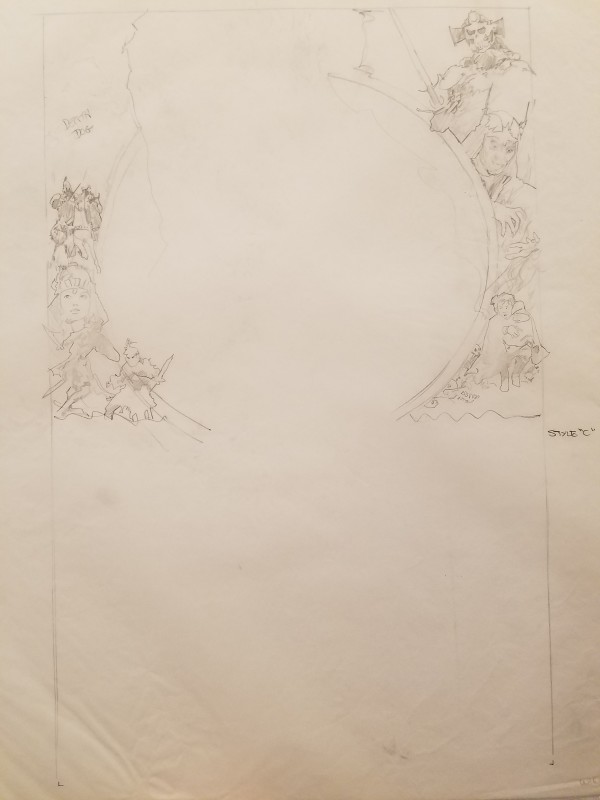
Willow Poster Concept, Border Sketches, "Death Dog", c. 1987
Graphite on Paper
19.5 x 12.25 in
-
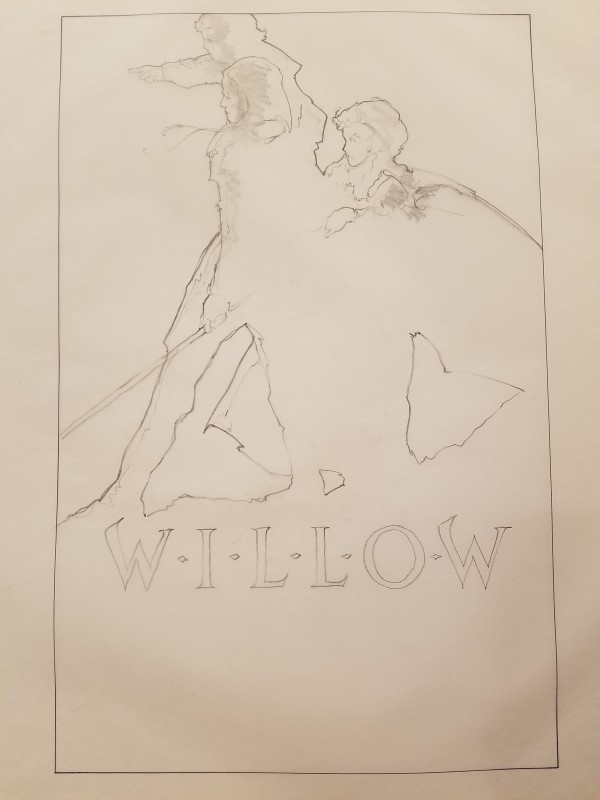
Willow Poster Concept, Cast Looking Left, c. 1987
Graphite on Paper
19.5 x 12.5 in
-
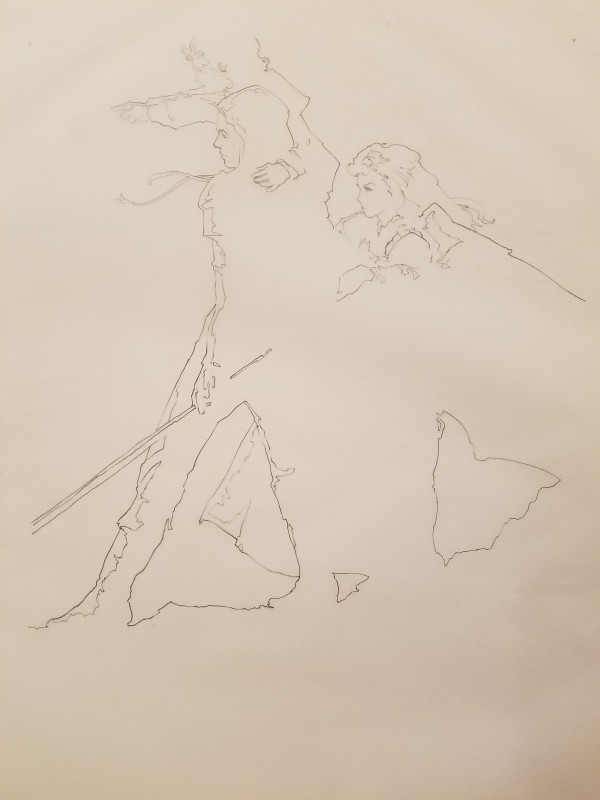
Willow Poster Concept, Cast Looking Left, Pose Used for Final Poster, c. 1987
Graphite on Paper
13.5 x 13.5 in
-
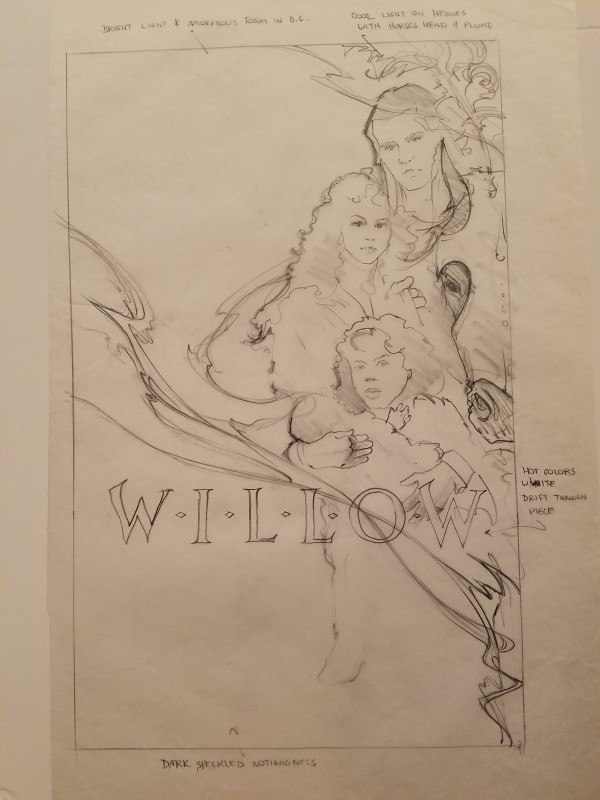
Willow Poster Concept, Cast on Right, Notes Above, c. 1987
Graphite on Paper
21.5 x 14 in
-
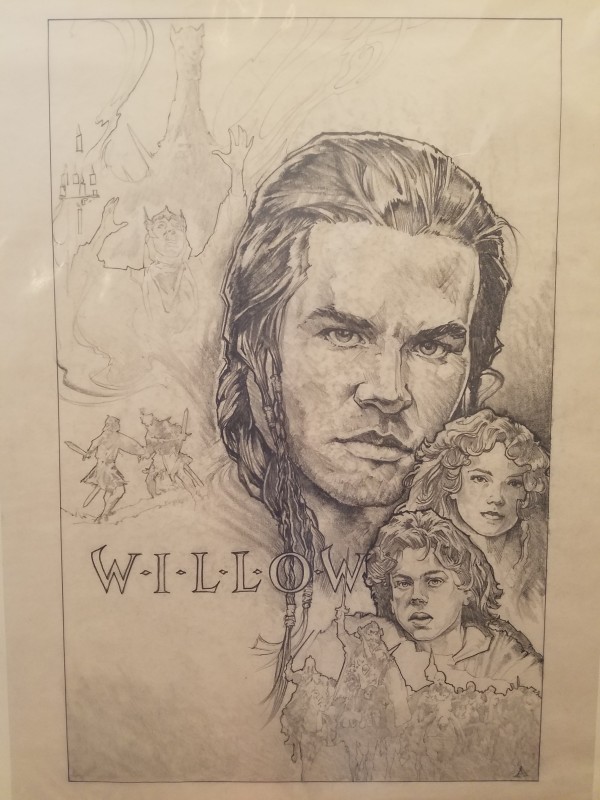
Willow Poster Concept, Character Busts on Right, Title and Smaller Characters on Left, c. 1987
Graphite on Paper
19.5 x 12.5 in
-
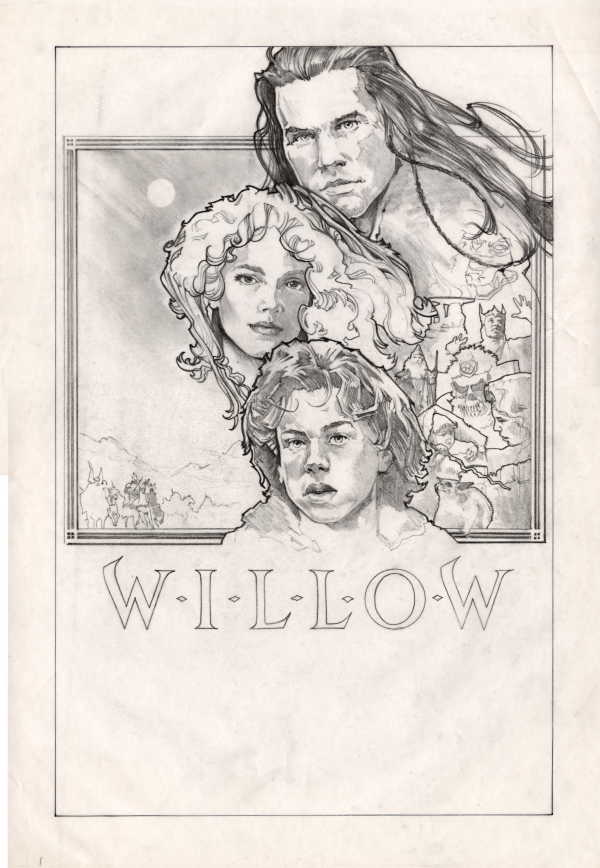
Willow Poster Concept, Character's Heads Emerging from Border, c. 1987
Graphite on Paper
19.5 x 12.5 in
-
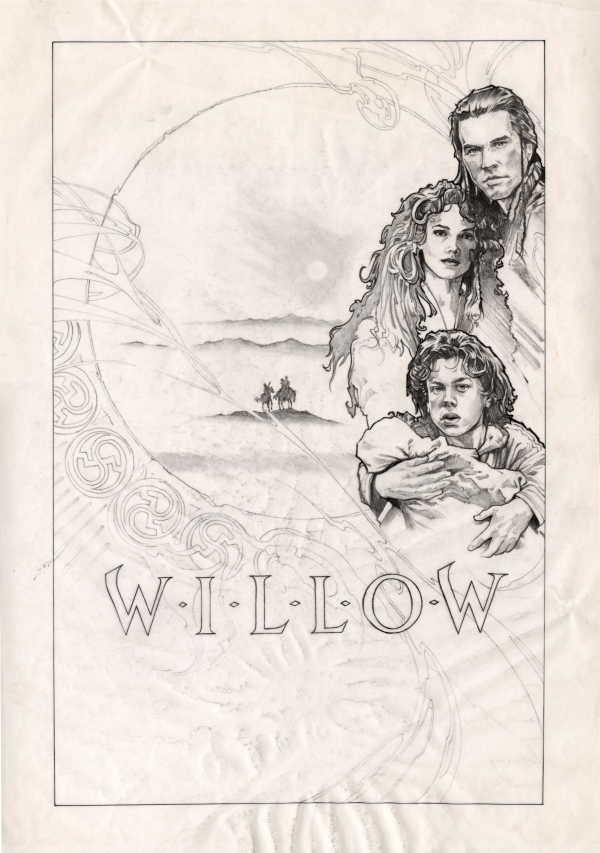
Willow Poster Concept, Circle Border with Characters on Right, c. 1987
Graphite on Paper
19.5 x 12.5 in
-
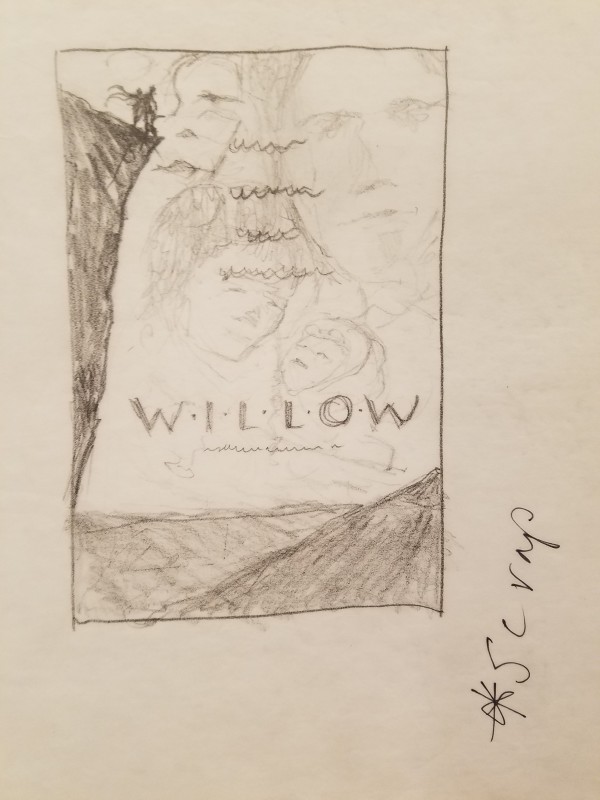
Willow Poster Concept, Cliff, Layout Sketch, notes in ink, c. 1987
Graphite on Paper
6.25 x 4 in
-
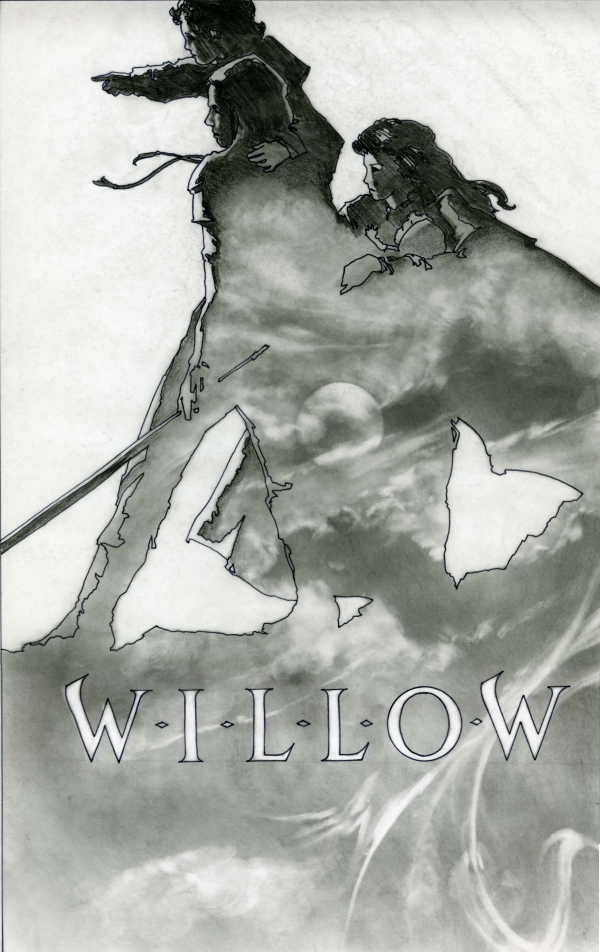
Willow Poster Concept, Close to Final, Darkened Silhouette, c. 1987
Graphite on Paper
19.5 x 12.5 in
-
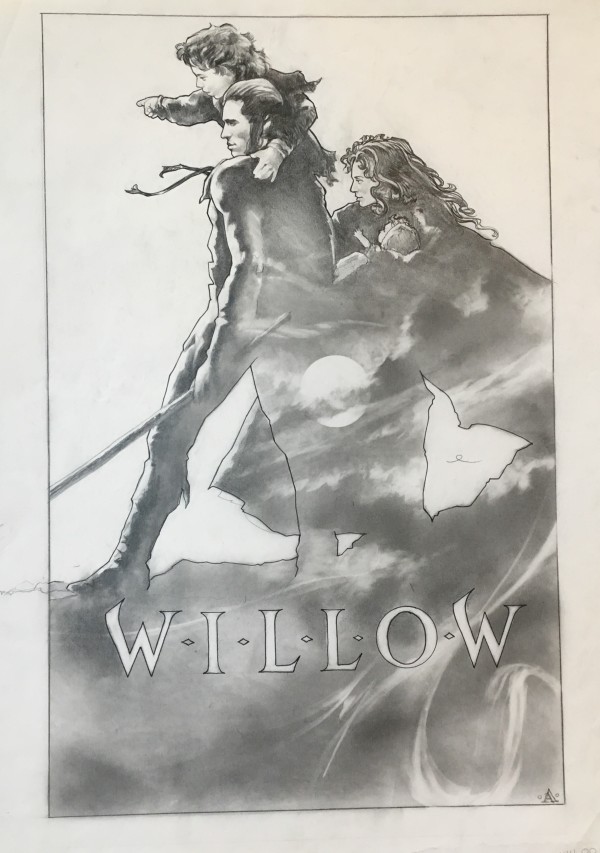
Willow Poster Concept, Close to Final, Lightened Silhouette, c. 1987
Graphite on Paper
19.5 x 12.5 in
-
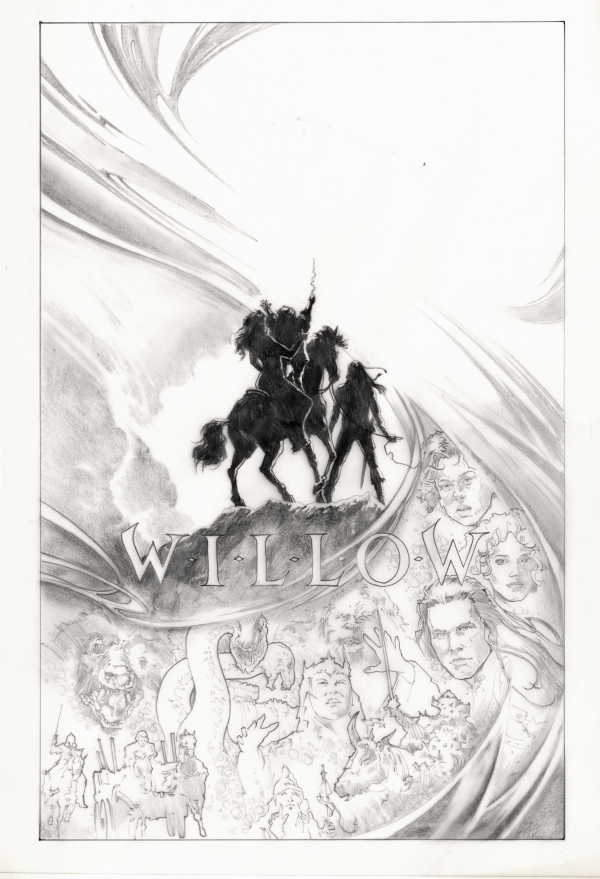
Willow Poster Concept, Collage Below, c. 1987
Graphite on Paper
19.5 x 12.5 in
-

Willow Poster Concept, Compilation Design, c. 1987
Graphite on Paper
20.5 x 15.25 in
-

Willow Poster Concept, Detailed Sketch of Main Cast, c. 1987
Graphite on Paper
19.5 x 12.5 in
-
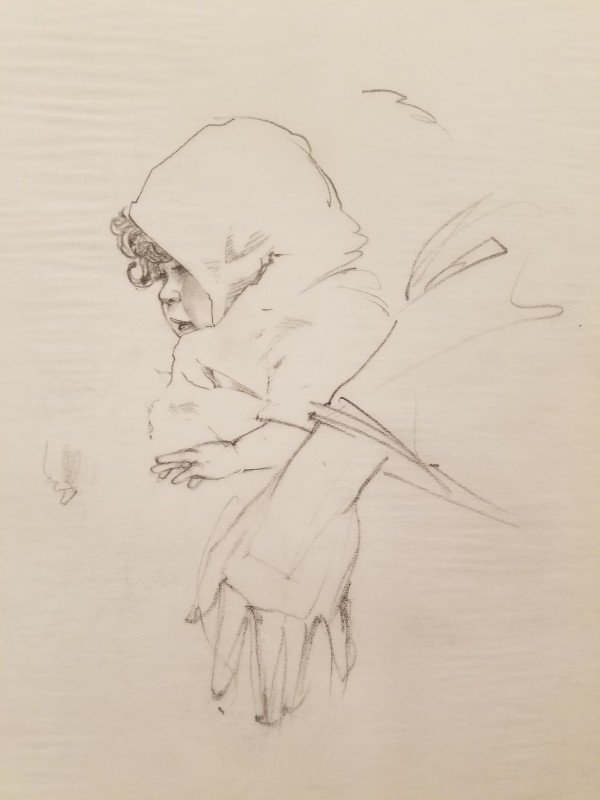
Willow Poster Concept, Elora Facing Left, c. 1987
Graphite on Paper
5.75 x 4.75 in
-

Willow Poster Concept, Four Poster Layout Concepts, c. 1987
Graphite on Paper
7 x 9.5 in
-
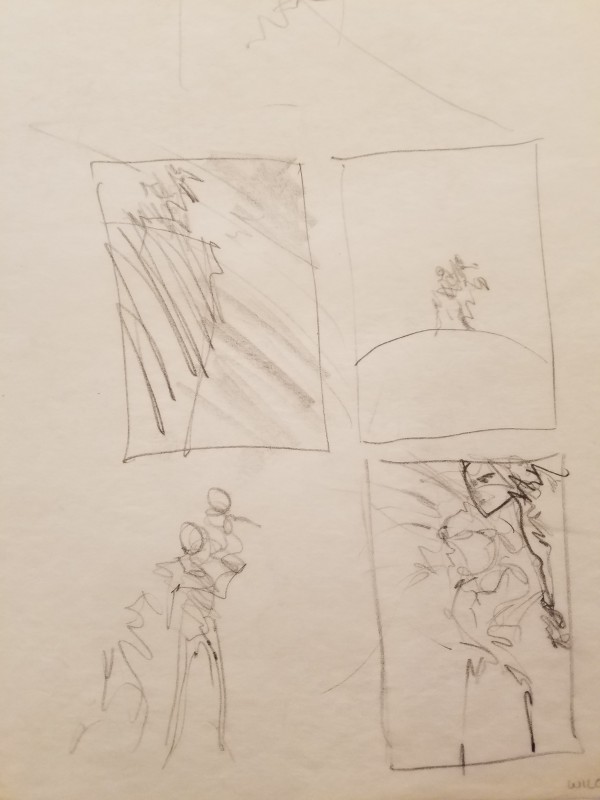
Willow Poster Concept, Four Rough Layout Sketches, c. 1987
Graphite on Paper
11.25 x 6.25 in
-
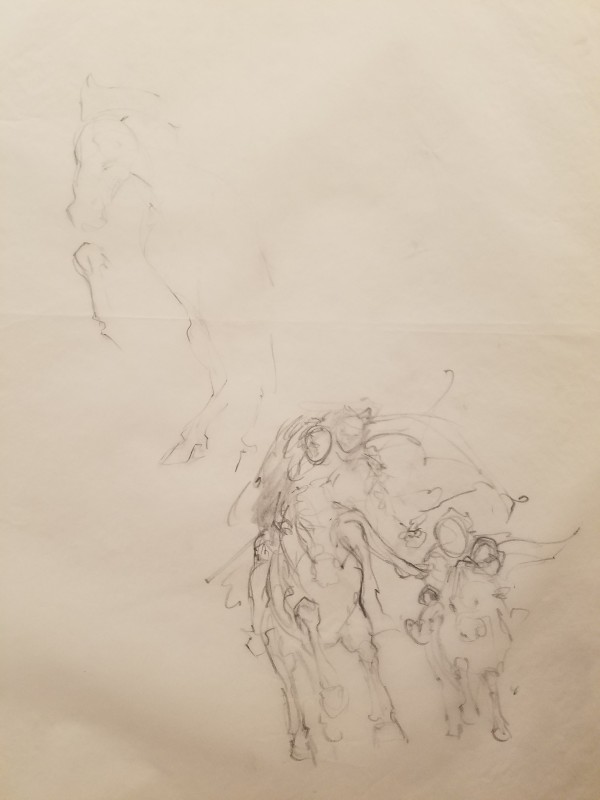
Willow Poster Concept, Horse and Riding Studies, c. 1987
Graphite on Paper
16.5 x 14 in
-
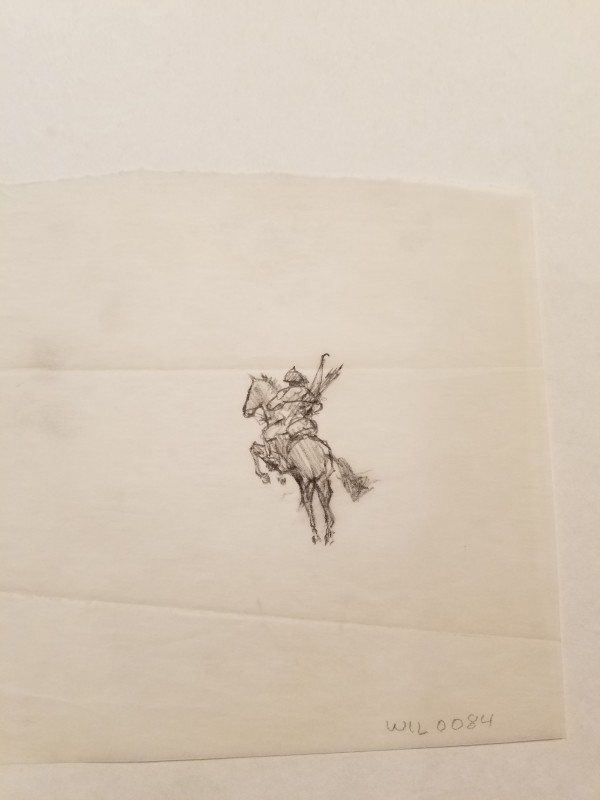
Willow Poster Concept, Horse Archer Riding Away and Left, c. 1987
Graphite on Paper
2 x 1.5 in
-
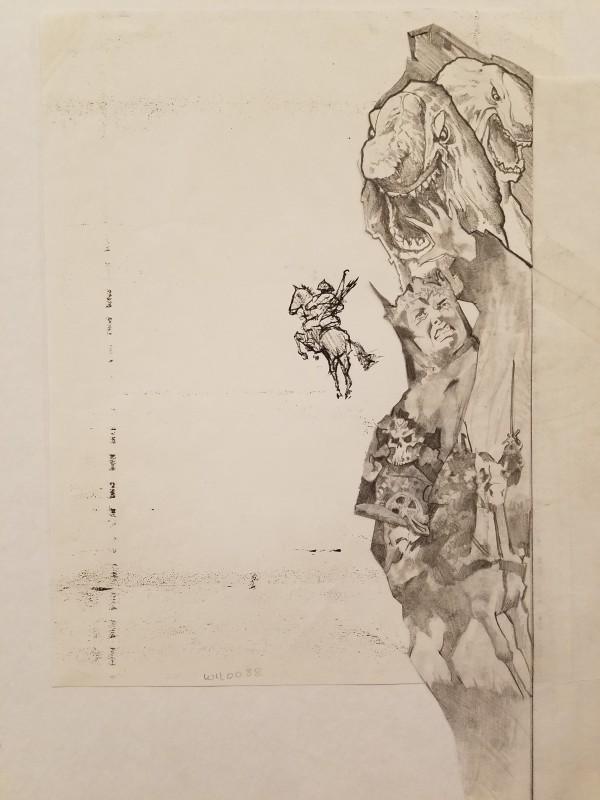
Willow Poster Concept, Horseman in Center, c. 1987
Graphite on Paper
13.5 x 4 in