Portfolio
About
Collections
Log In
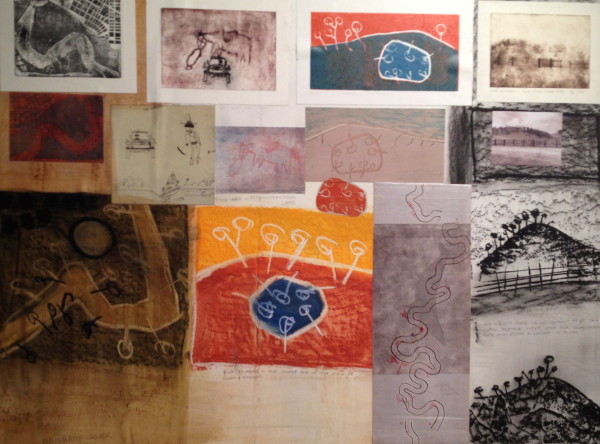
Discovery
Steve Baird
Message
Portfolio
About
Collections
All
Available
Sold
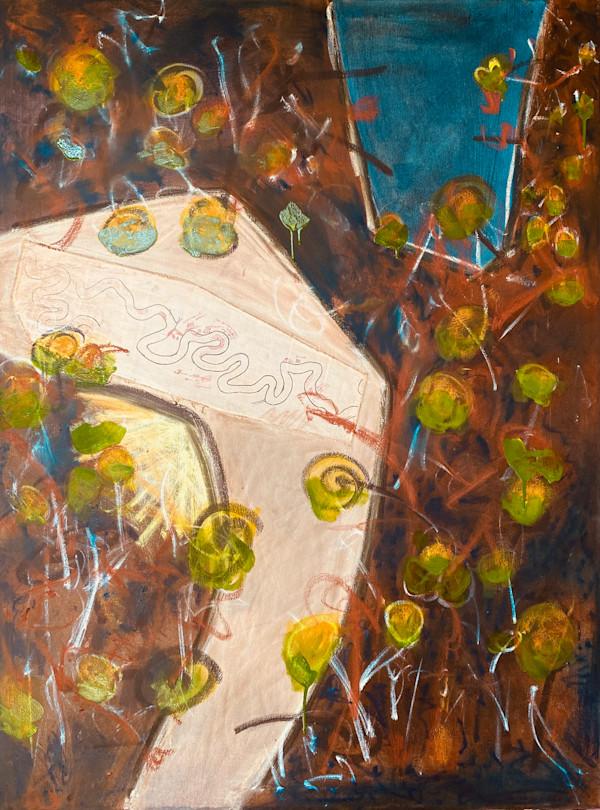
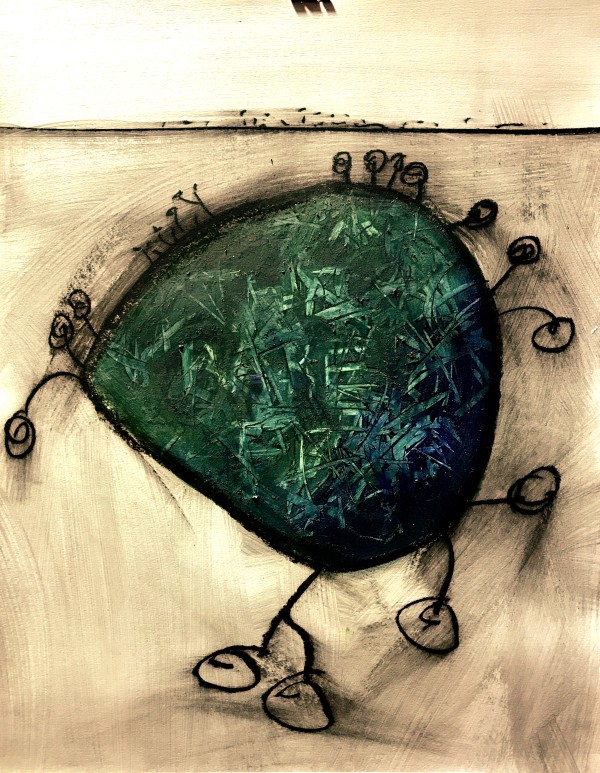
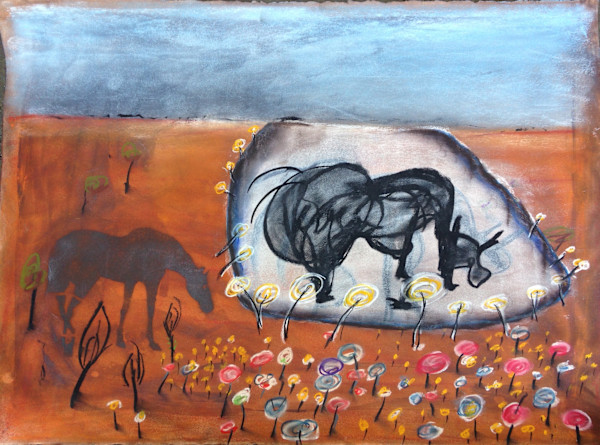
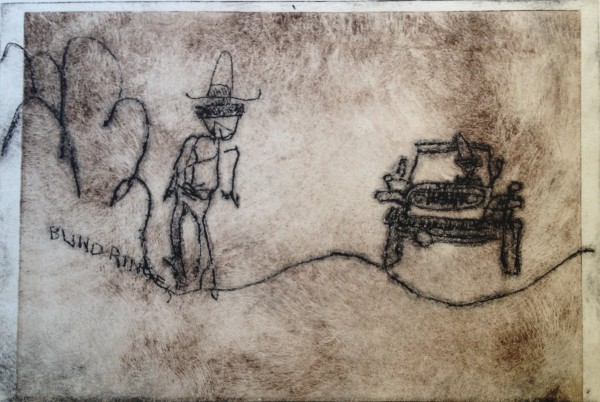
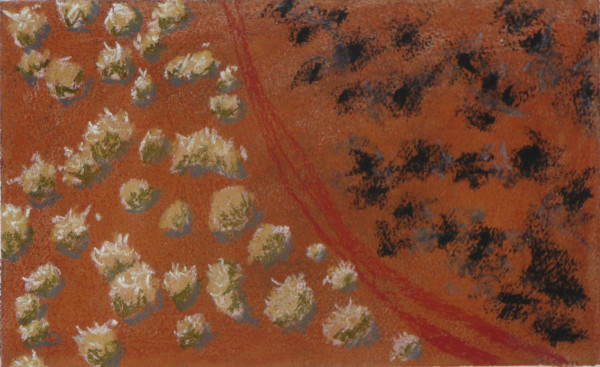
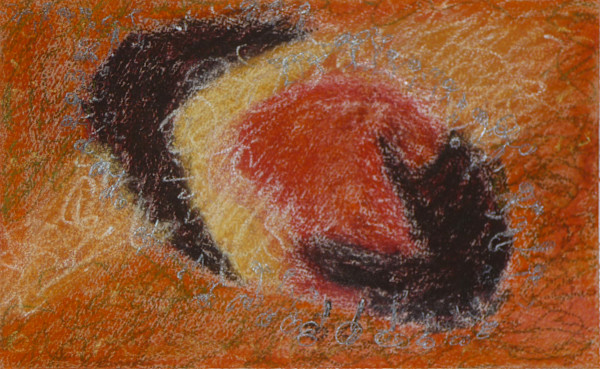
Blind Ringer Pitjantjatjara Lands
Acrylic, charcoal and oilstick on canvas
122 x 122 cm
AU$3,400
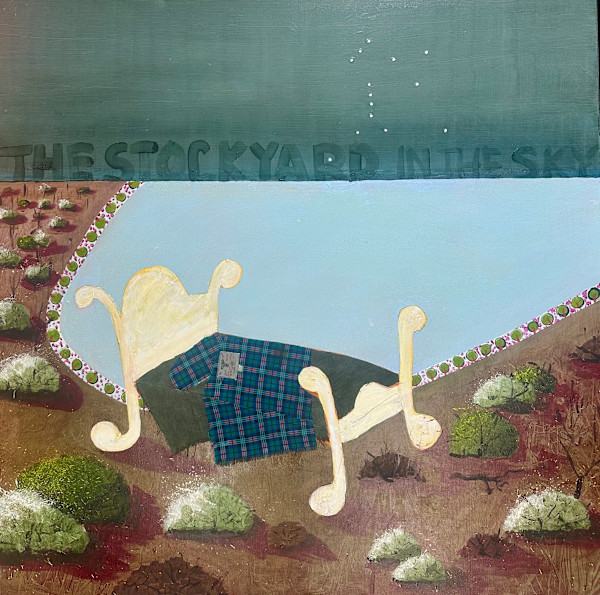
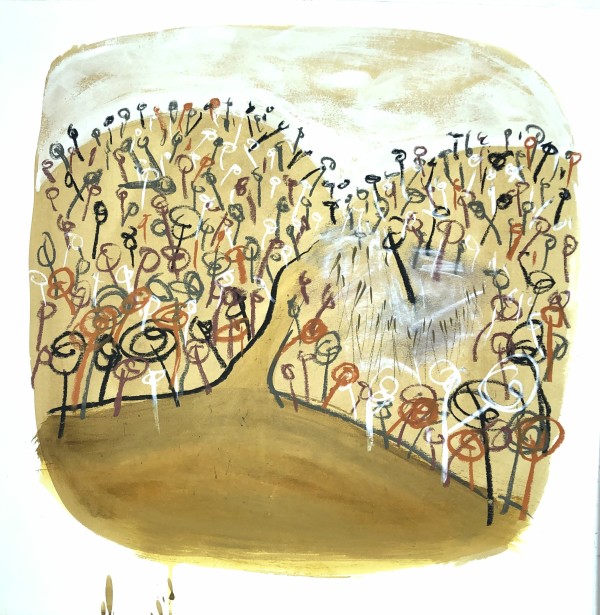
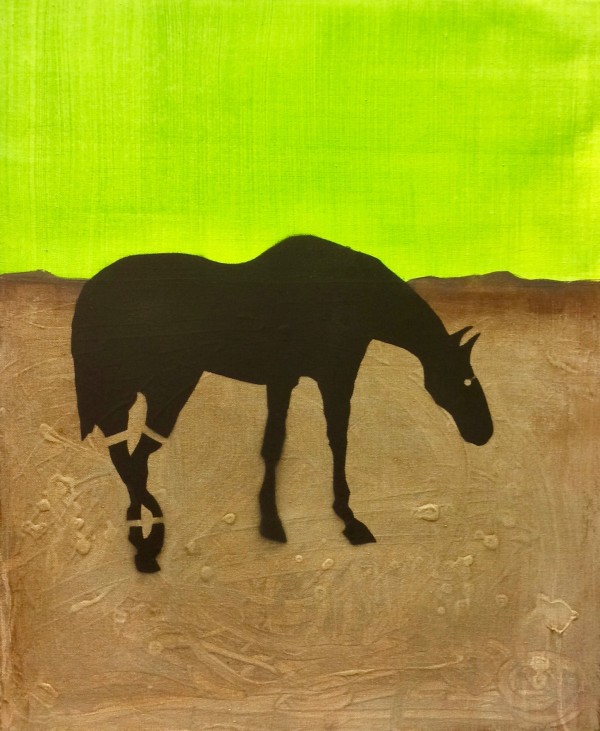
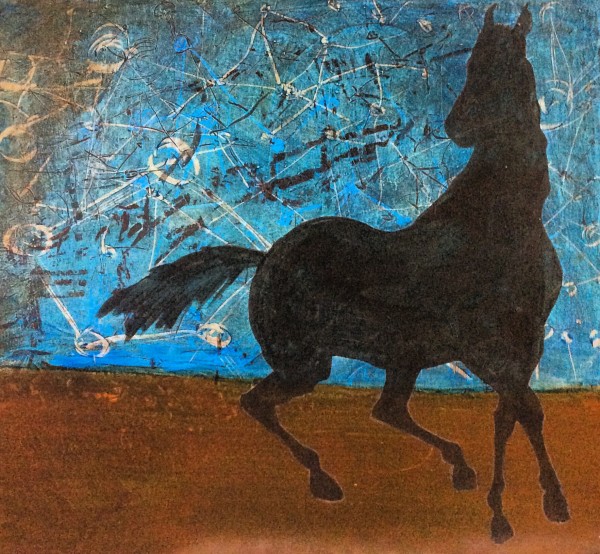
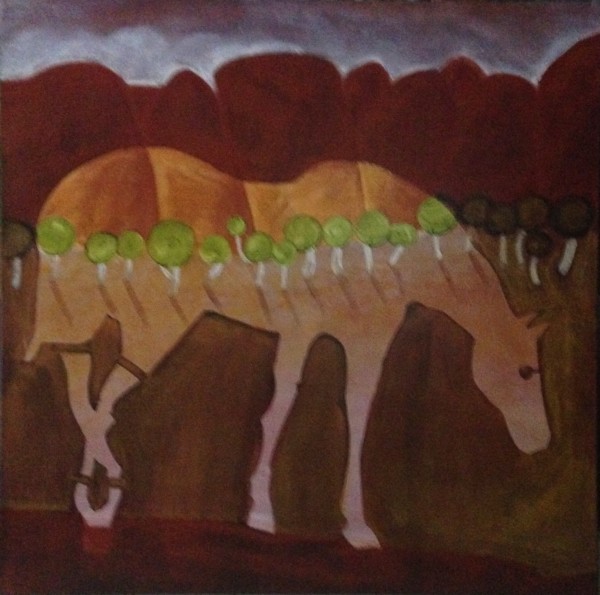
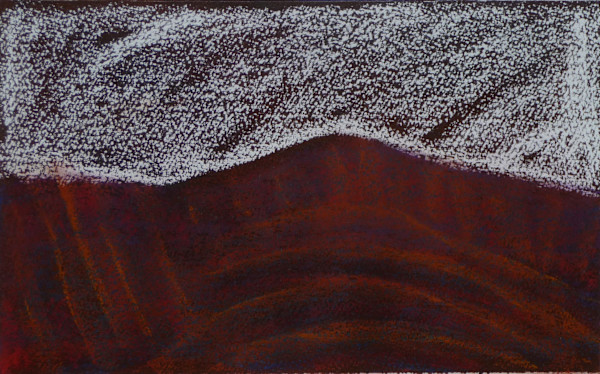
Stockyard in the sky
Acrylics and appliqué on canvas
122 x 122 cm
AU$3,400
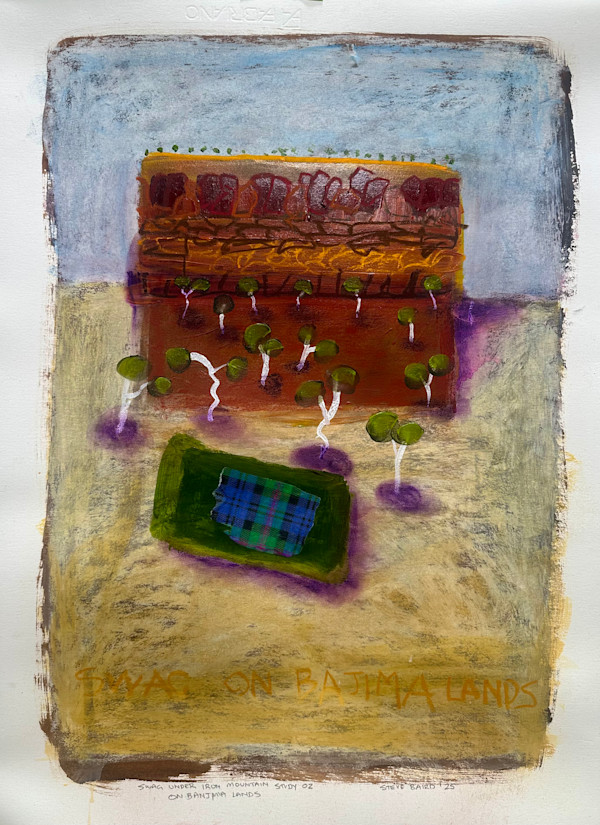
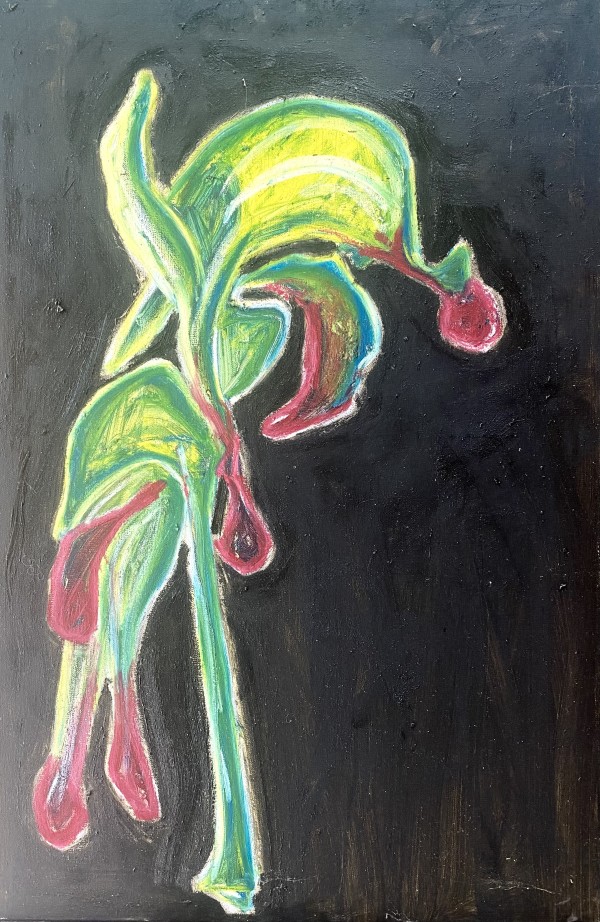
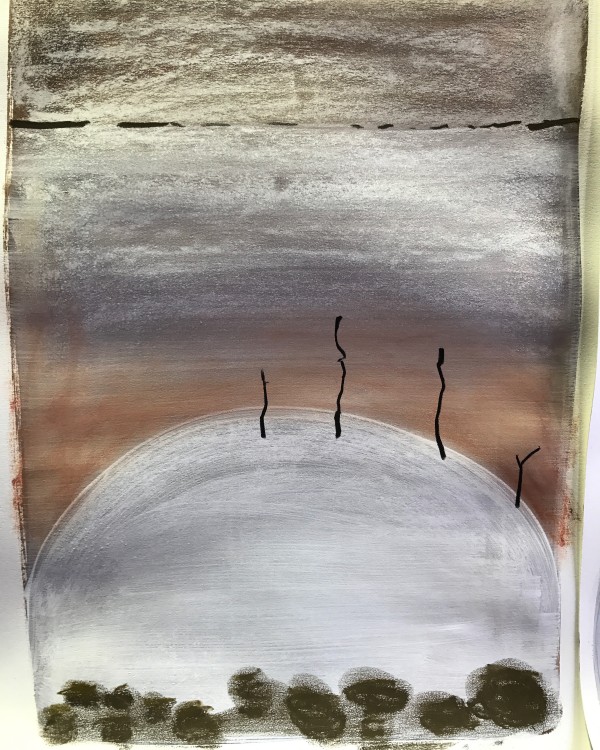
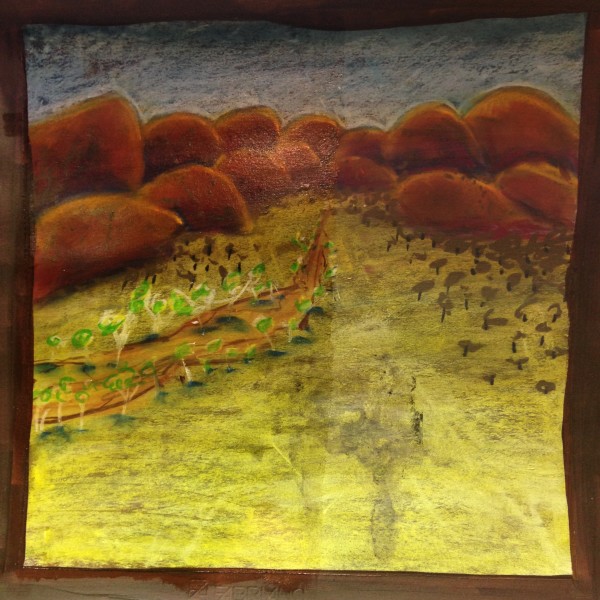
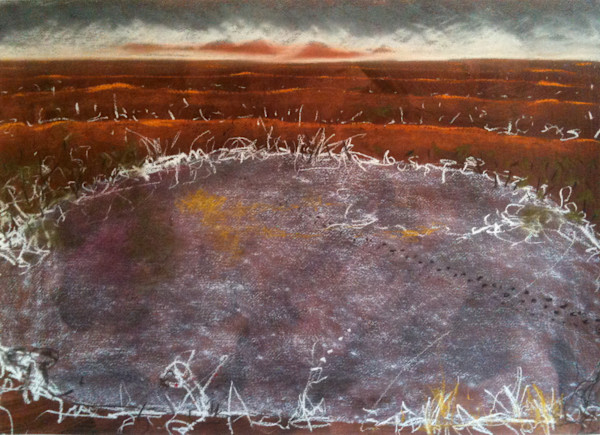
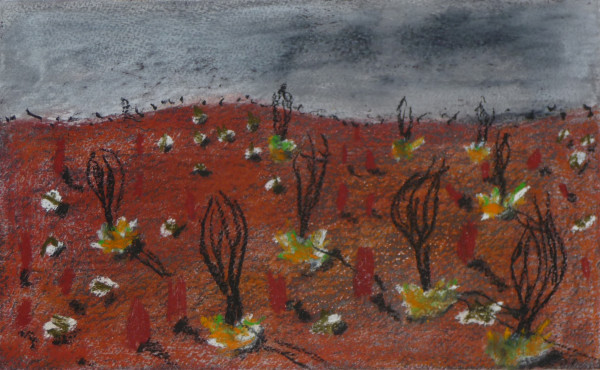
Iron Mountain Swag study 02
Pastel on acrylic paint ground on paper
70 x 50 cm
AU$420
Gibson Desert Swag
Acrylic paint, desert sand, appliqué and oilstick
91 x 122 cm
AU$3,250
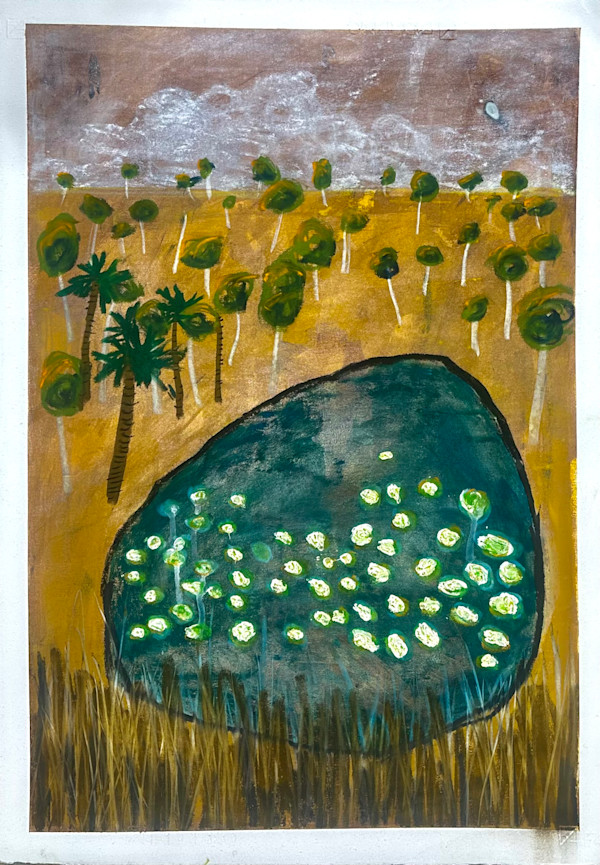
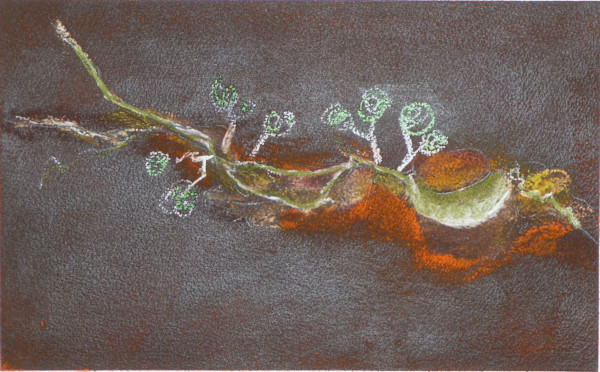
Lilypond Seven Emu
Acrylic paint, pastel on paper
66 x 45 cm
AU$420
Sandy Bend 02
Acrylic paint, oilstick on canvas
120 x 90 cm
AU$3,250
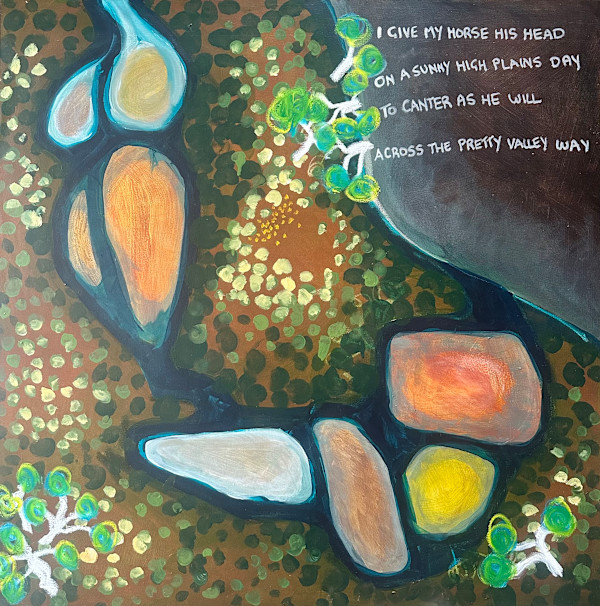
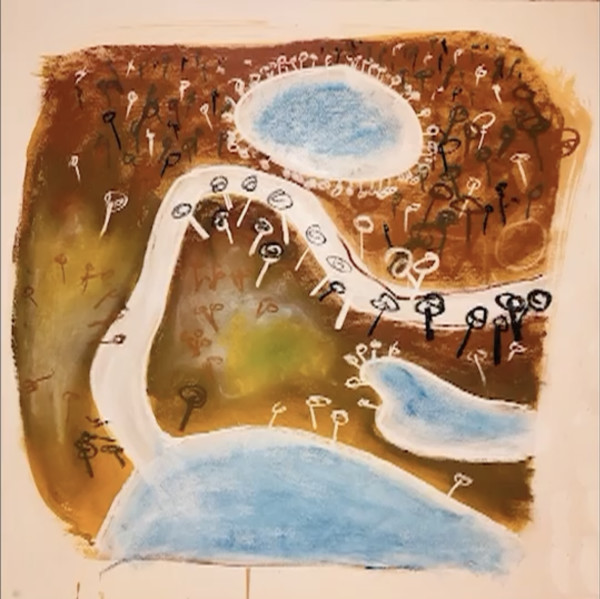
Pretty Valley Ponds 02
Acrylic paint, pastel and oilstick on canvas
110 x 110 cm
AU$3,250
Swag on Country Coolibah
Pastel and sand on acrylic ground on paper
50 x 50 cm
AU$420
Swag on Country Mulla Mulla study01
Pastel and sand on acrylic ground on paper
20 x 20 cm
AU$50
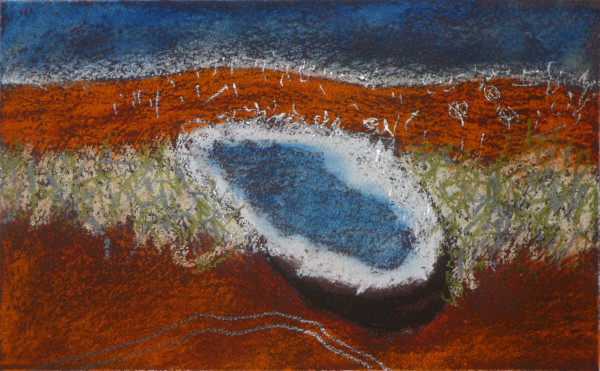
Blue Lake
video
Blue Lake background sketch
Pastel on acrylic ground on paper
50 x 50 cm
AU$420
Brutal Suburbia
video
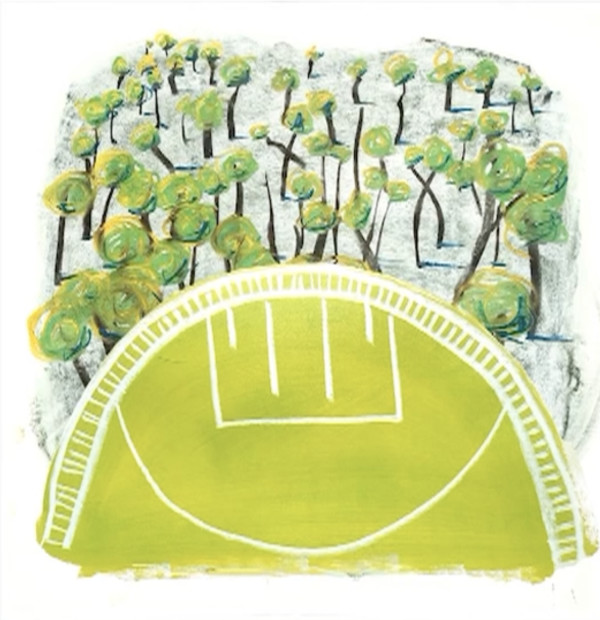
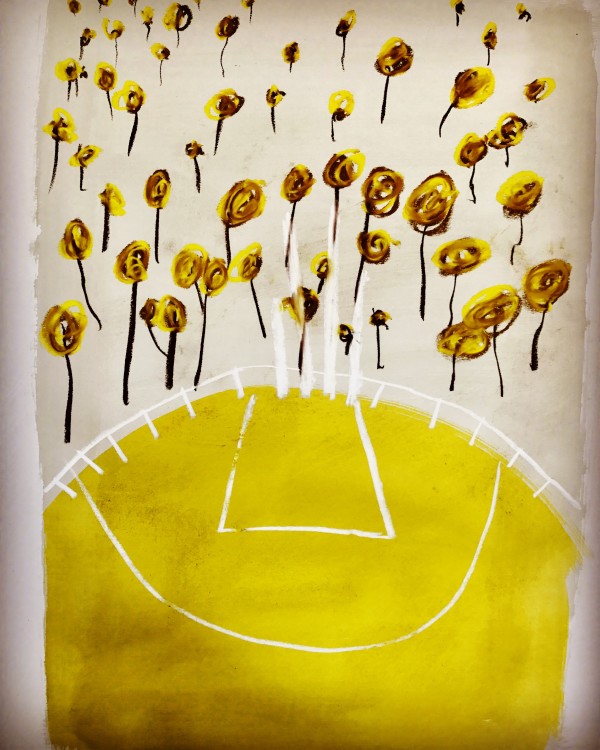
Footy Ground
Footy Ground - goal square
Pastel on acrylic ground on paper
50 x 50 cm
AU$420
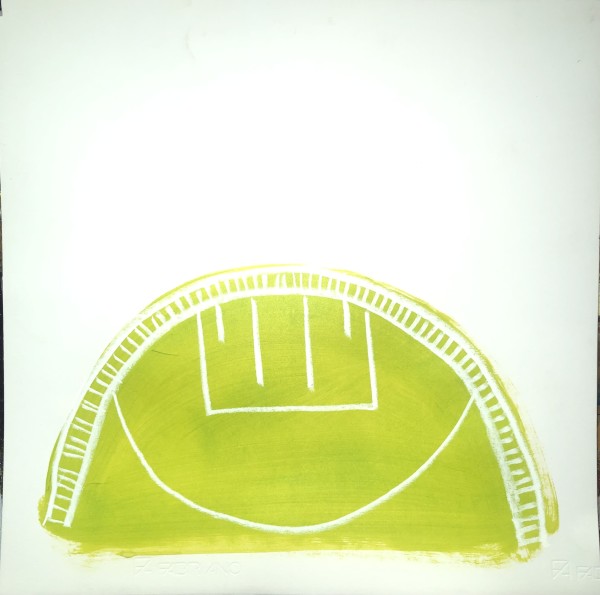
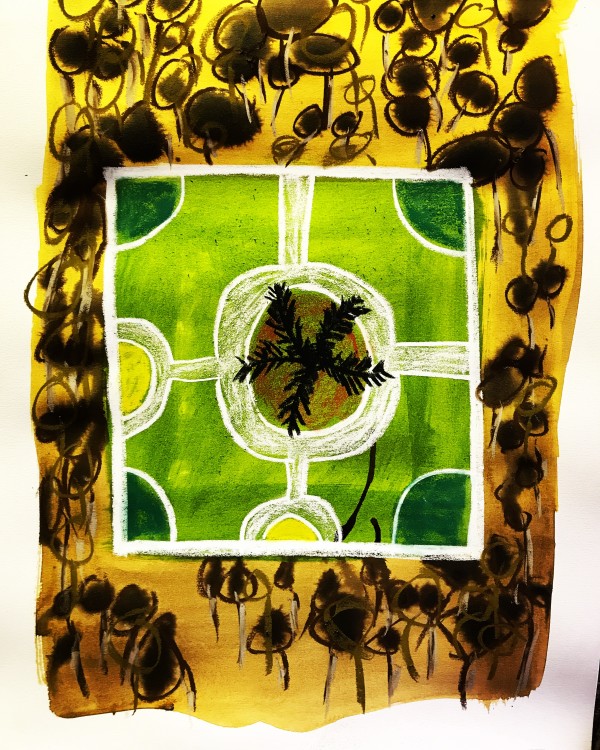
Footy Ground - bushland
Pastel on acrylic ground on paper
50 x 50 cm
AU$420
Albury Botanic
video
Albury Botanic
Pastel on acrylic ground on paper
50 x 50 cm
AU$420
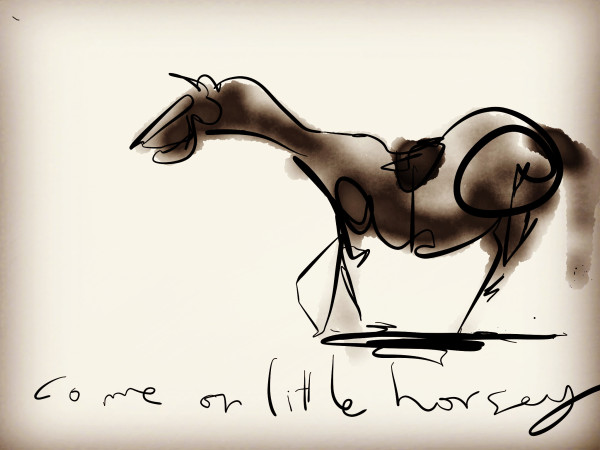
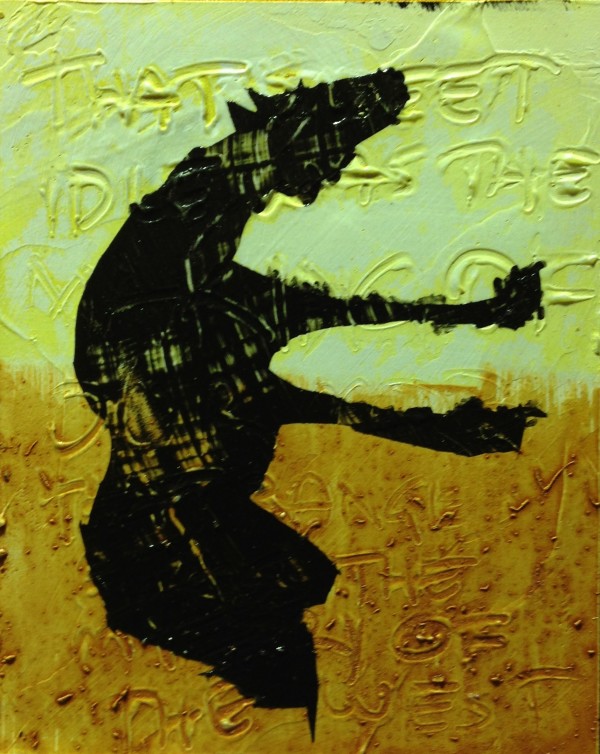
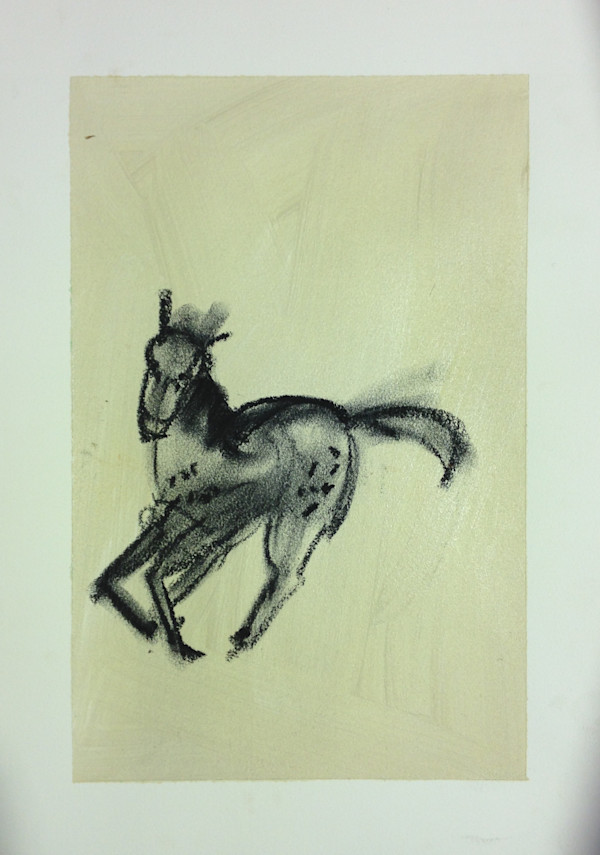
Come on little Horsey
Busy Wren Digital Pen
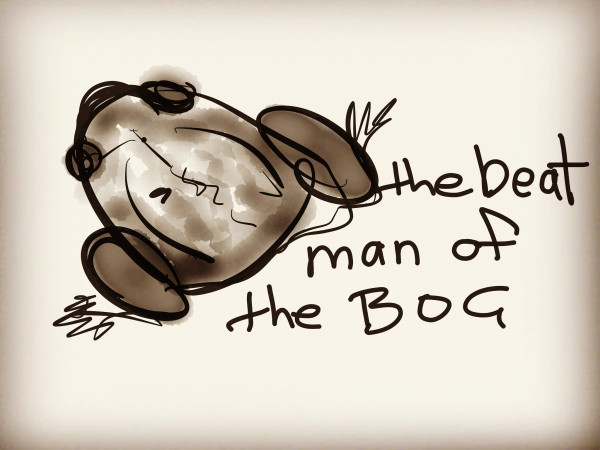
The Beat Man of the Bog
Blue Lake study01
Pastel and collage on paper
57 x 76 cm
AU$420
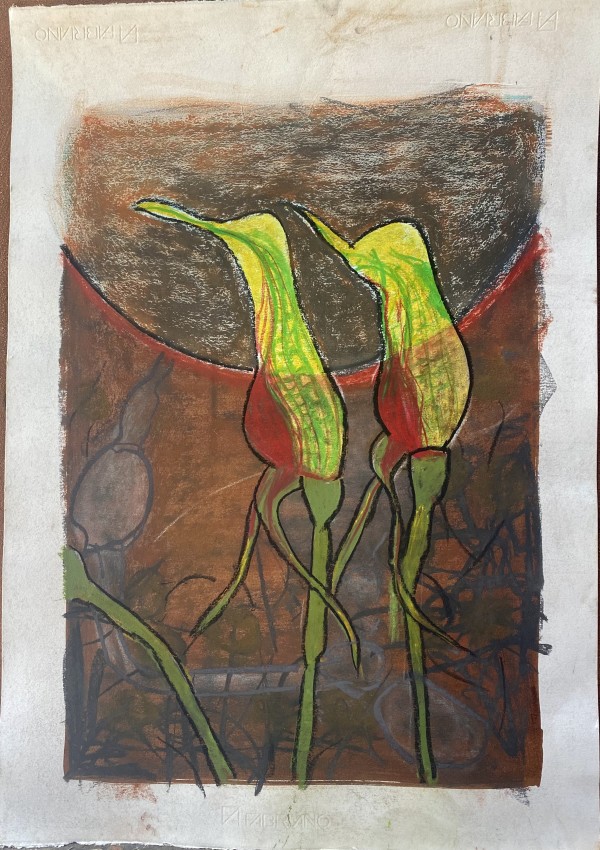
Greenhoods after fire
Oilstick and bushfire charcoal in acrylic medium on canvas
61 x 91 cm
Greenhoods after fire study01
Pastel on paper
70 x 50 cm
AU$420
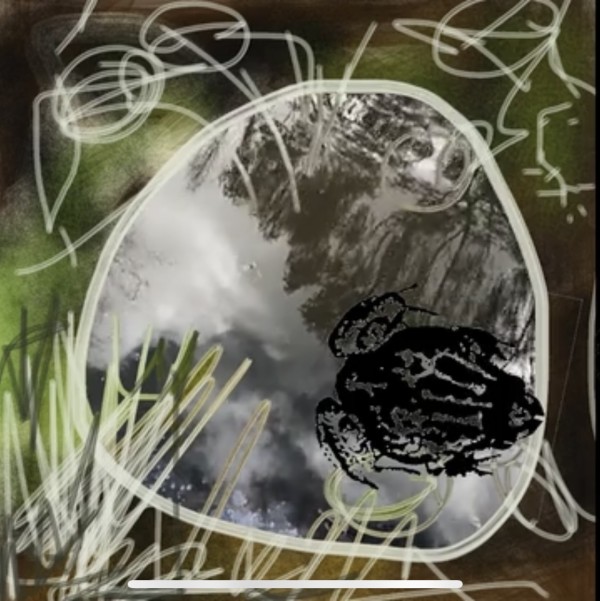
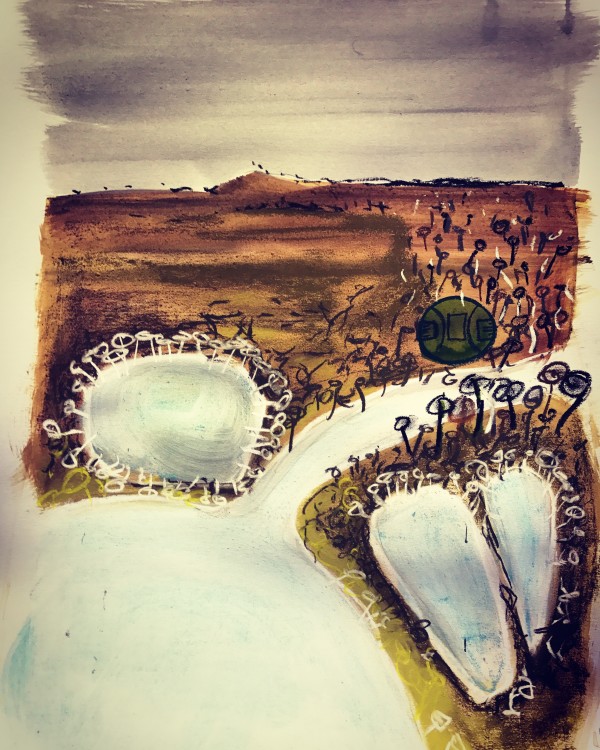
Pobblebonk pond
Digital sketch and recorded moving image. Sound from
Mungili Footy Ground earth pigments
Earth pigments in acrylic medium
50 x 70 cm
AU$560
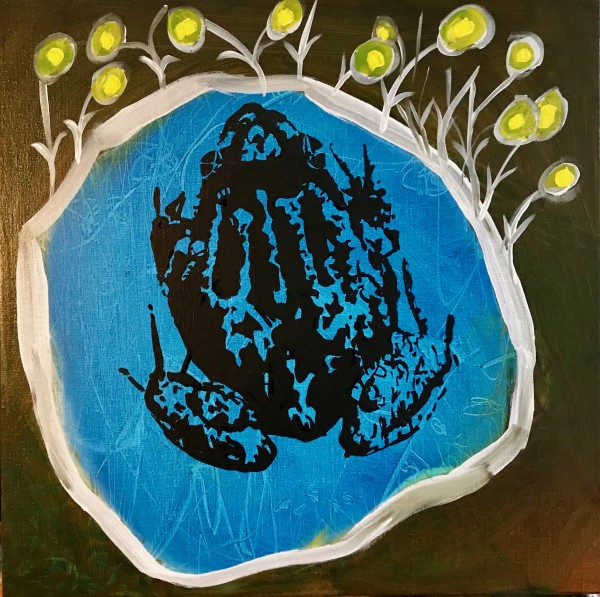
Pobblebonk03
Acrylic and ink on Linen
60 x 60 cm
AU$1,650
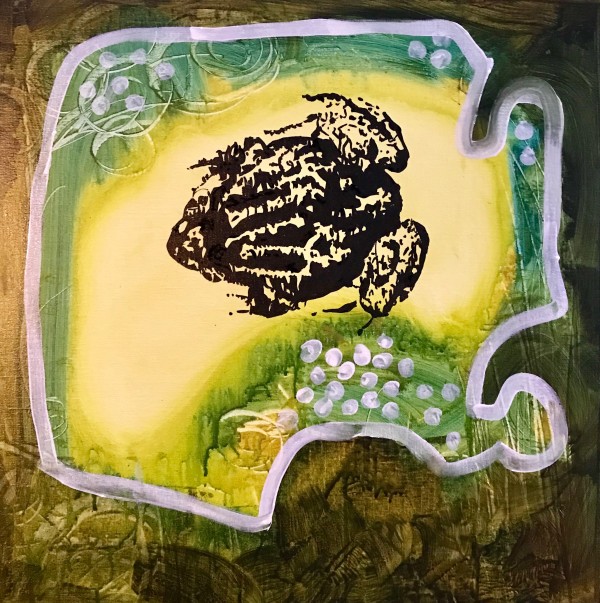
Pobblebonk02
Acrylic and ink on Linen
60 x 60 cm
AU$1,650
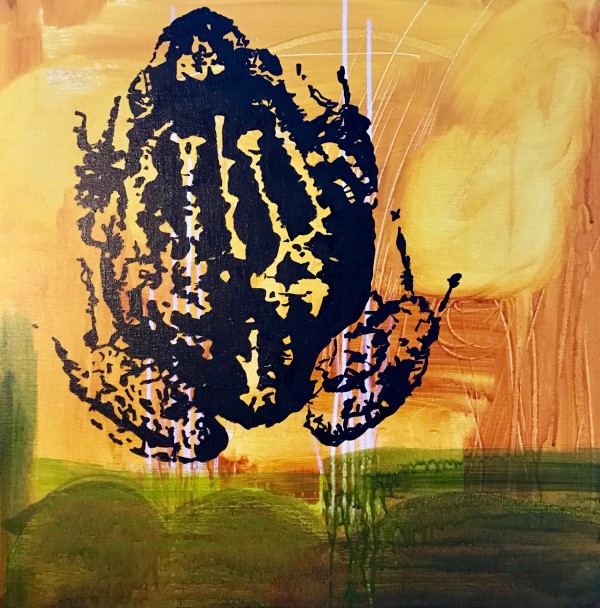
Pobblebonk01
Acrylic and ink on Linen
60 x 60 cm
AU$1,650
Beauyboy 03
Oilstick on actylic paint on canvas
121 x 91 cm
AU$3,500
Footy sticks Lake MacKay Western Deserts
Acrylic paint, pastel on paper
70 x 50 cm
AU$420
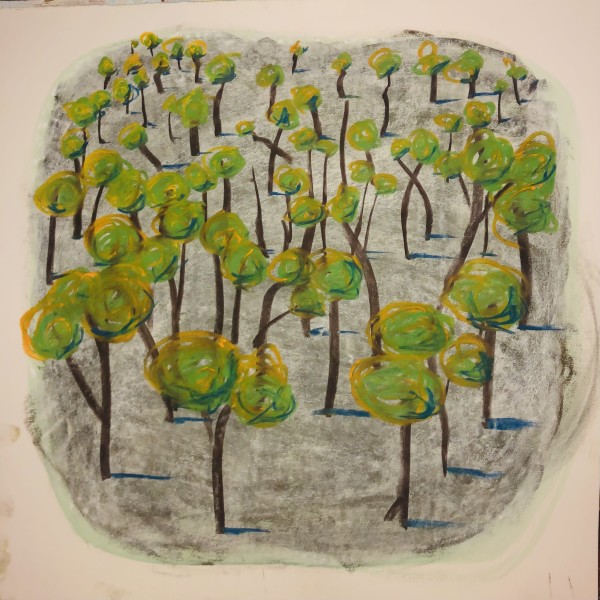
Footy Ground in the wattle
Acrylic paint, pastel on paper
70 x 50 cm
AU$420
Study Blue Lake Yarra River
Acrylic paint, pastel on paper
70 x 50 cm
AU$420
Study Botanic Garden in the River Red Gums
Acrylic paint, pastel and oilstick on paper
70 x 50 cm
AU$420
The rare frog study01
Acrylic and charcoal on paper
65 x 50 cm
AU$400
The mare fades into mystery 08
Acrylic paint, liquitex spray stencil
60 x 50 cm
AU$1,200
The mare fades into mystery 05
Acrylic paint, liquitex spray stencil
60 x 50 cm
AU$1,200
The mare fades into mystery 01
Acrylic paint, liquitex spray stencil
60 x 50 cm
AU$1,200
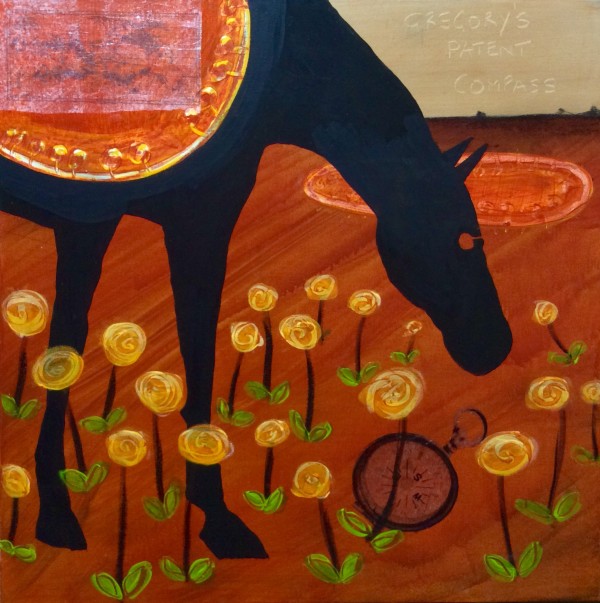
Gregory patent compass
Acrylic paint, pastel, inkjet printed archival tissue paper
75 x 75 cm
AU$2,200
Spinifex
Acrylic paint, pastel, liquitex spray stencil, inkjet printed cloth
75 x 75 cm
AU$2,200
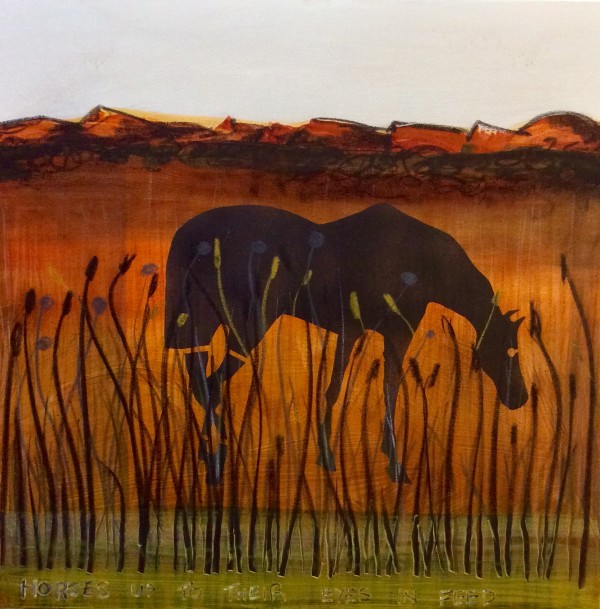
Up to their eyes in feed
Acrylic paint, pastel, liquitex spray stencil
75 x 75 cm
AU$2,200
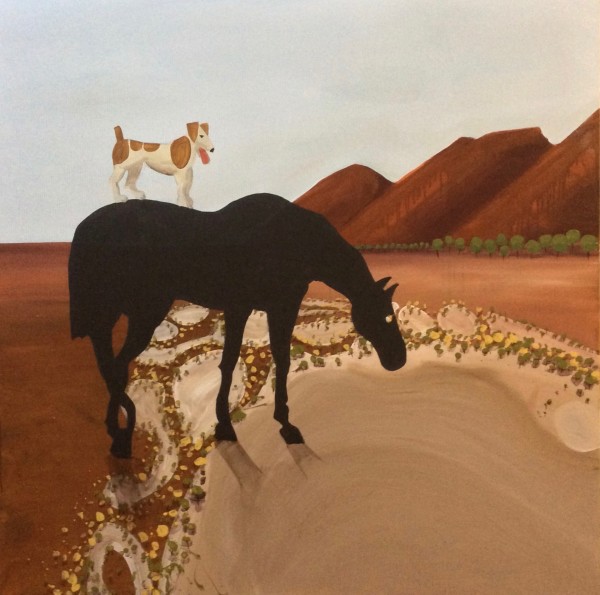
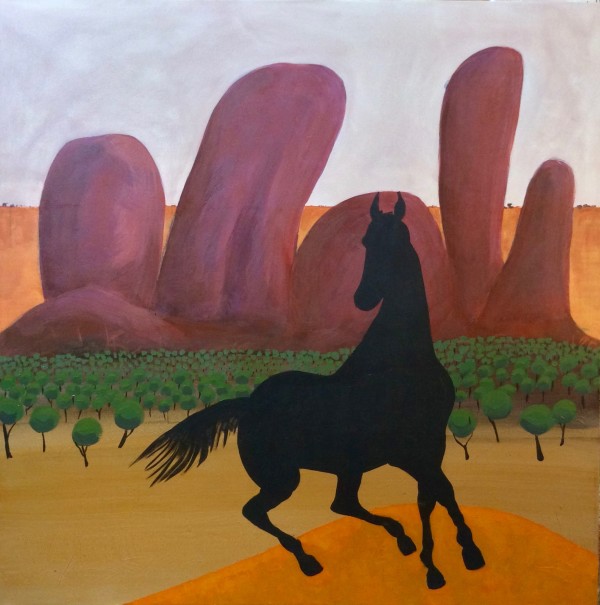
Toby rides the mare
Acrylic On Canvas
120 x 120 cm
AU$4,400
After the Cob
Acrylic paint on canvas
120 x 120 cm
AU$4,400
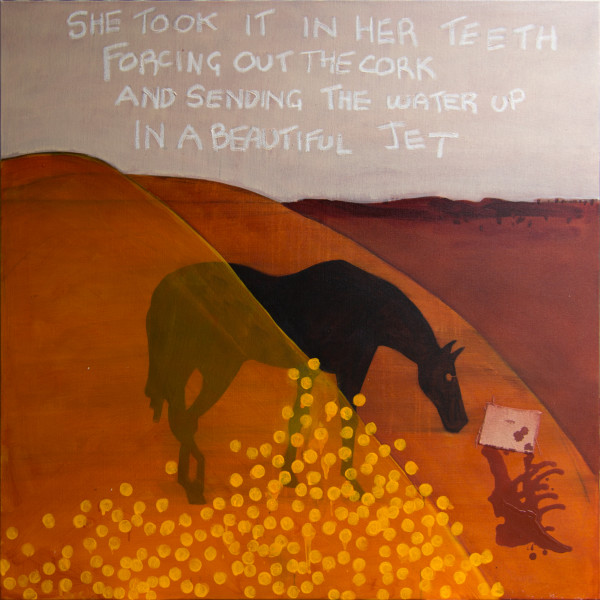
The Waterbag
Acrylic paint on canvas
120 x 120 cm
AU$4,400
Into Mystery 03
Acrylic On Canvas
71 x 75 cm
AU$1,300
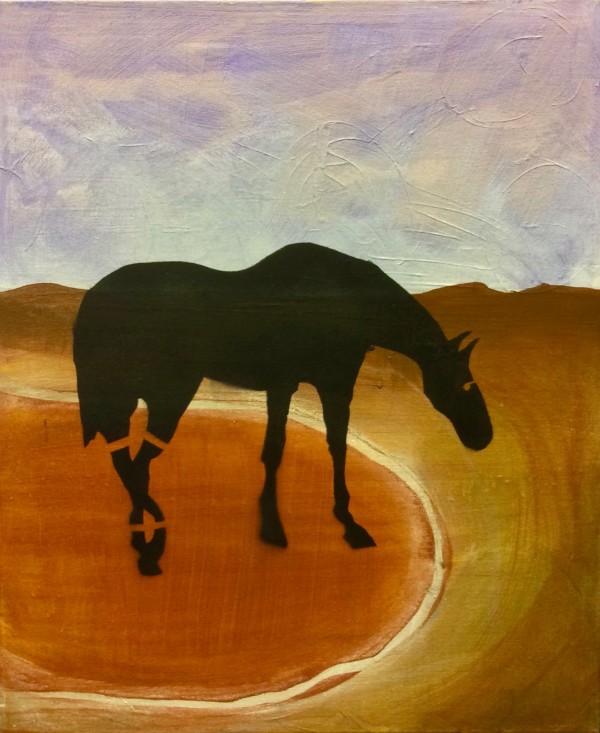
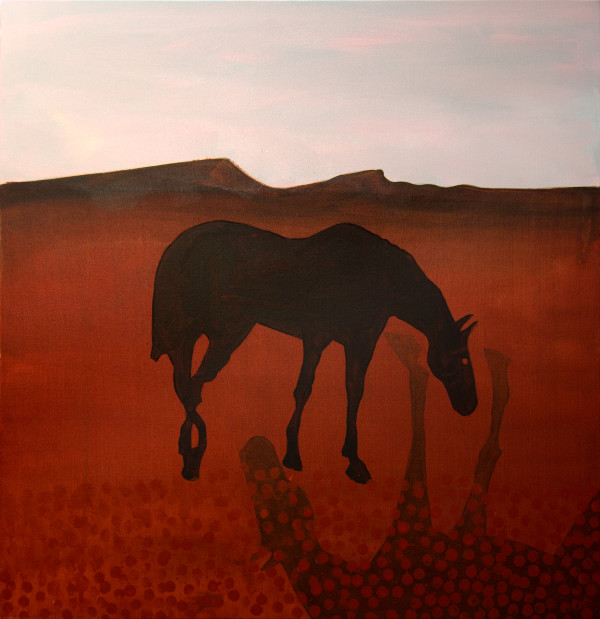
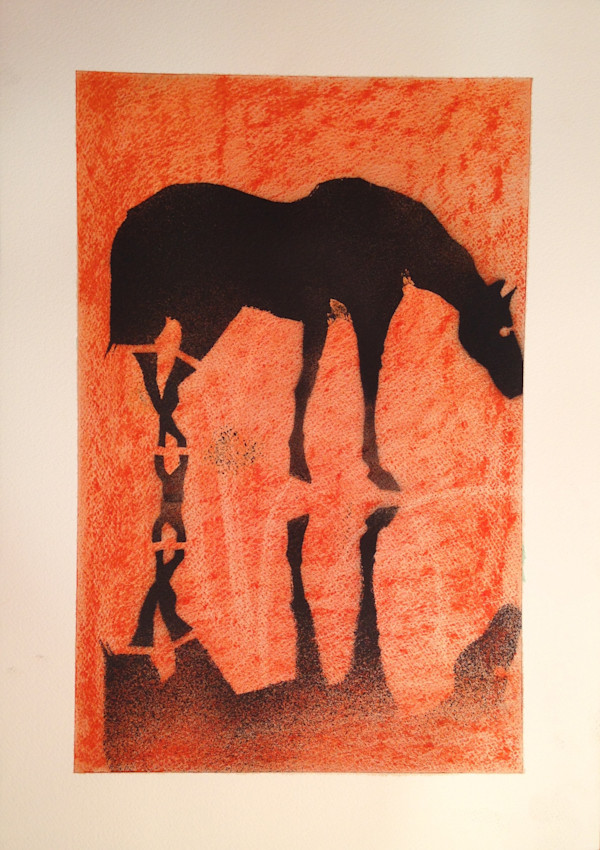
Stockyard in the Sky
Acrylic On Canvas
71 x 75 cm
AU$1,300
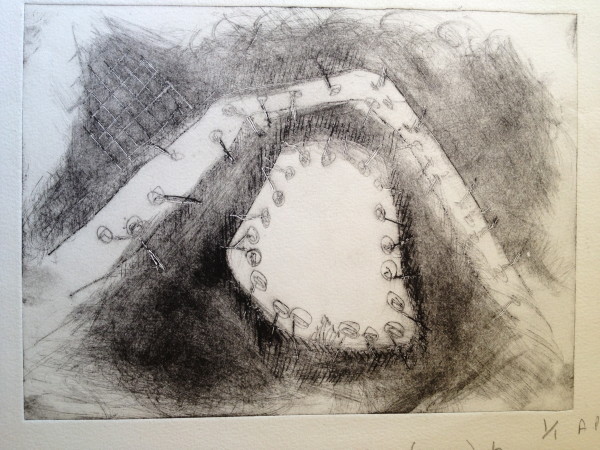
Study03 for Stockyard in the Sky
Study02 for Stockyard in the Sky
Study01 for Stockyard in the Sky
Study06 for Into Mystery
Study05 for Into Mystery
Study04 for Into Mystery
Study03 for Into Mystery
Charcoal and painting medium
Into Mystery 01
Acrylic paint on board with Gibson Desert sand
Circus Water
Acrylic On Canvas
120 x 120 cm
AU$4,400
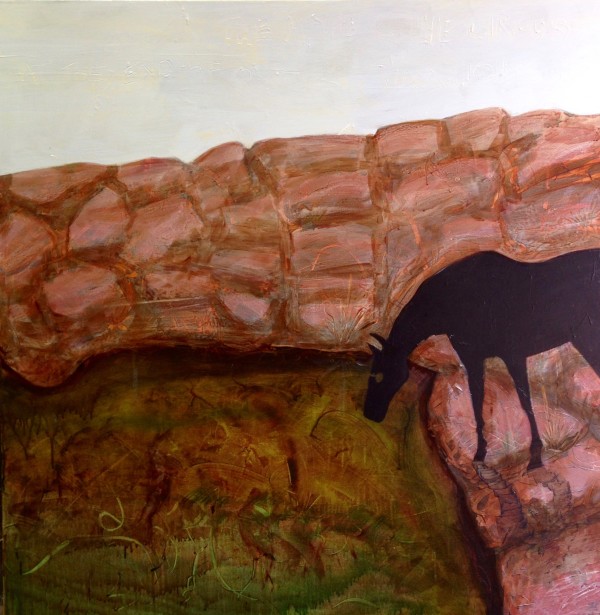
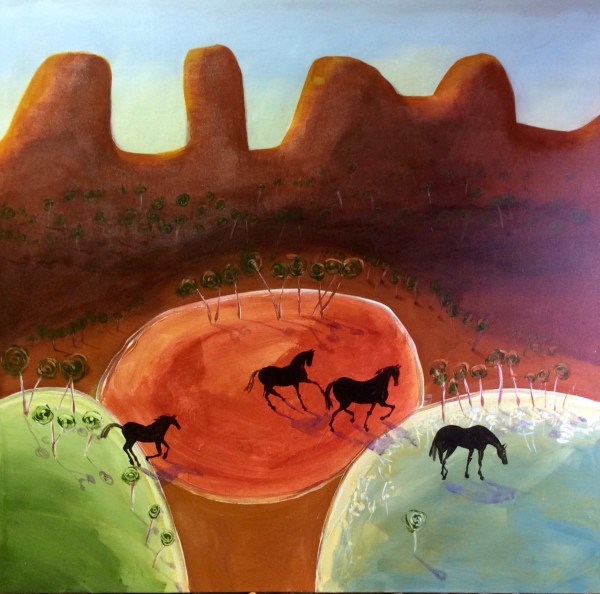
The Ruined Ramparts
Acrylic On Canvas
150 x 150 cm
AU$6,400
The Maid at Kata Tjuta
Acrylic On Canvas
150 x 150 cm
AU$6,400
The Fairies Glen 01
Acrylic and oilstick on canvas
120 x 120 cm
AU$4,400
Study01 for Into Mystery
Acrylic paint, pastel, oilstick and shellac on board
29 x 21 cm
AU$150
The Fairies Glen study02
Pastel on acrylic paint ground on paper
70 x 50 cm
AU$420
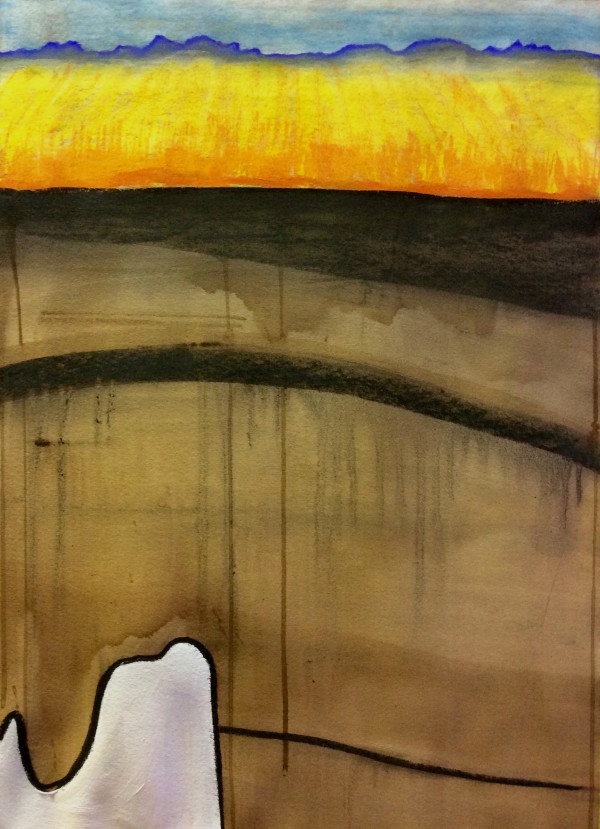
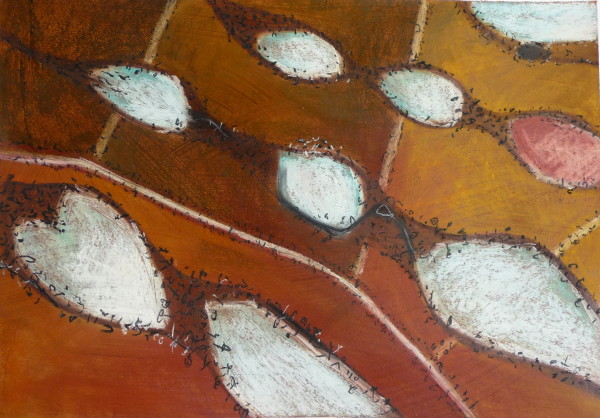
Liverpool Plains - Groundwater
Pastel on acrylic paint ground on paper
69 x 50 cm
AU$215
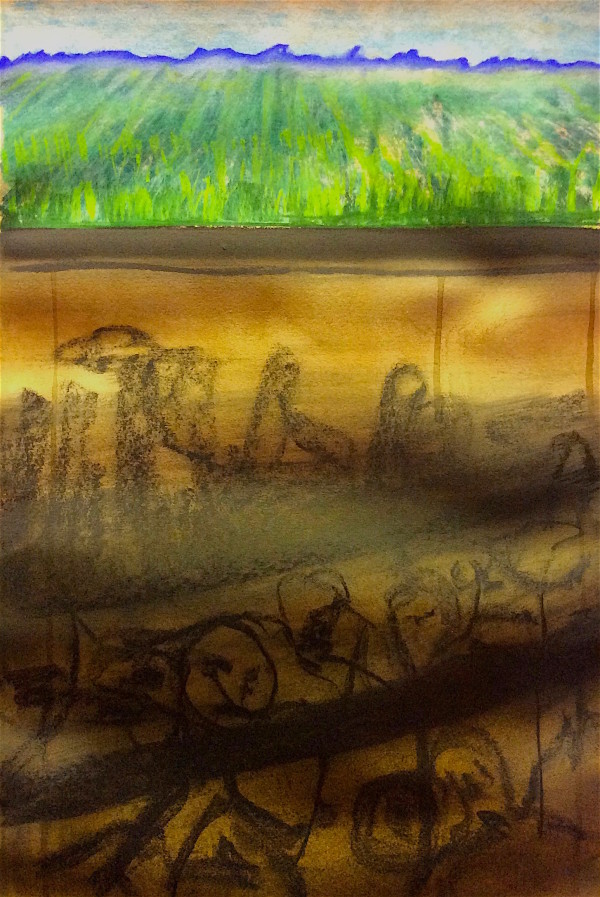
Liverpool Plains - Debil Debil
Pastel on acrylic ground on paper
63 x 42 cm
AU$165
Billabongs13
Shellac Ink wash on Fabriano paper on board
20 x 25 cm
AU$120
Billabongs12
Shellac Ink wash on Fabriano paper on board
20 x 25 cm
AU$120
Billabong11
Pastel and acrylic varnish on board
20 x 25 cm
AU$120
Billabong10
Acrylic paint on board
20 x 25 cm
AU$120
Murray Billabong
Intaglio print on Fabriano paper
70 x 100 cm
AU$740
FMOP Lake Christopher 01
Pastel and spray enamel on Fabriano Paper
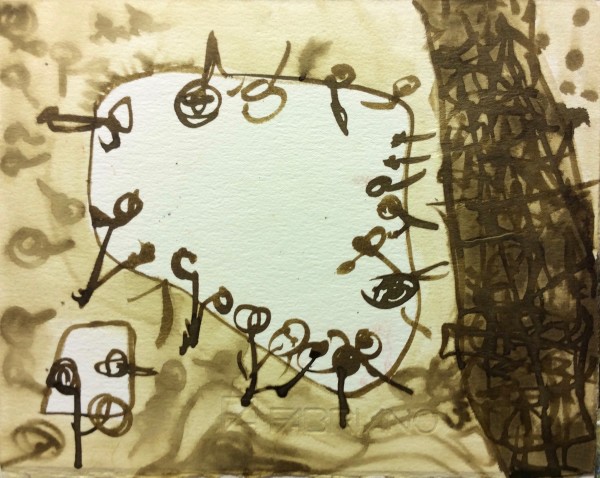
Agnostic Dyslexic
Intaglio print on Fabriano paper
30 x 30 cm
AU$110
Music at Dawn 01
Acrylic and oilstick on canvas
120 x 120 x 5 cm
AU$4,300
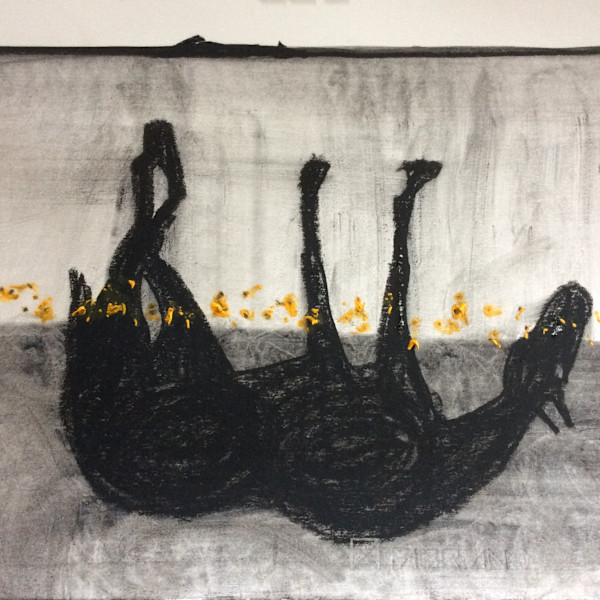
Yearlings 03
Charcoal on paper
Yearlings 02
Charcoal on paper
Yearlings 01
Charcoal on paper
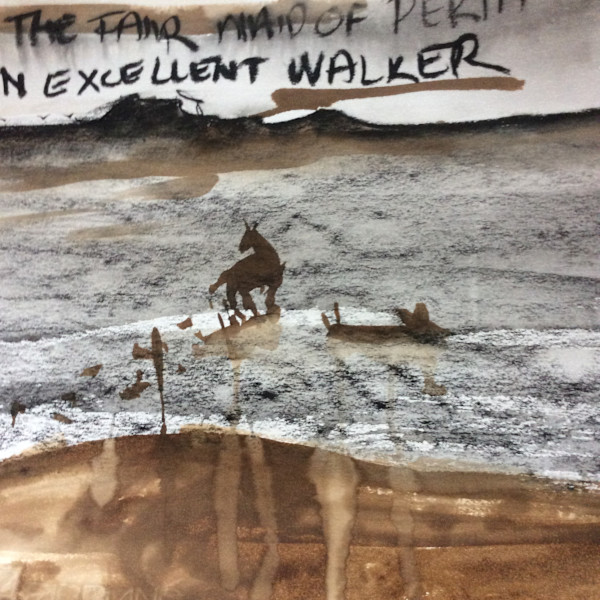
Fair Maid of Perth reflection 01
Stencil spray on paper
Fence posts and Billabong, Old Tallangatta
Paper collage, linocut print
Billy on the Barcoo
Saline Copper Sulphate etch in Aluminium plate, printed on Fabiano Rosapina
22.5 x 22.5 cm
AU$200
Billy passes Koonenberry Mountain
Saline Copper Sulphate etch in Aluminium plate, printed on Fabiano Rosapina
22.5 x 22.5 cm
AU$200
Print mashup
Mixed media on board
90 x 120 cm
AU$2,700
The Bay 01
Print Lino cut
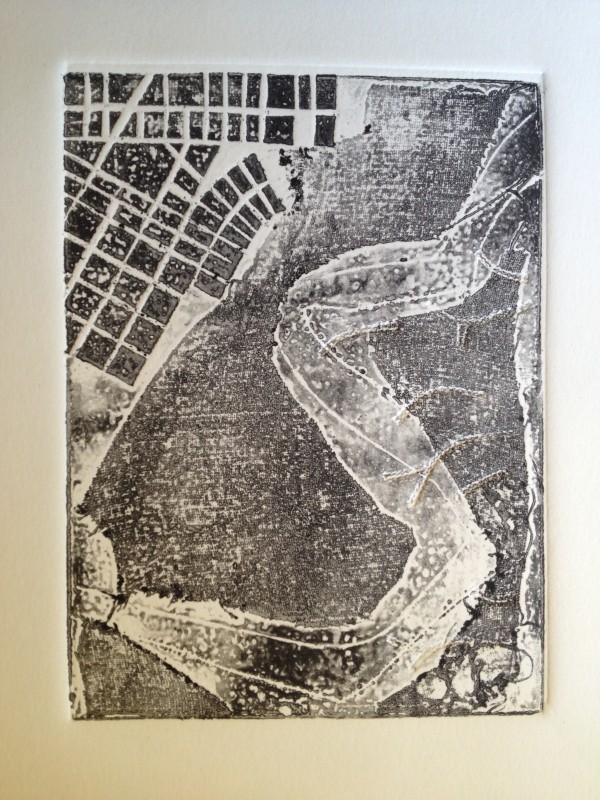
Brisbane River Bend 02
Print colographic cardboard and shellac plate
Brisbane River bend 01
Print dry point acrylic plate
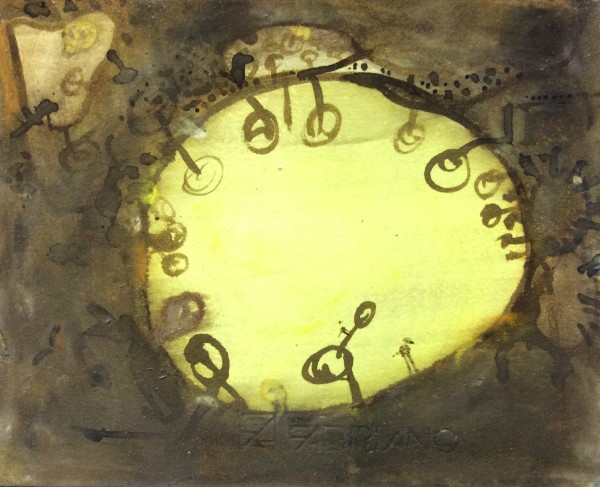
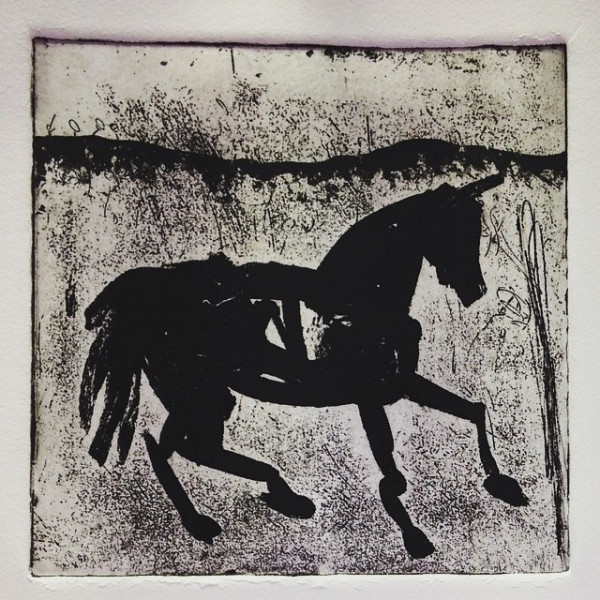
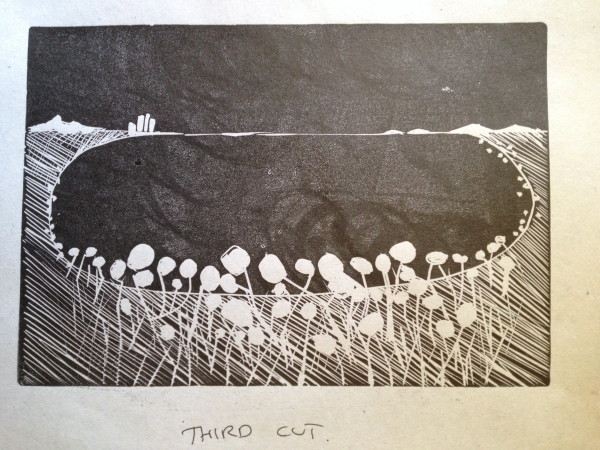
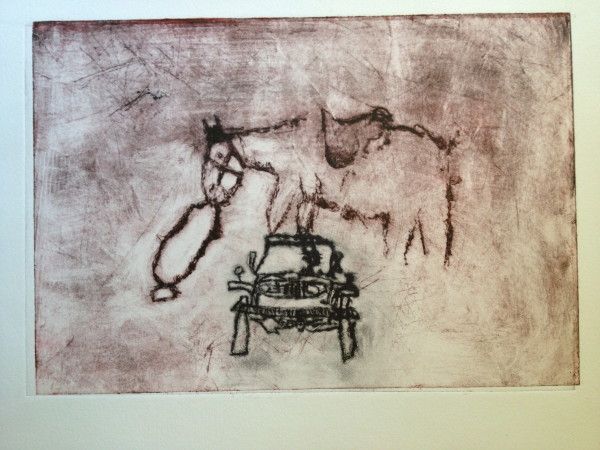
Blind Ringer 02
Print solar etched and dry point acrylic plate
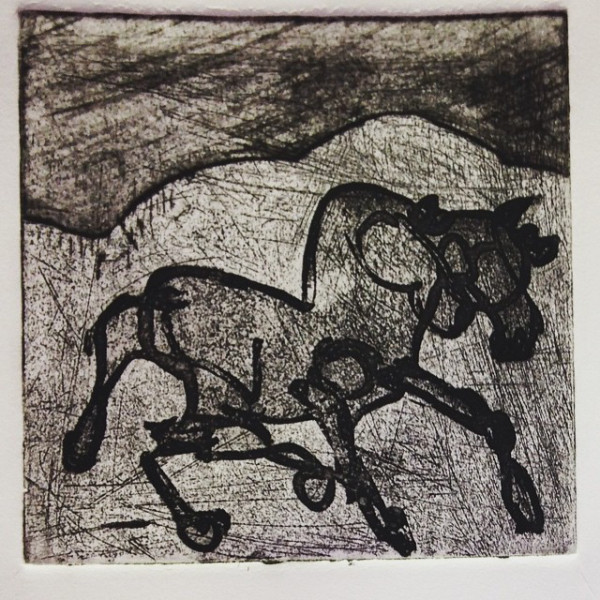
Blind Ringer 01
Print solar etched and dry point acrylic plate
The Inland Sea
Mixed media on board
91 x 122 cm
AU$2,700
Lake Christopher 01
Pastel on acrylic paint ground on paper
52 x 72 cm
AU$449.28
Burnt Track
Pastel on acrylic paint ground on paper
20 x 33 cm
AU$79.20
Burnt Basket Bush
Pastel on acrylic ground on paper
20 x 33 cm
AU$79.20
Pilbara Hill 02
Pastel on acrylic ground on paper
20 x 33 cm
AU$79.20
Pilbara Hill
Pastel on acrylic ground on paper
20 x 33 cm
AU$79.20
Waddawalla
Pastel on acrylic ground on paper
20 x 33 cm
AU$79.20
Gravity Lakes 02
Pastel on acrylic ground on paper
20 x 33 cm
AU$79.20
Gravity Lakes
Pastel on acrylic ground on paper
20 x 33 cm
AU$79.20
Wardabunni Waterhole
Pastel on acrylic ground on paper
20 x 33 cm
AU$79.20
Wolf Creek
Pastel on acrylic ground on paper
20 x 33 cm
AU$79.20
Lake Grace 01
Pastel on acrylic ground on paper
52 x 72 cm
AU$449.28
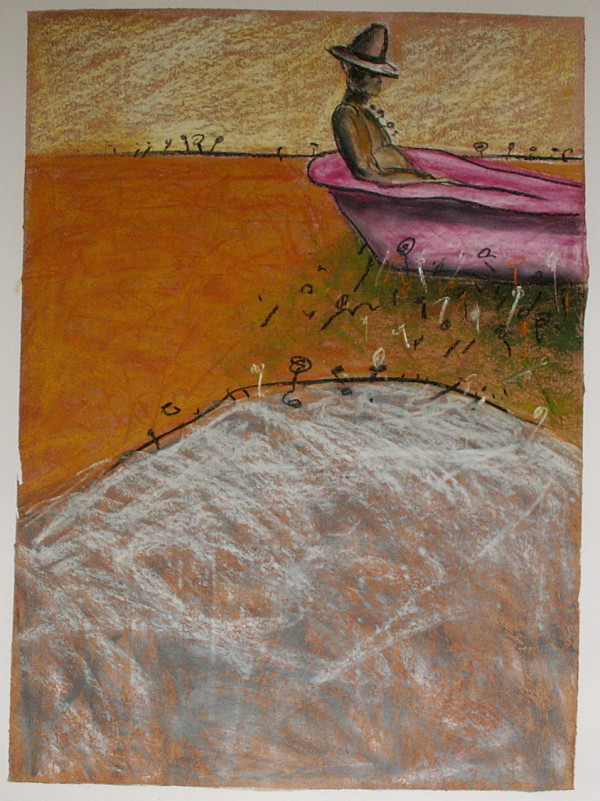
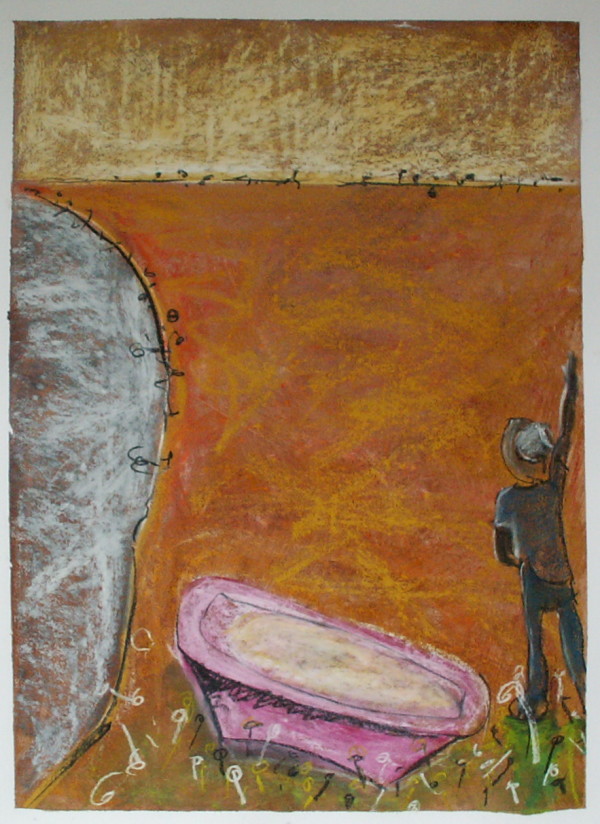
Study for pink bath 02
Pastel on acrylic paint ground on paper
72 x 52 cm
AU$449.28
Study for pink bath 01
Pastel on acrylic paint ground on paper
72 x 52 cm
AU$449.28
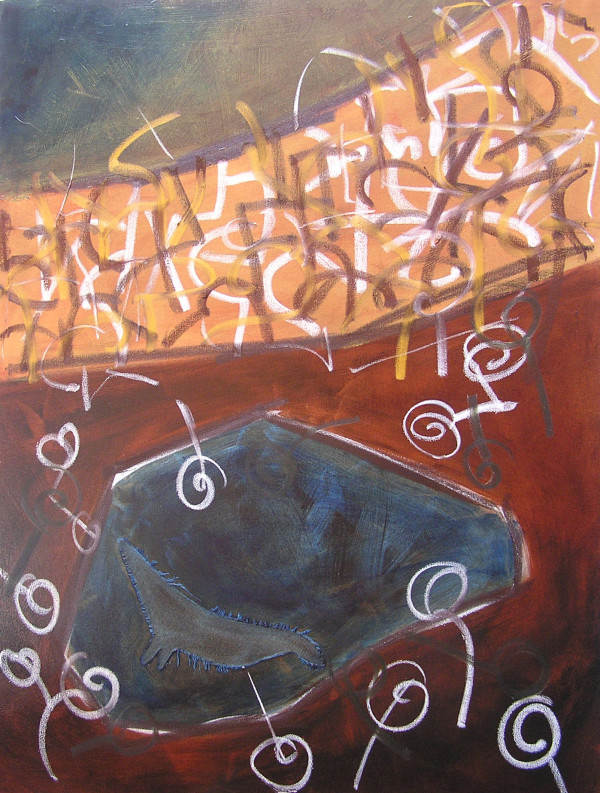
Bunyip Billabong 03
Acrylic paint, oilstick on canvas
120 x 90 cm
AU$2,600
Sandy Bend
Acrylic paint, oilstick on canvas
120 x 90 cm
AU$2,600
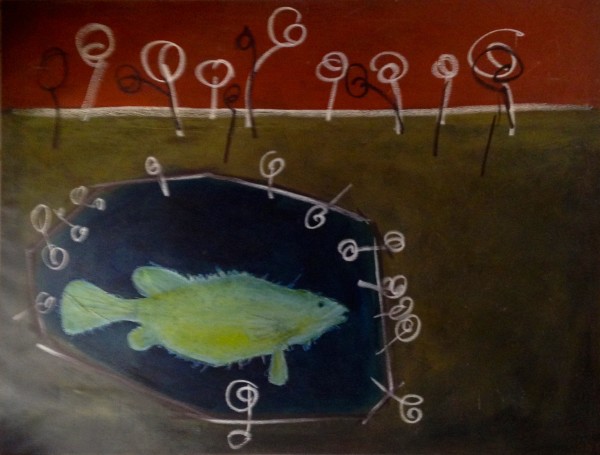
Cod Hole
Mixed media on canvas
90 x 120 cm
AU$2,600
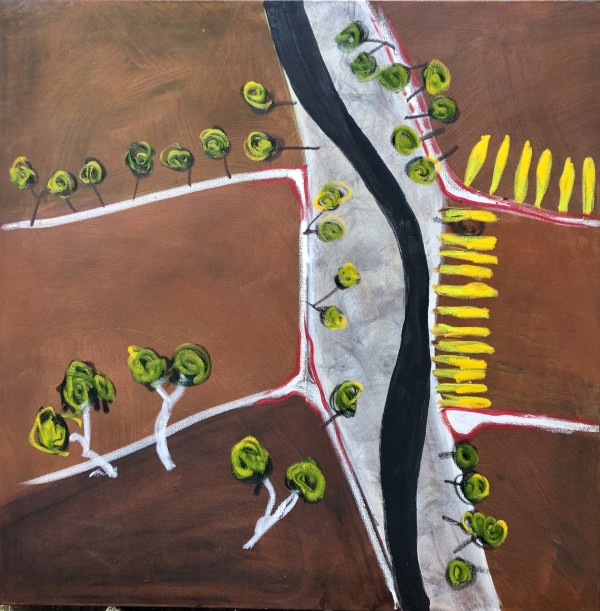
River Flats
Acrylic paint, oilstick on canvas
110 x 110 cm
AU$2,900
1
2