Portfolio
Artists
Log In
Discovery
LaMontagne Gallery
Boston, MA
Message
Portfolio
Artists
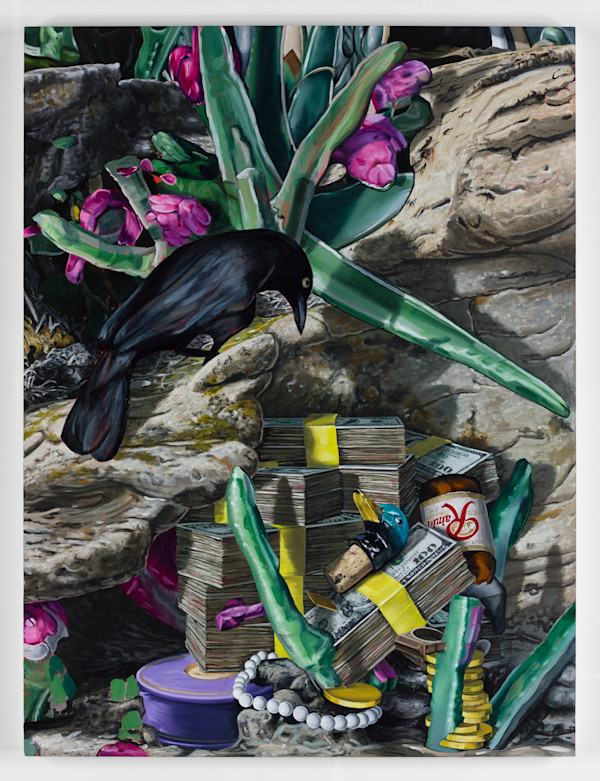
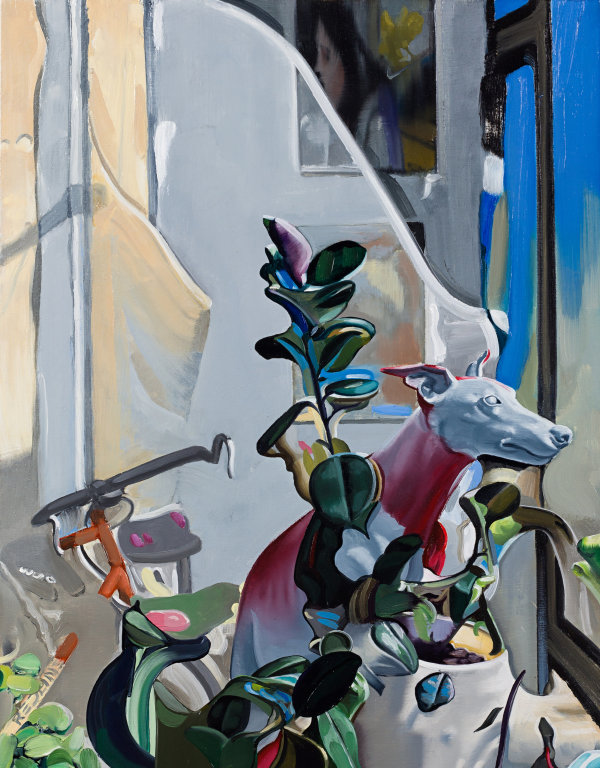
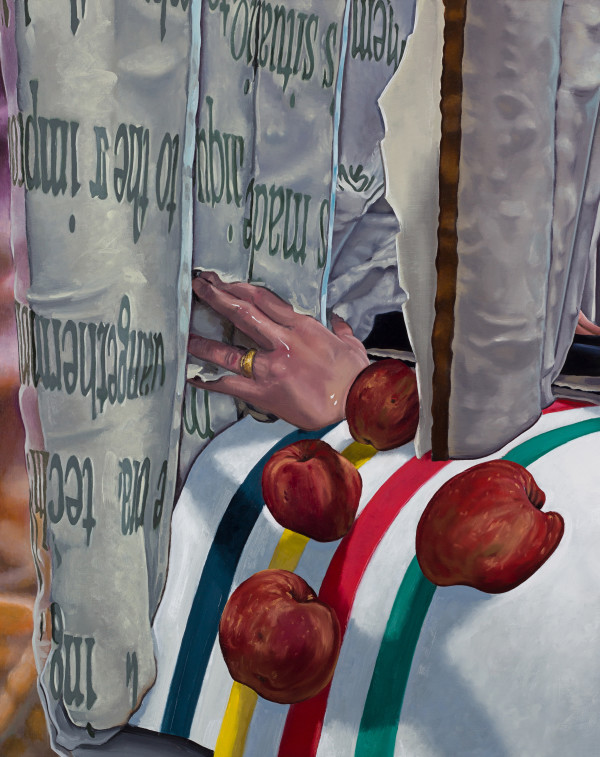
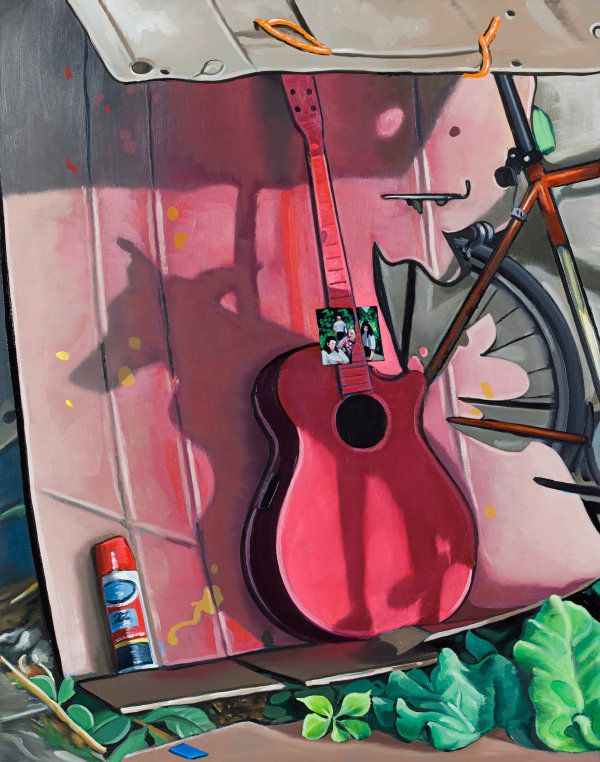
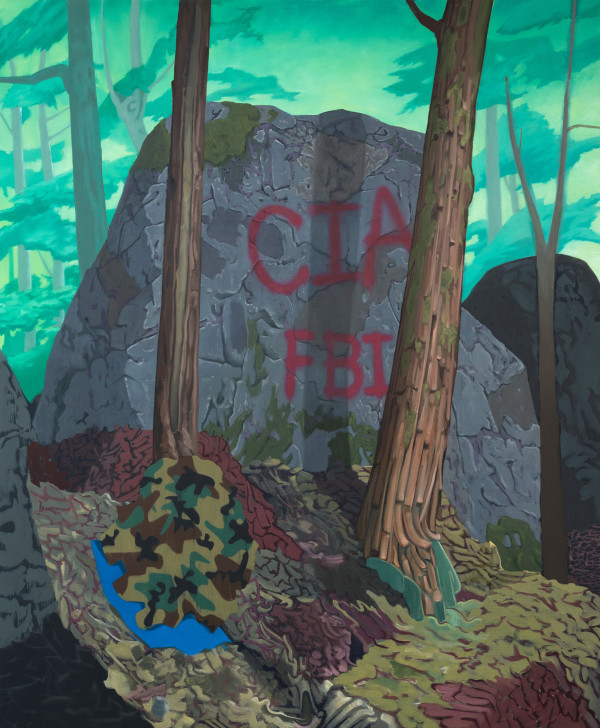
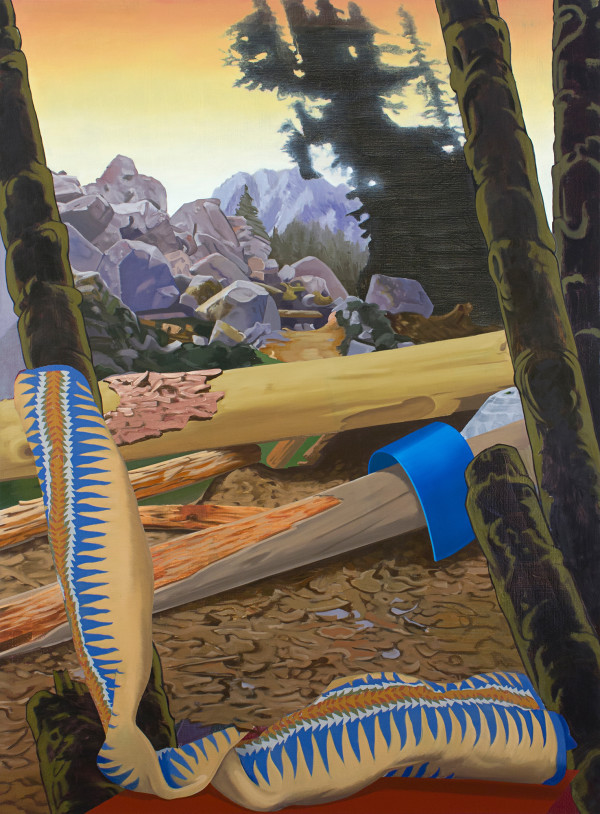
Sean Downey
Nest Egg
Oil on panel
40 x 30 in
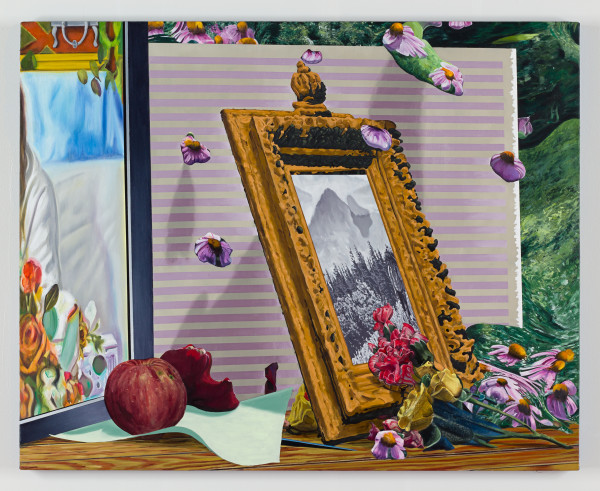
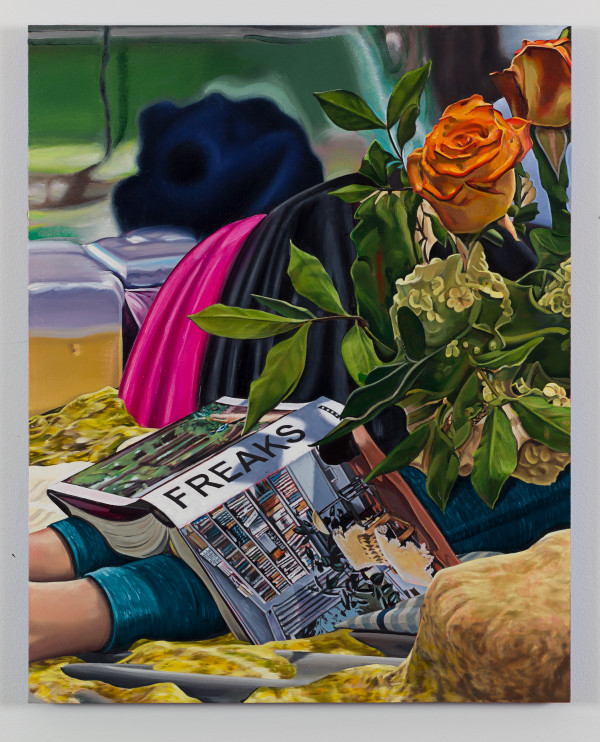
Sean Downey
Perpetual Novice
acrylic on canvas
32 x 40 in
Sean Downey
Satisfy Your Infernal Curiosity
Oil on canvas
18 x 14 in
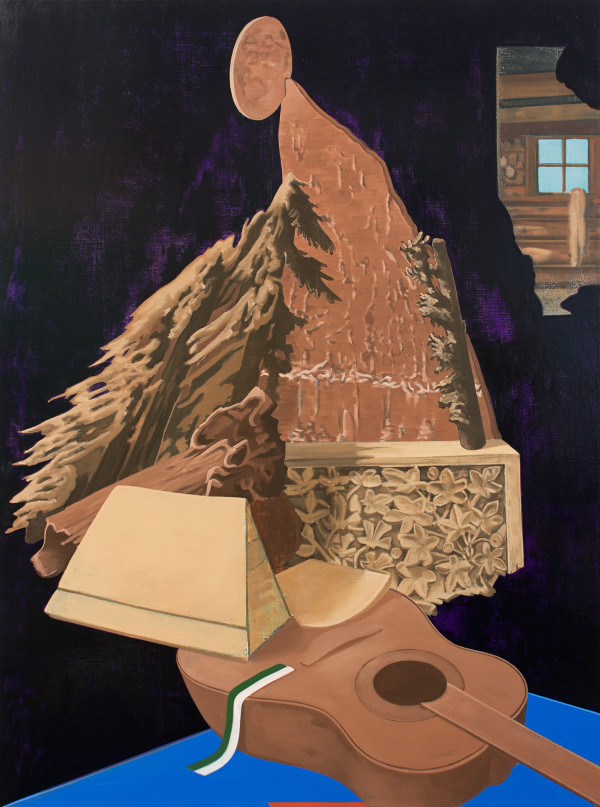
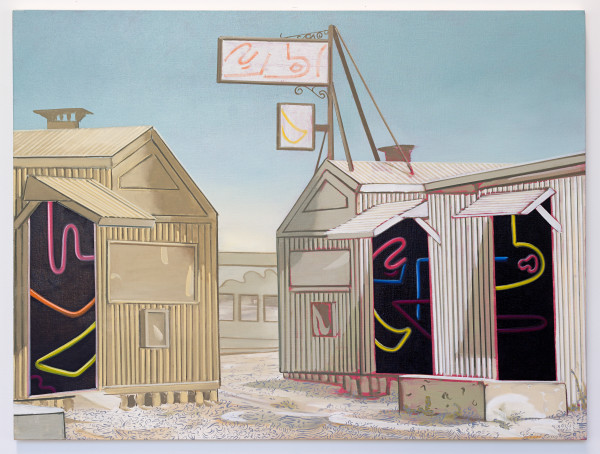
Sean Downey
Slow Learner
Oil on panel
36 x 48 in
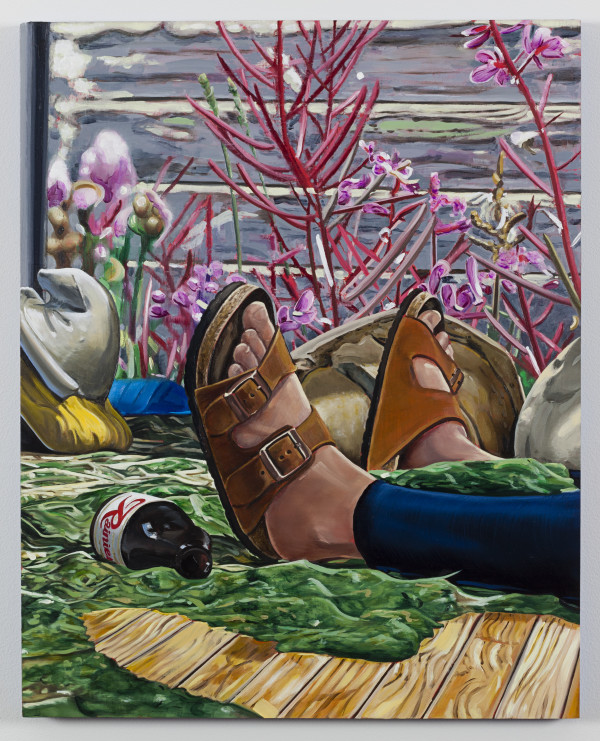
Sean Downey
Springtime for Shut-ins
Oil on linen over panel
20 x 16 in
Sean Downey
Staring Contest
Oil on canvas
60 x 48 in
Sean Downey
Studio II
Oil on panel
14 x 11 in
Sean Downey
Super Elegiac
Oil on canvas
48 x 36 in
Sean Downey
Surviving
Oil on linen over panel
20 x 16 in
Sean Downey
Susan Birks
oil on panel
20 x 16 in
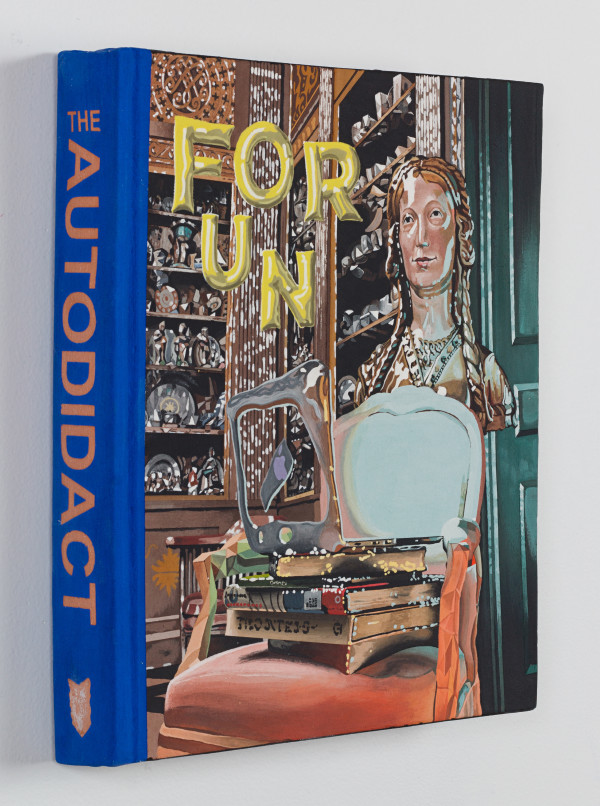
Sean Downey
The Autodidact
Glazed ceramic
13 x 11 x 2 in
Sean Downey
The Game
Glazed ceramic
15 x 10 x 5 in
Sean Downey
The Great Drawing Room (I)
Oil on panel
20 x 16 in
Sean Downey
The Great Drawing Room (III)
Oil on panel
20 x 16 in
Sean Downey
The Morning Room
Oil on panel
40 x 30 in
Sean Downey
Unrealistic Models
oil on canvas
34 x 42 in
Sean Downey
Untitled
Oil on canvas
18 x 14 in
Sean Downey
Untitled
Oil on panel
14 x 11 in
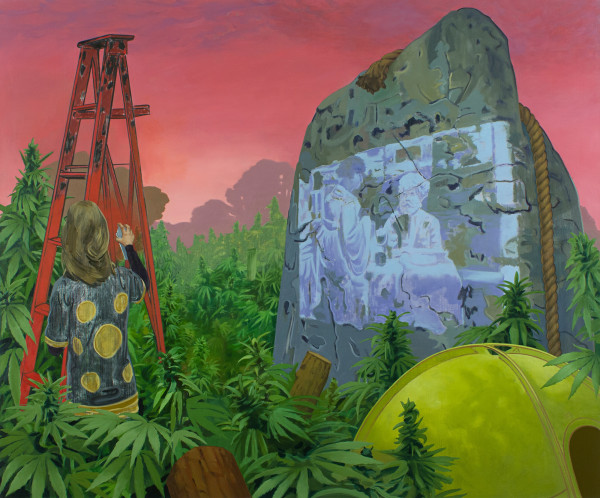
Sean Downey
Vague Feeling on the Edge of Town
Oil on Panel
36 x 48 in
Sean Downey
Volume Six
oil on panel
20 x 16 in
Sean Downey
Wheel in a Wheel
Oil on canvas
60 x 72 in
Sean Downey
Wild Combination
Oil on panel
40 x 30 in
Sean Downey
Xanadu
Oil on canvas
72 x 60 in
Sean Downey
Young Frankenstein
Oil on canvas
65 x 48 in
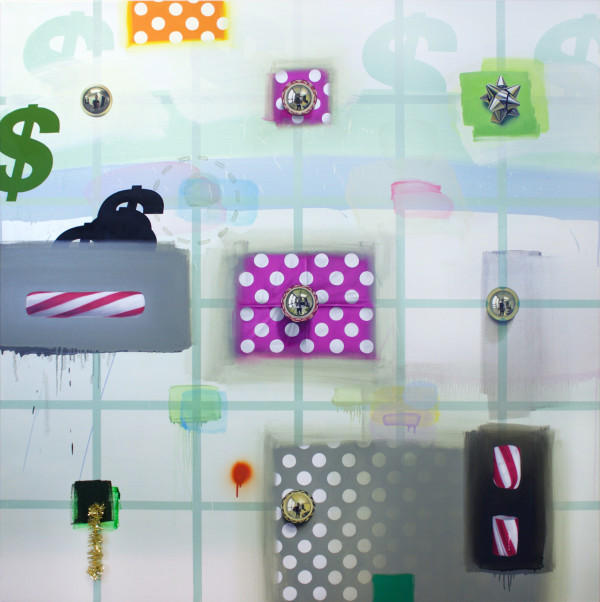
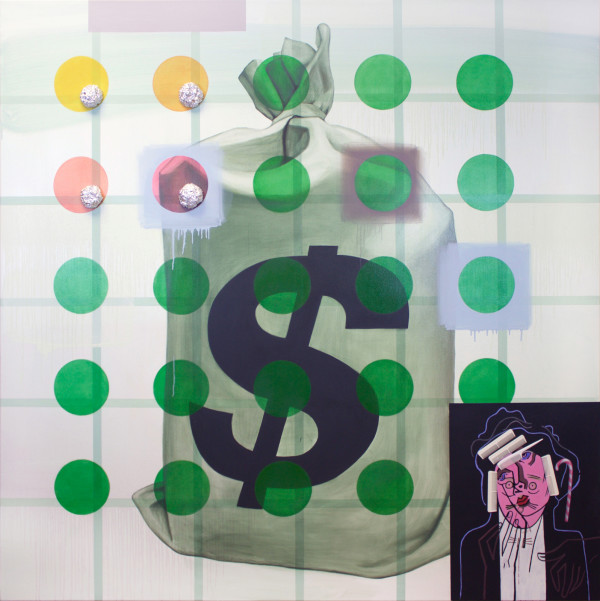
Craig Drennen
BANDIT 1
oil, alkyd, tinsel on canvas
72 x 72 in
Craig Drennen
BANDIT 2
Oil, alkyd, aluminum foil, plastic combs on canvas
72 x 72 in
Craig Drennen
BANDIT 3
Oil, alkyd, aluminum foil on canvas
72 x 72 in
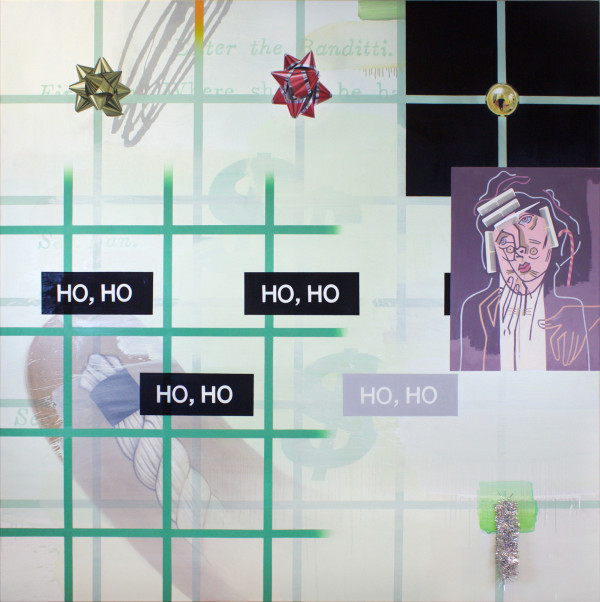
Craig Drennen
BANDIT 5
Oil, alkyd, tinsel, plastic combs on canvas
72 x 72 in
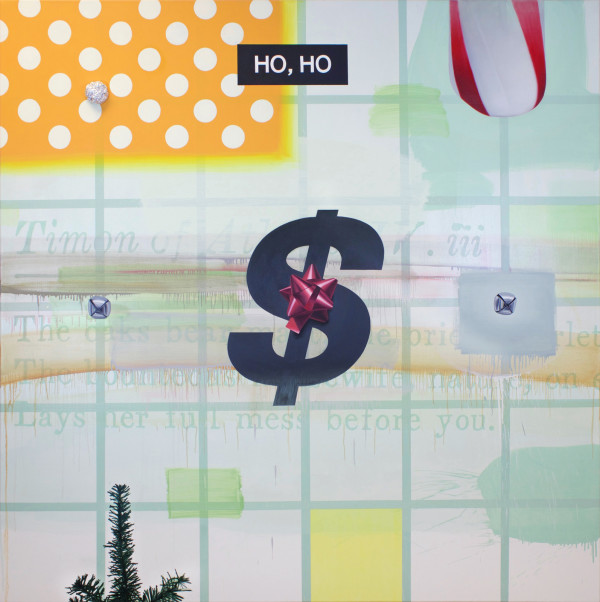
Craig Drennen
ORANGE BANDIT (NO AUDIO)
Oil, alkyd on canvas
24 x 24 in
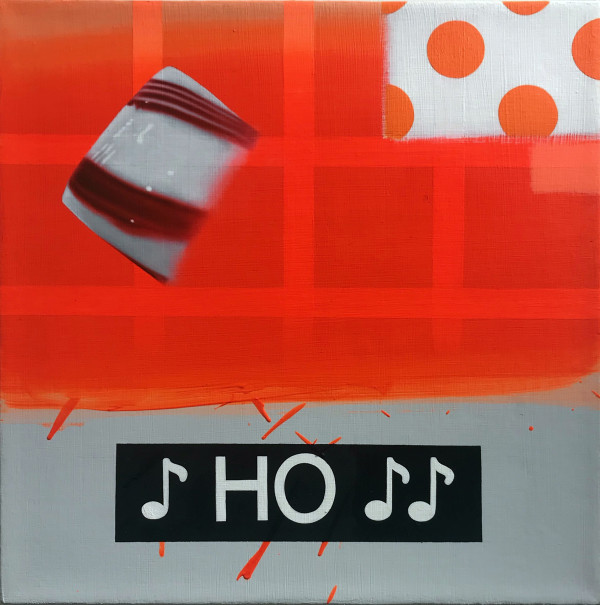
Craig Drennen
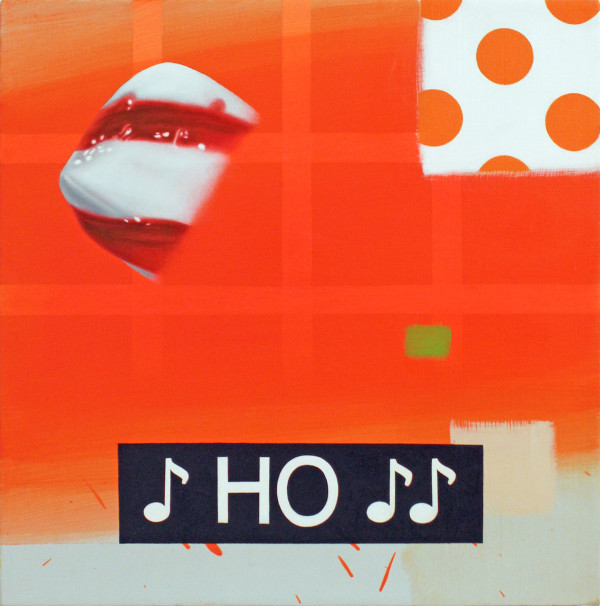
ORANGE BANDIT (♪HO♪♪) 1
Oil, alkyd on canvas
16 x 16 in
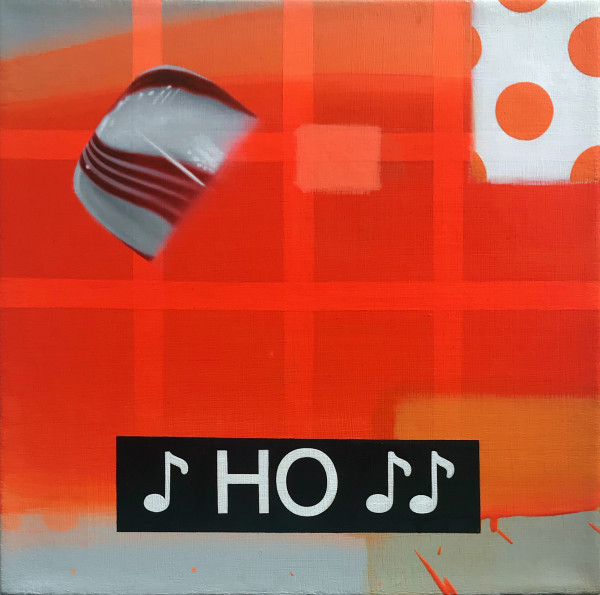
Craig Drennen
ORANGE BANDIT (♪HO♪♪) 2
Oil, alkyd on canvas
16 x 16 in
Craig Drennen
ORANGE BANDIT (♪HO♪♪) 3
Oil, alkyd on canvas
16 x 16 in
Craig Drennen
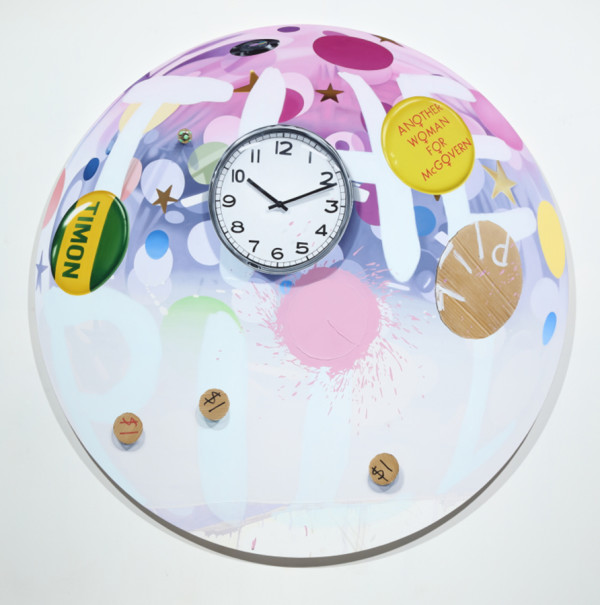
Pill the Pill
Oil and alkyd on canvas
Craig Drennen
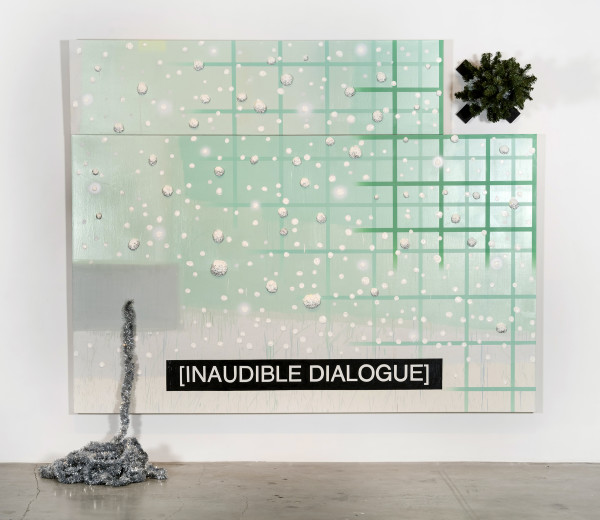
WINTER BANDIT (INAUDIBLE DIALOGUE)
Oil, alkyd, aluminum foil, tinsel on canvas + wooden base and artificial tree
96 x 120 in
Kim Faler
A bath towel, from The Copings
Plexi-mounted, archival inkjet print
32 x 18 in
Kim Faler
Anniversary
Archival inkjet print
33.25 x 22.5 in
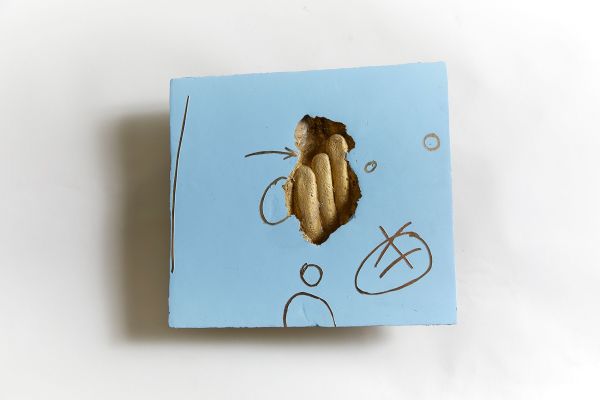
Kim Faler
Cull
cast brass and paint
9.5 x 8.5 x 2 in
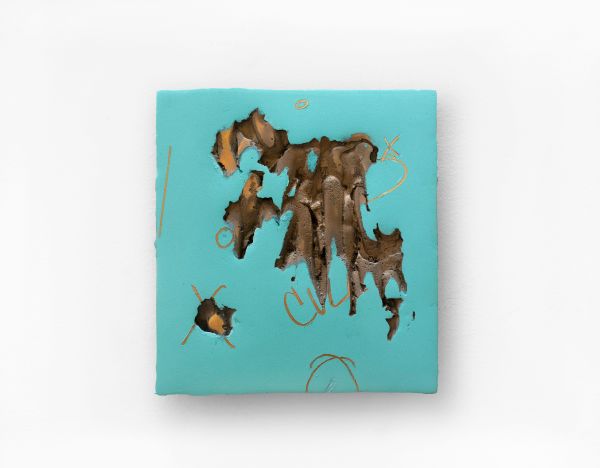
Kim Faler
Cull (green)
cast brass and paint
10 x 10 x 1.75 in
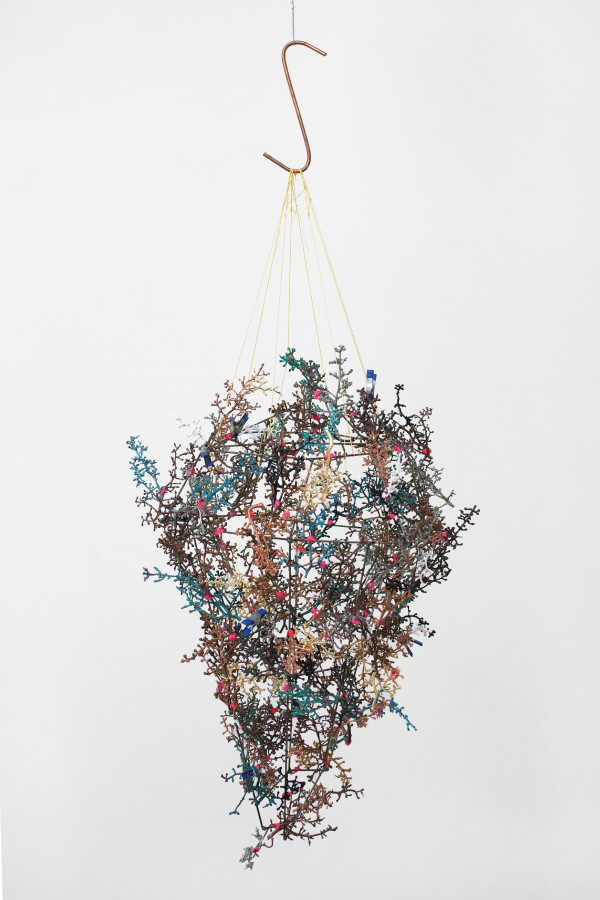
Kim Faler
Dolly
Electroplated grapevines, patina, latex paint, silicone, copper, metal clips and fishing line
56 x 22 x 18 in
Kim Faler
Enough
Hahnemuhle Photo Rag 308gsm white smooth paper
20 x 13.3 in
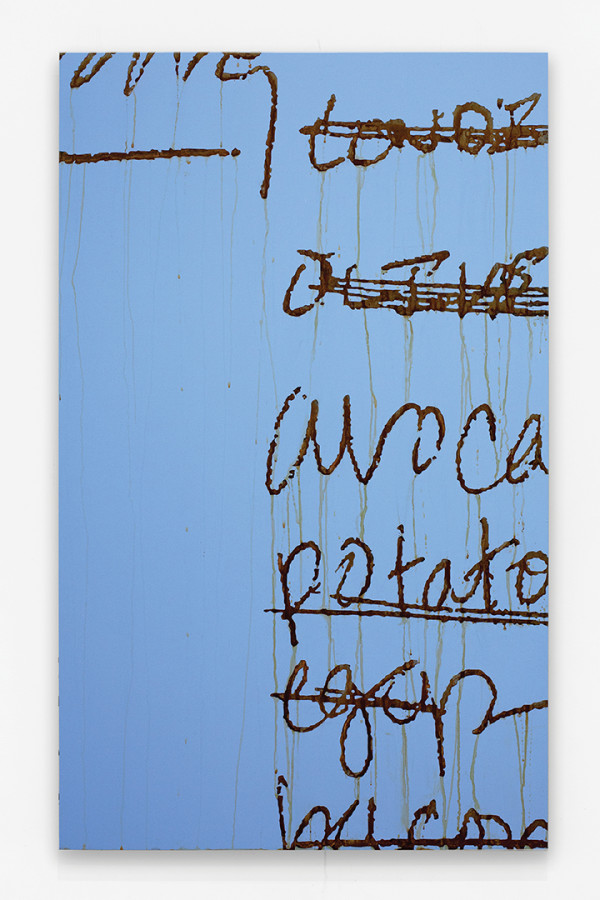
Kim Faler
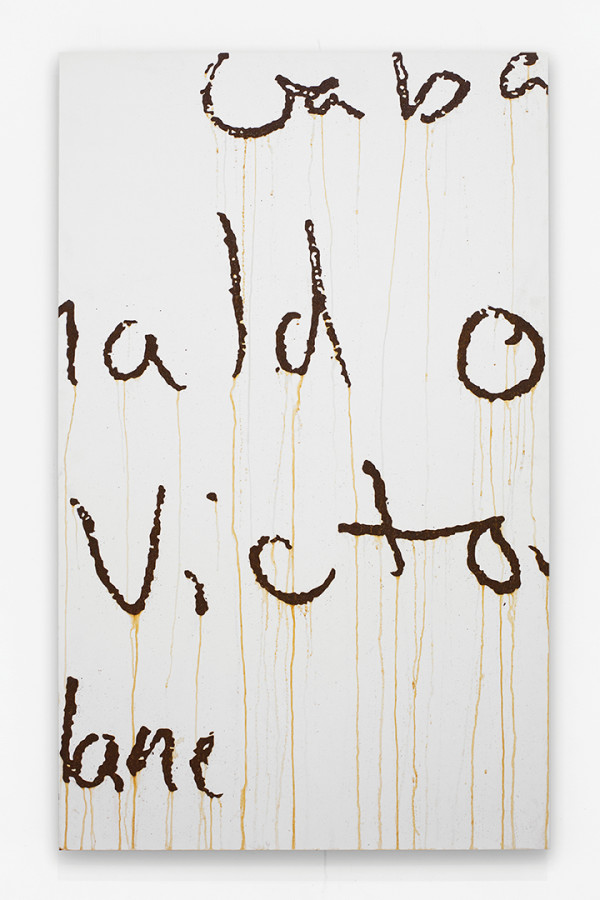
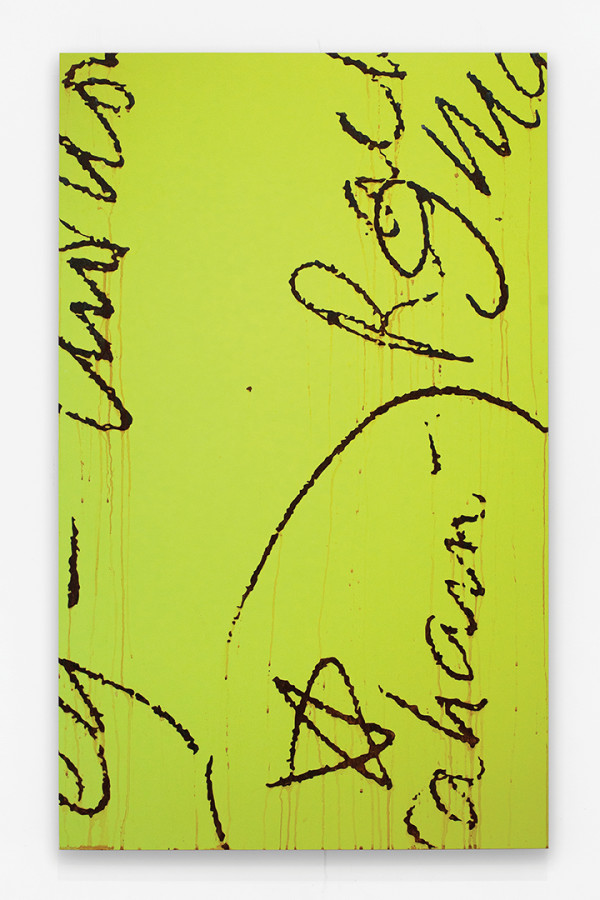
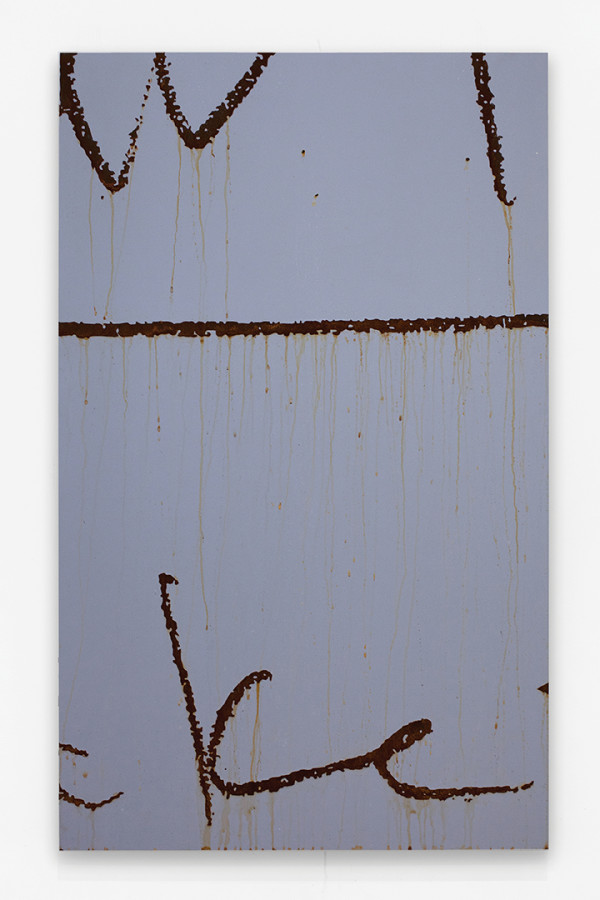
Give Me Your Anxiety (Carly)
automotive paint, rust on steel
50 x 30 in
Kim Faler
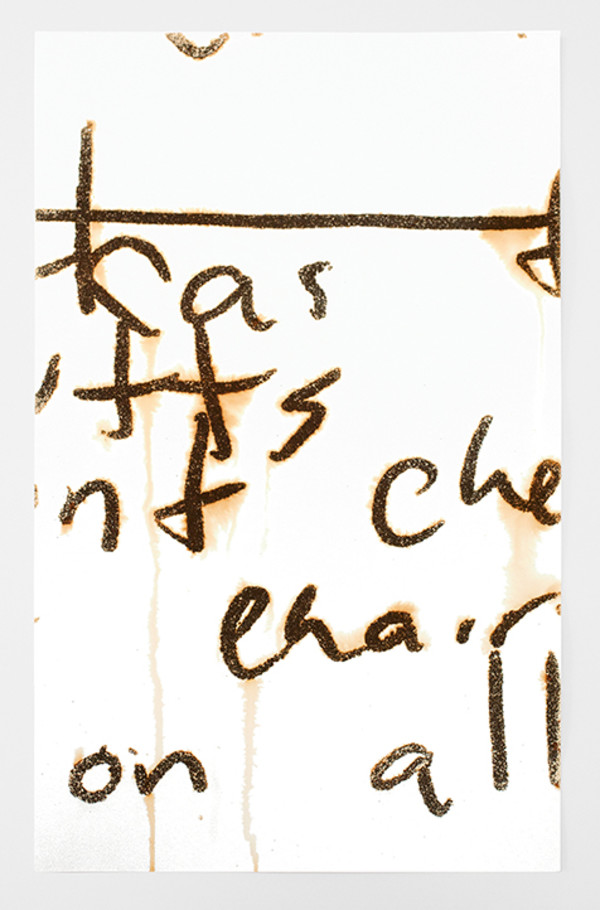
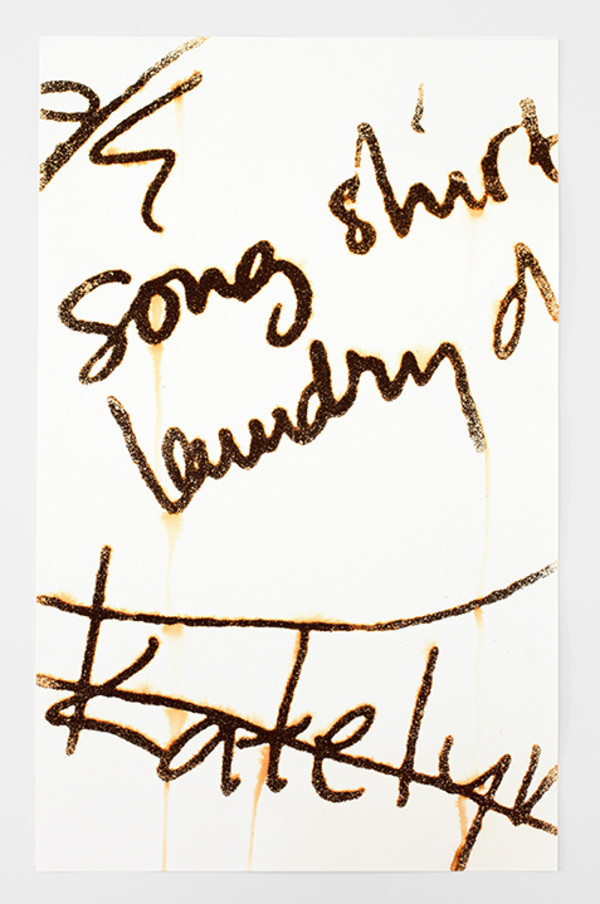
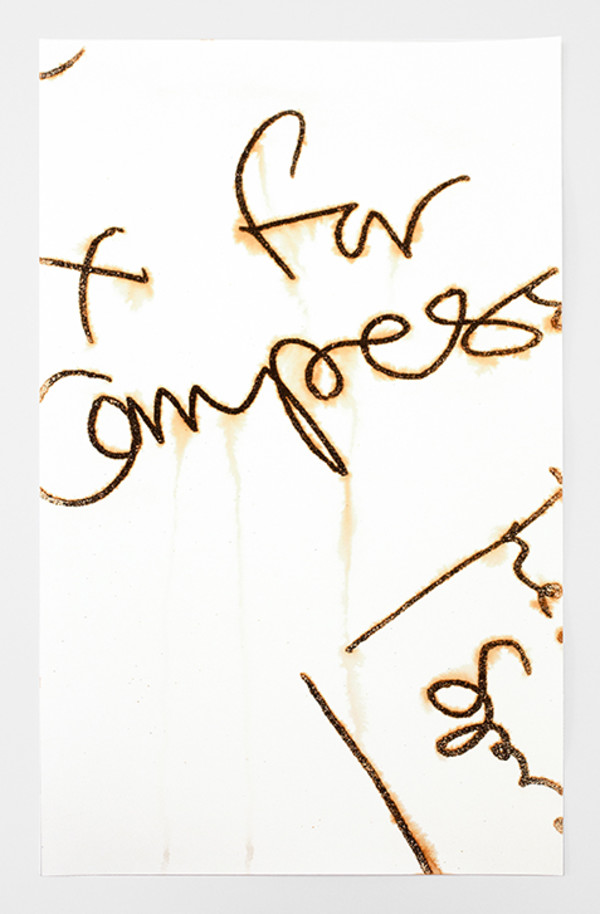
Give Me Your Anxiety (Ian)
Flocked iron on paper
25 x 15 in
Kim Faler
Give Me Your Anxiety (Ian)
automotive paint, rust on steel
50 x 30 in
Kim Faler
Give Me Your Anxiety (Lily)
Flocked iron on paper
25 x 15 in
Kim Faler
Give Me Your Anxiety (Lily)
automotive paint, rust on steel
50 x 30 in
Kim Faler
Give Me Your Anxiety (Seth)
Flocked iron on paper
25 x 15 in
Kim Faler
Give Me Your Anxiety (Seth), 2018
automotive paint, rust on steel
50 x 30 in
Kim Faler
Give Me Your Anxiety (Tyler)
Flocked iron on paper
25 x 15 in
Kim Faler
Give Me Your Anxiety (Tyler)
automotive paint, rust on steel
50 x 30 in
Kim Faler
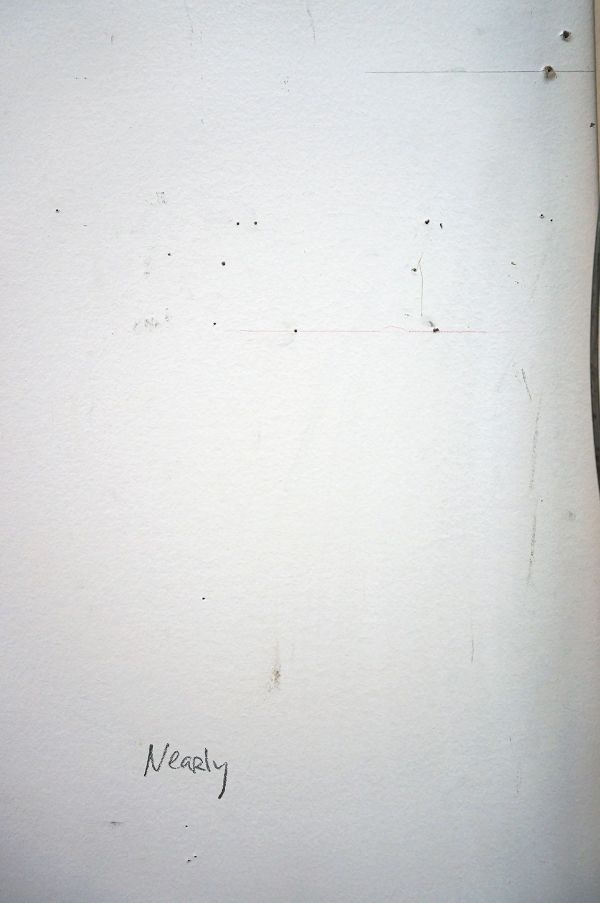
Nearly
Hahnemuhle Photo Rag 308gsm white smooth paper
20 x 13.3 in
1
2
3
4
5
6
7
…
11
12