Portfolio
About
Collections
Log In
Discovery
James Joel Holmes
Ogden, UT
Message
Portfolio
About
Collections
All
Available
Sold
Collection: Duo Tabulatorum
(Two Sides to Every Story)
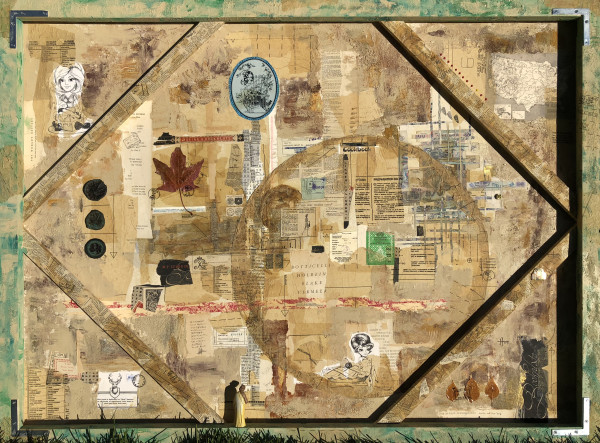
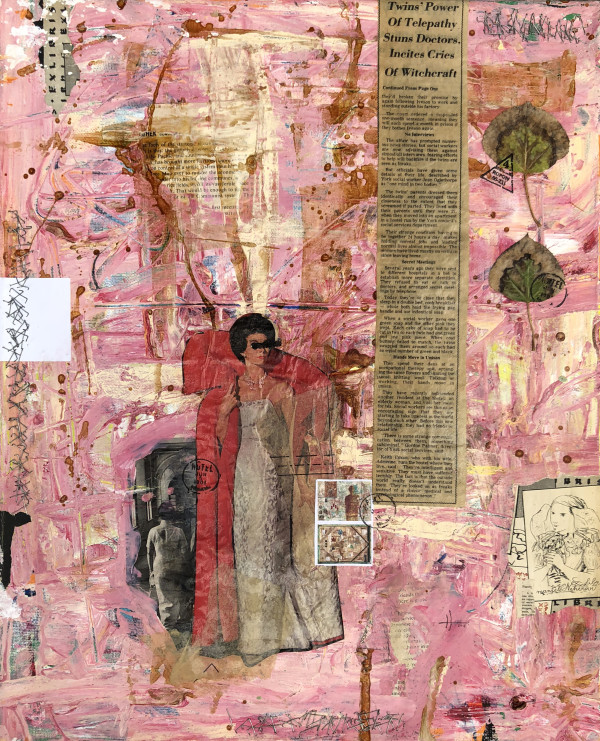
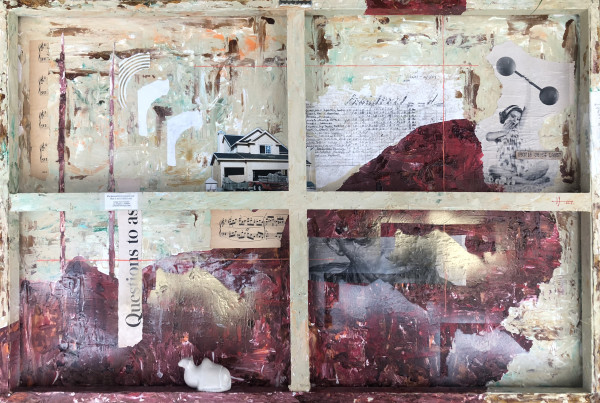
Tower Power (B-side)
, 2018
Mixed Media on Canvas
36 x 48 x 1.25 in
Sold
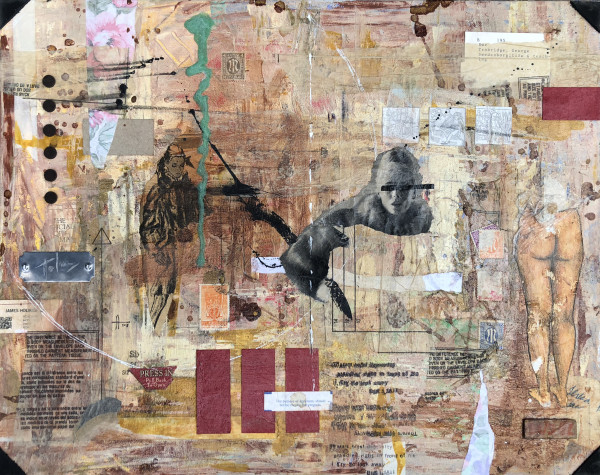
Tower Power
, 2018
Mixed Media on Canvas
36 x 48 x 1.25 in
Sold
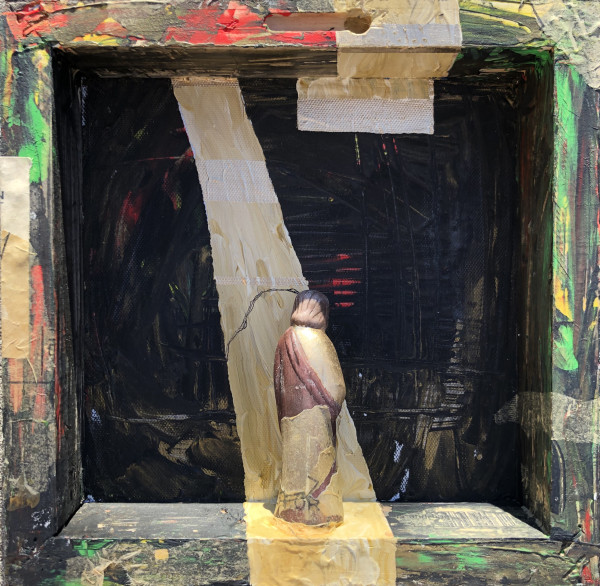
Stars Might Shimmer
, 2018
Mixed Media on Canvas
6 x 6 x 1.5 in
Sold
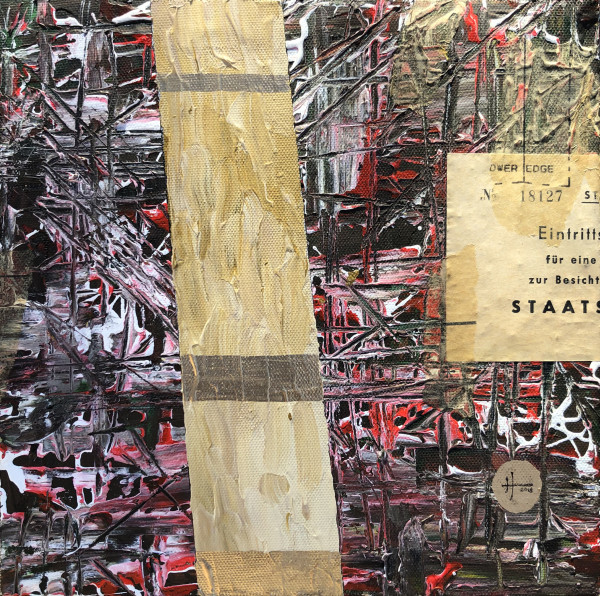
Stars Might Shimmer
, 2018
Mixed Media on Canvas
6 x 6 x 1.5 in
Sold
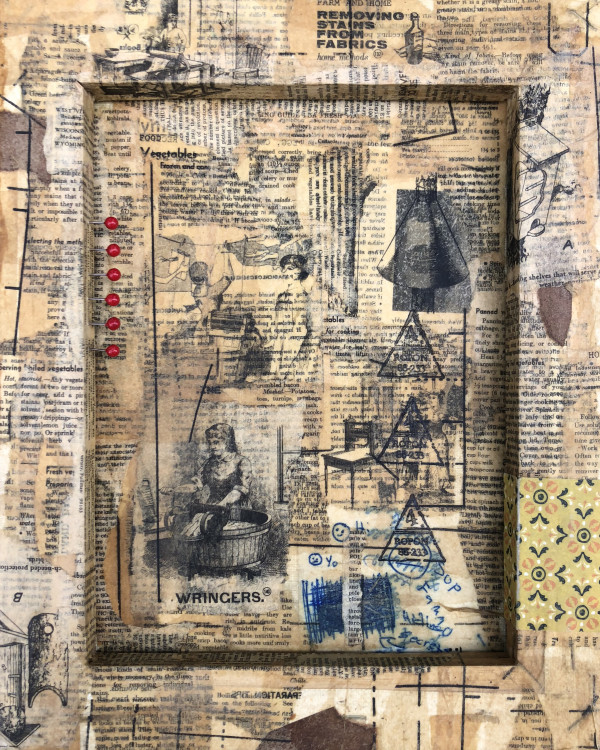
Unfolding Plan (B-side)
, 2018
Mixed Media on Canvas
20 x 16 x 0.5 in
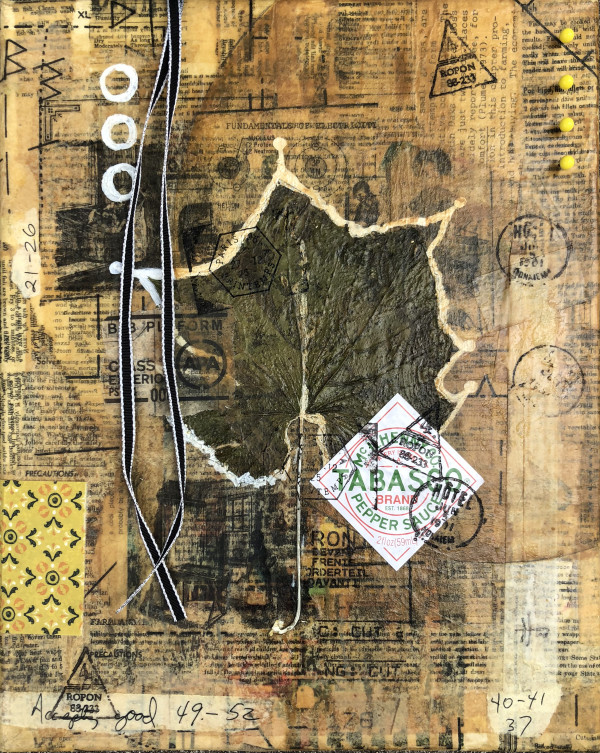
Unfolding Plan
, 2018
Mixed Media on Canvas
20 x 16 x 0.5 in
$200
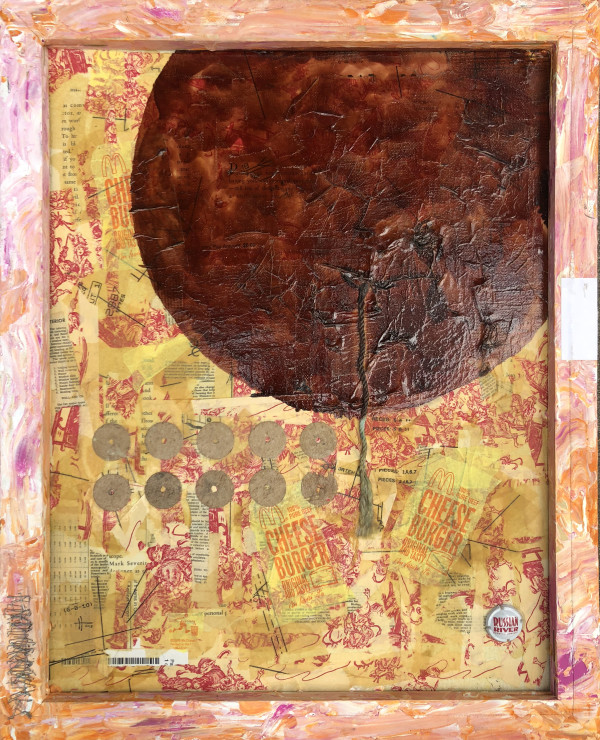
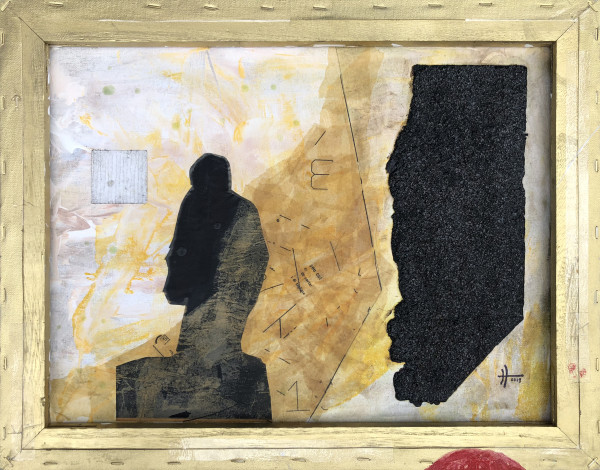
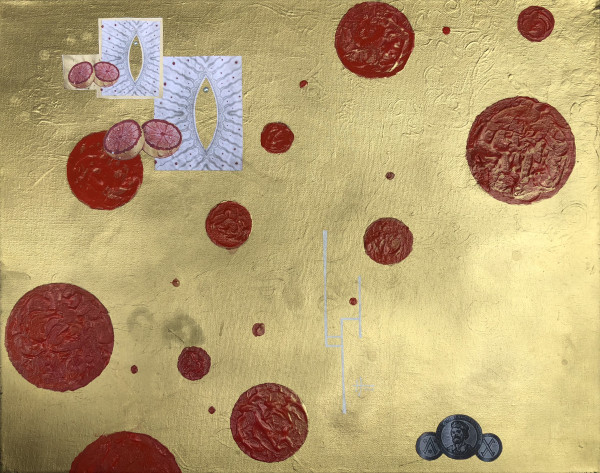
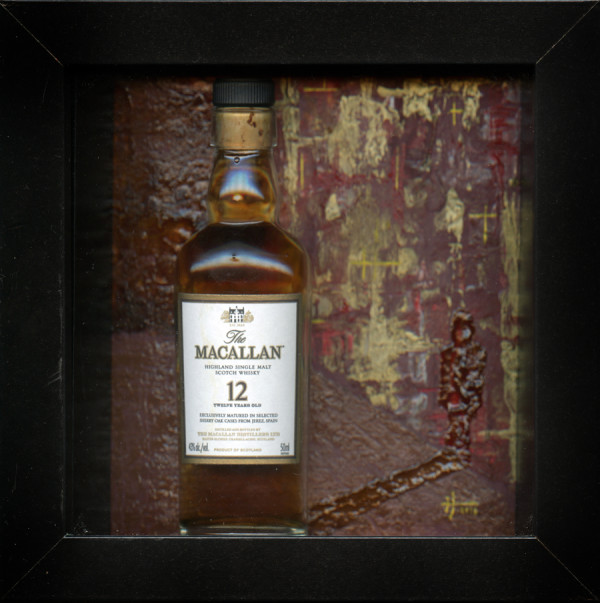
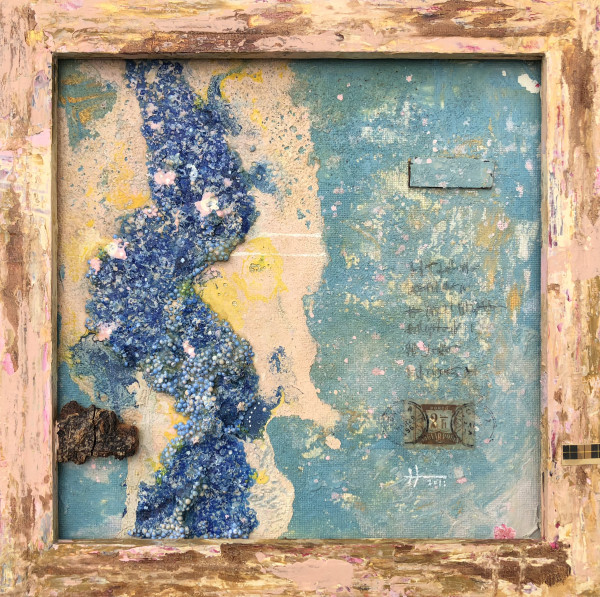
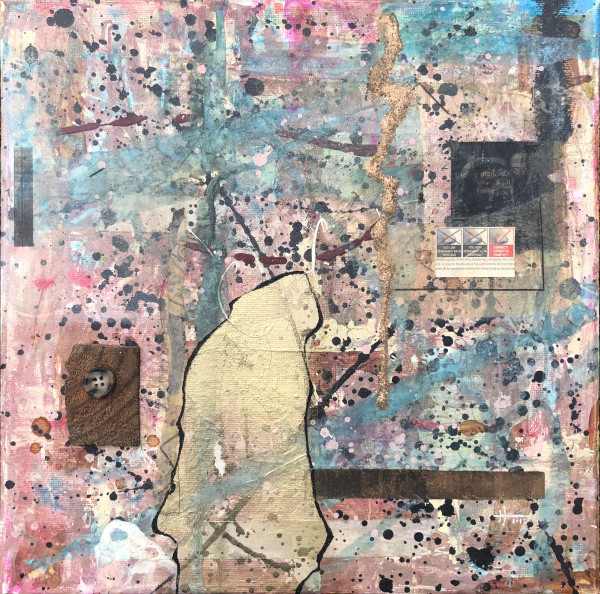
Sphere of Despair
, 2018
Mixed Media on Canvas
16 x 20 x 1.5 in
$220
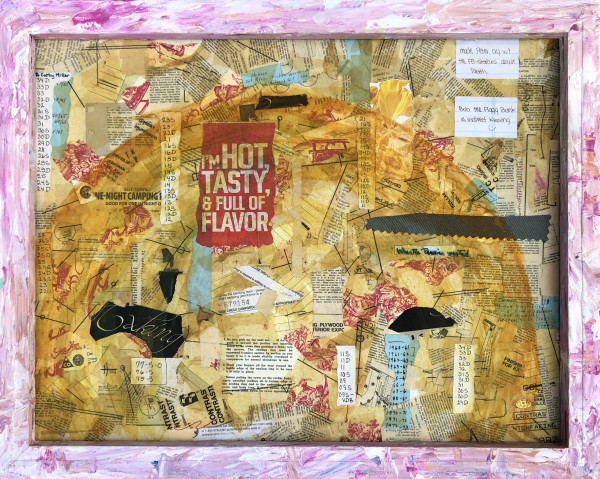
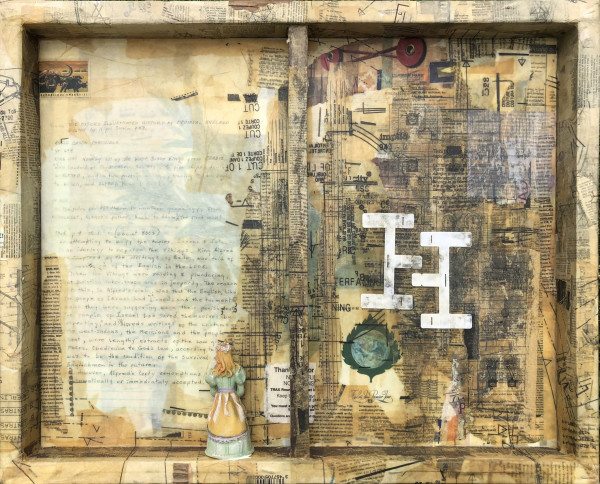
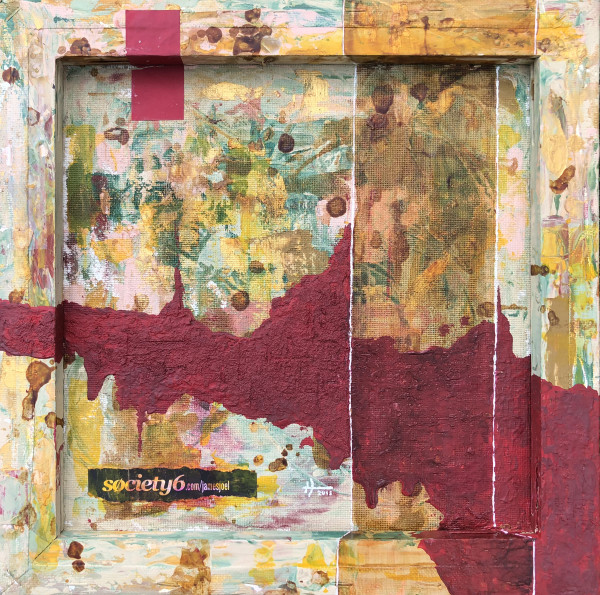
Geometric Interior (B-side)
, 2018
Mixed Media on Canvas
16 x 20 x 0.5 in
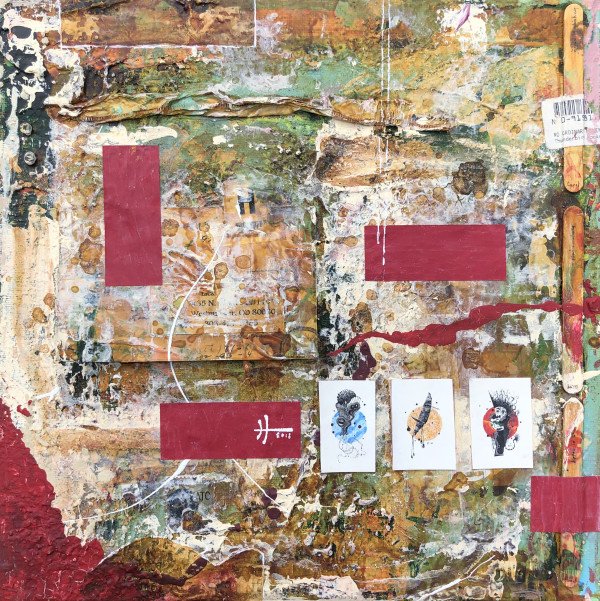
Geometric Interior
, 2018
Mixed Media on Canvas
16 x 20 x 0.5 in
$200
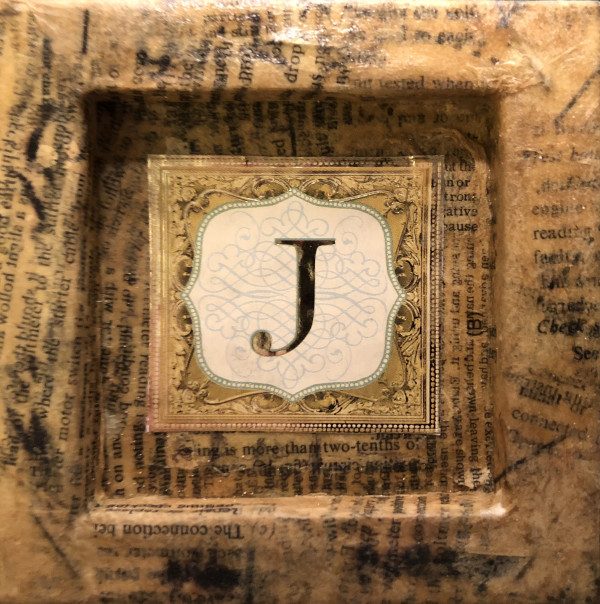
Portrait of Japheth (B-side)
, 2018
Collage
3 x 3 x 0.5 in
Sold
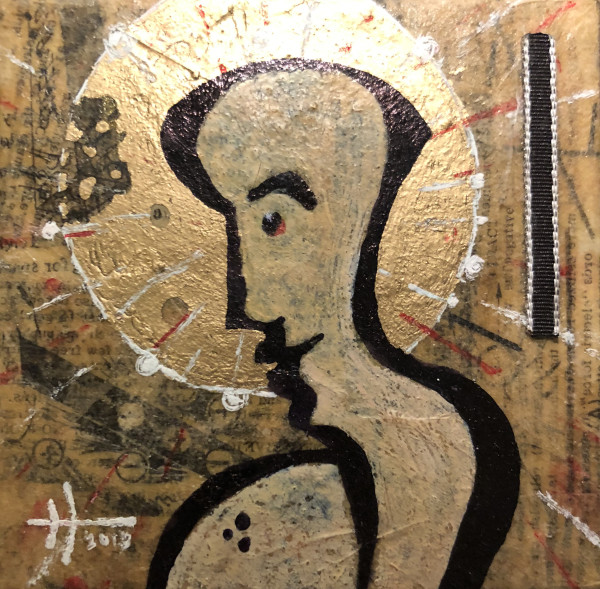
Portrait of Japheth
, 2018
Mixed Media on Canvas
3 x 3 x 0.5 in
Sold
Fugue 237g (B-side)
, 2018
Mixed Media on Canvas
10 x 8 x 0.5 in
Fugue 237g
, 2018
Mixed Media on Canvas
10 x 8 x 0.5 in
Sold
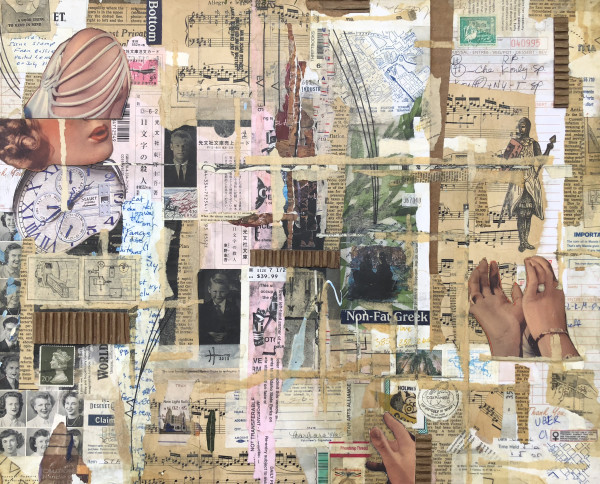
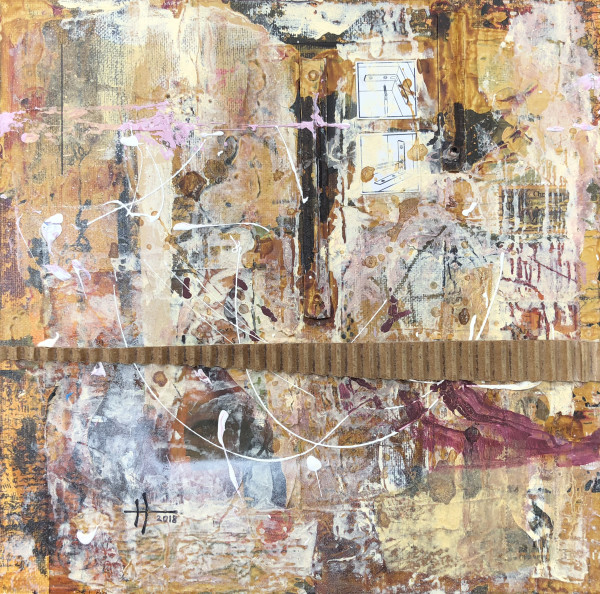
Cupid's Coast (b-side)
, 2018
Mixed Media on Canvas
16 x 20 x 0.5 in
Cupid's Coast
, 2018
Mixed Media on Canvas
16 x 20 x 0.5 in
$200
Rotten Robot (B-side)
, 2018
Mixed Media
16 x 20 x 1.5 in
$220
Rotten Robot
, 2018
Mixed Media
16 x 20 x 1.5 in
$220
Hunter and the Boy
, 2018
Collage
5 x 5 in
Sold
Wet Mold (back)
, 2018
Mixed Media on Canvas
12 x 12 x 0.5 in
$120
Wet Mold
, 2018
Mixed Media on Canvas
12 x 12 x 0.5 in
$120
Intuitive Stain (B-side)
, 2018
Mixed Media
12 x 12 x 0.5 in
$120
Intuitive Stain
, 2018
Mixed Media
12 x 12 x 0.5 in
$120
Local Nudist (B-side)
, 2018
Mixed Media on Canvas
12 x 12 x 0.5 in
Sold
Local Nudist
, 2018
Mixed Media on Canvas
12 x 12 x 0.5 in
Sold
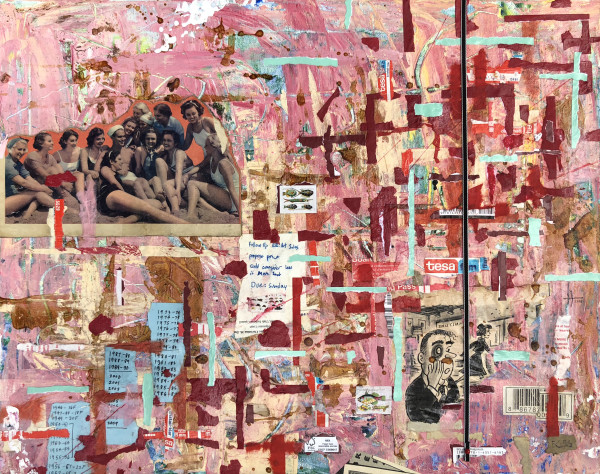
Cisco's Ghosts (B-side)
, 2018
Mixed Media on Canvas
24 x 36 x 1.5 in
1
2
3
4
5