Portfolio
About
Collections
Log In
Discovery
Satinder Parhar
Wolverhampton
Message
Portfolio
About
Collections
All
Available
Sold
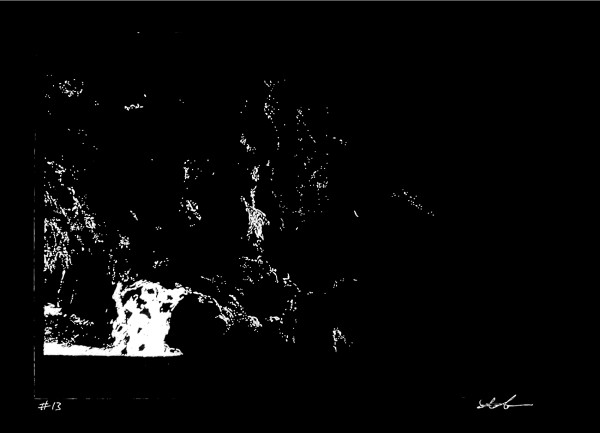
#13
Drypoint
24.6 x 33.7 cm
£55
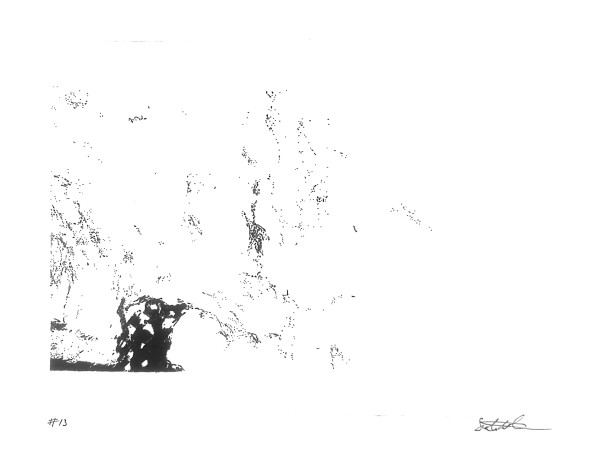
#13
Drypoint
26 x 34.8 cm
£55
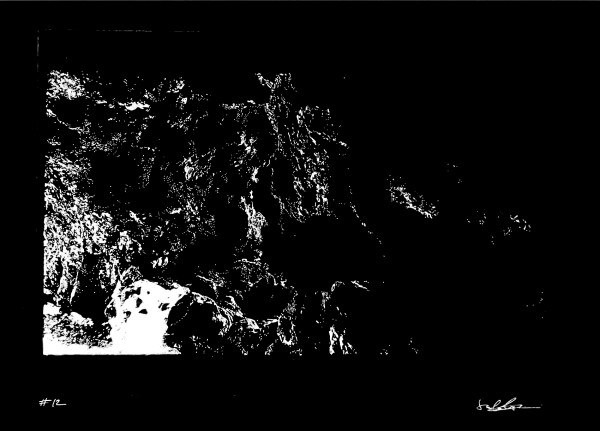
#12
Drypoint
24.3 x 35.8 cm
£190
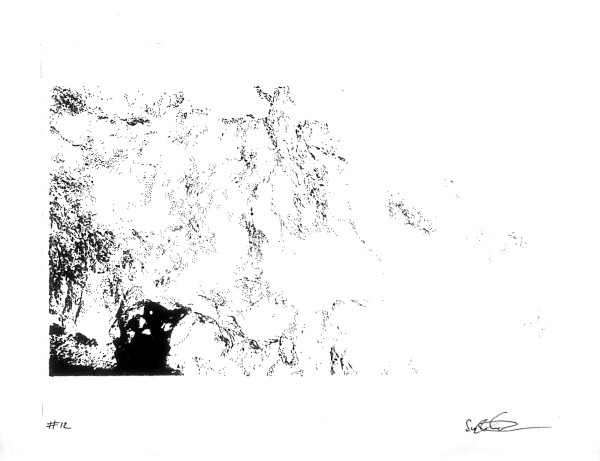
#12
Drypoint
26 x 34 cm
£190
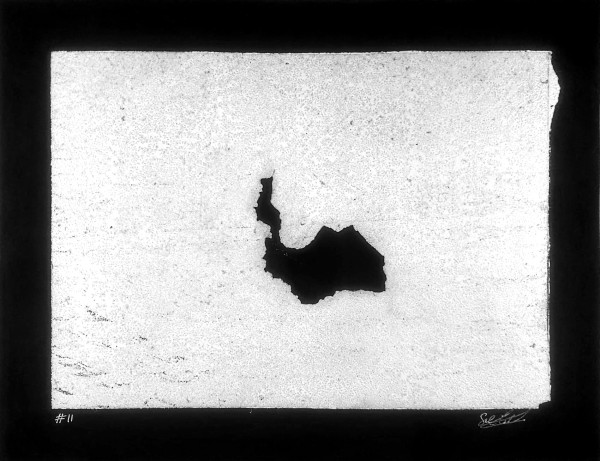
#11
Drypoint
26.2 x 34.3 cm
£50
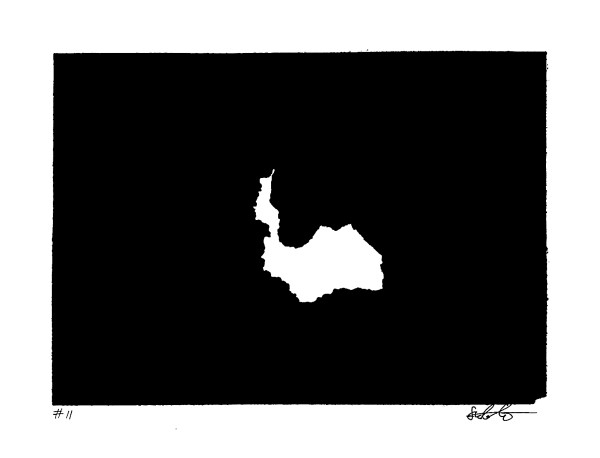
#11
Drypoint
26.4 x 34.7 cm
£175
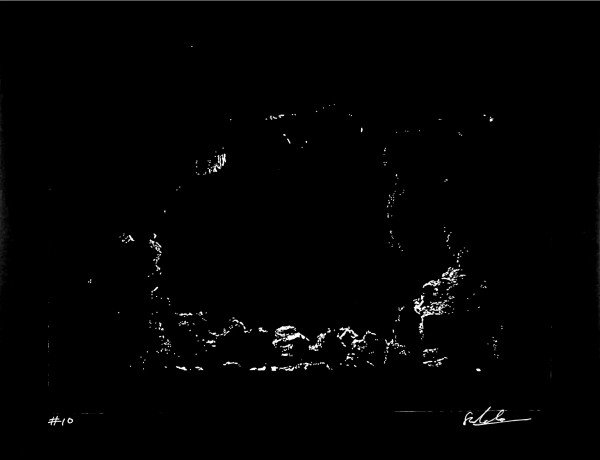
#10
Drypoint
27 x 35.4 cm
£50
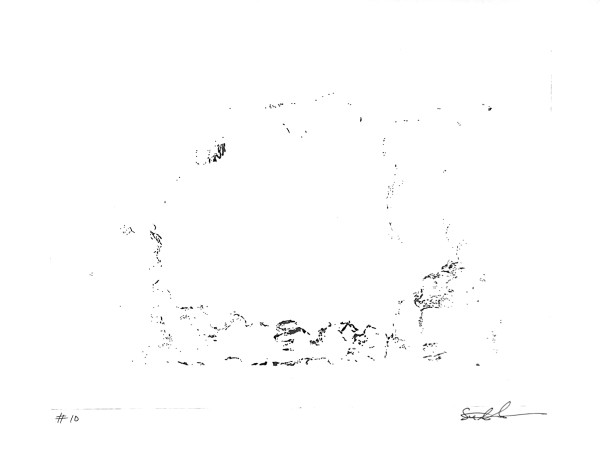
#10
Drypoint
27 x 35.5 cm
£50
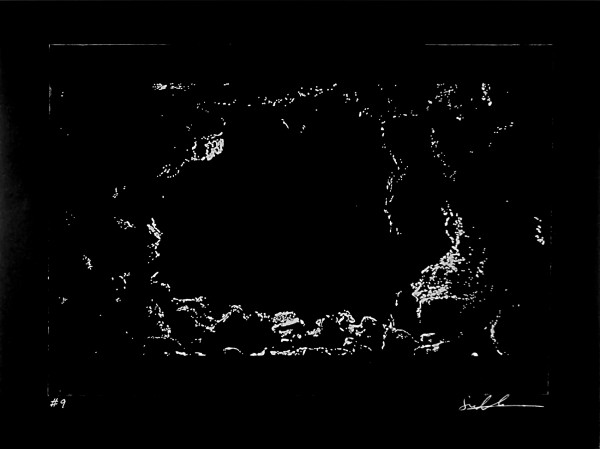
#9
Drypoint
26.5 x 35.8 cm
£55
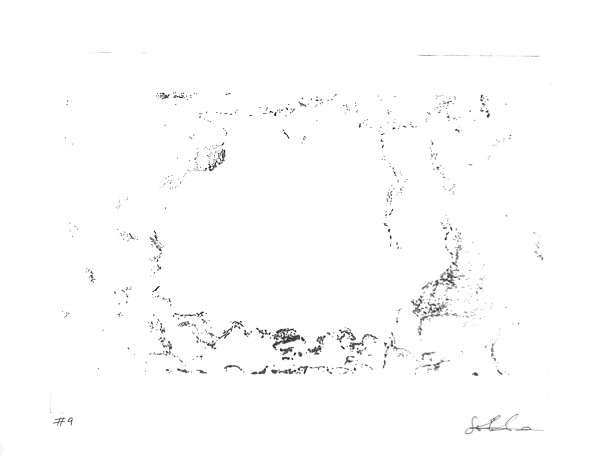
#9
Drypoint
27.2 x 35.5 cm
£55
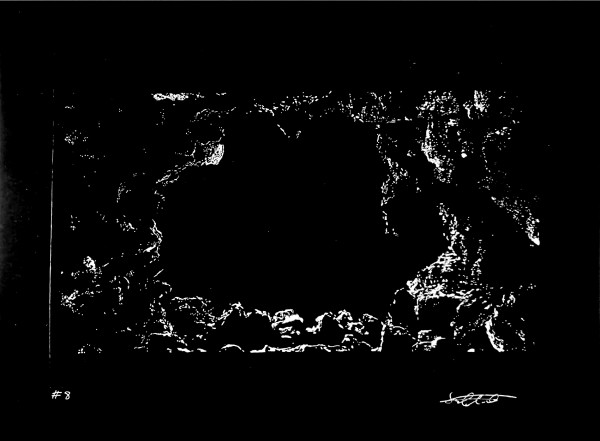
#8
Drypoint
27 x 36.2 cm
£60
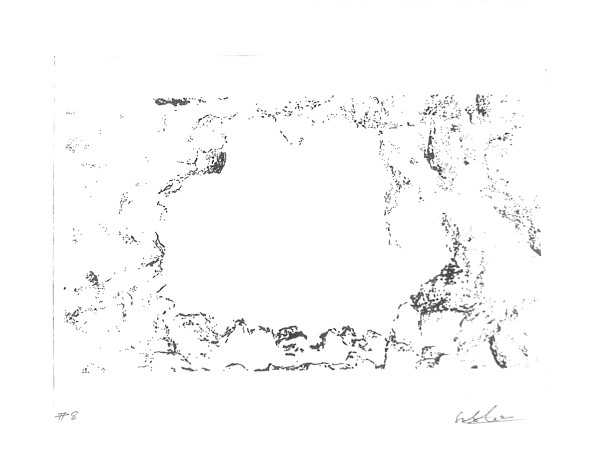
#8
Drypoint
27.7 x 36 cm
£60
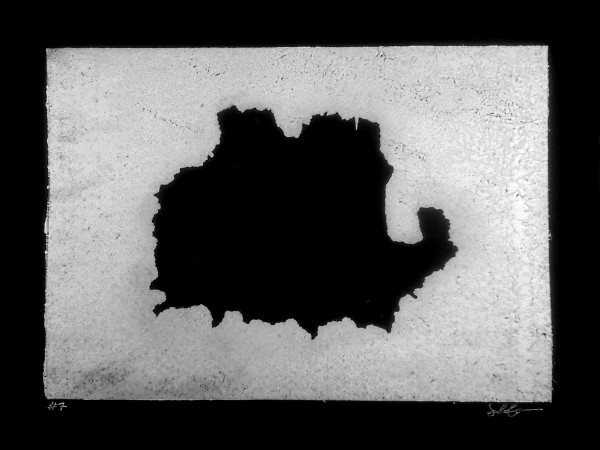
#7
Drypoint
26.4 x 34.5 cm
£50
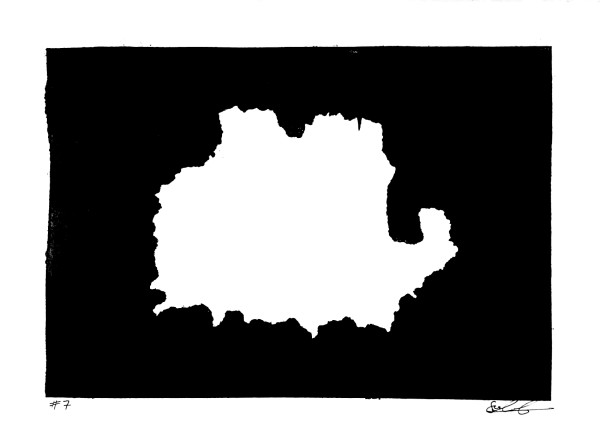
#7
Drypoint
25.7 x 34.3 cm
£50
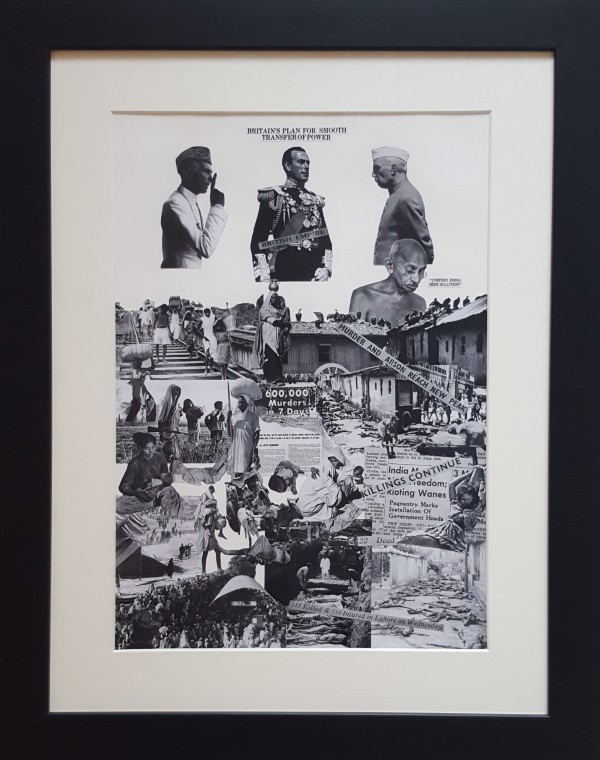
Britain's Plan for a Smooth Transfer of Power
Photomontage
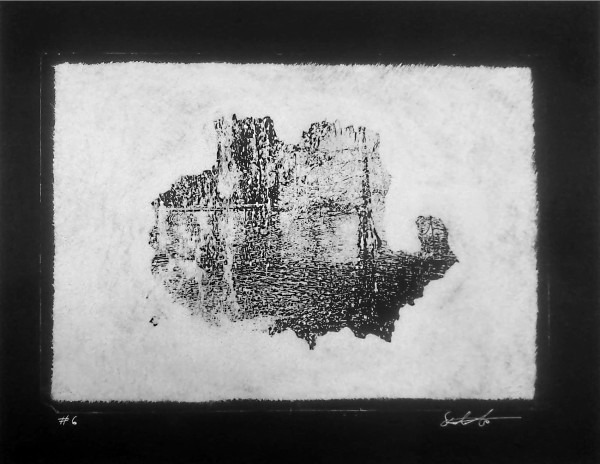
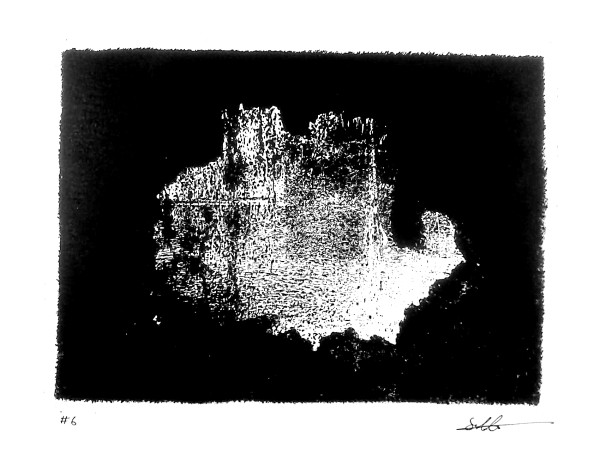
#6
Drypoint
26.7 x 34.2 cm
£65
#6
Drypoint
25.7 x 34.4 cm
£65
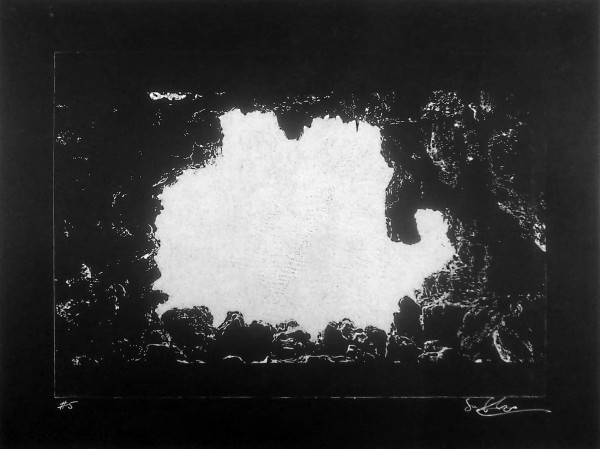
#5
Drypoint
26.7 x 35.1 cm
£225
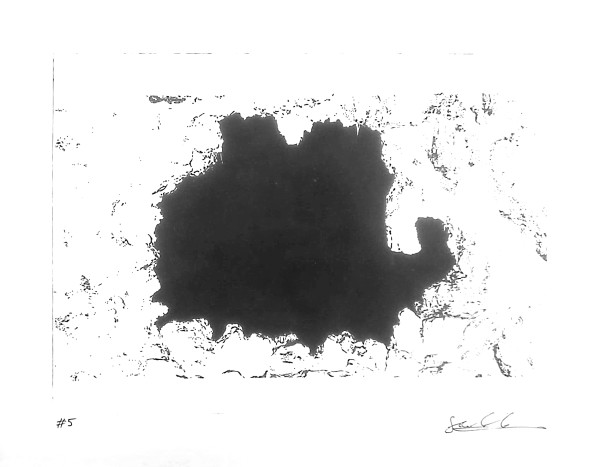
#5
Drypoint
27 x 34.7 cm
£225
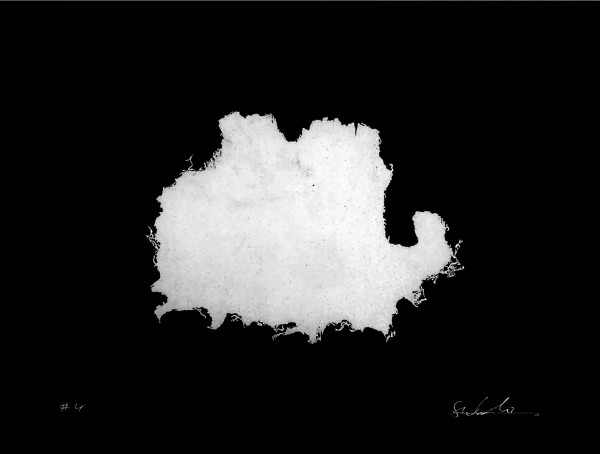
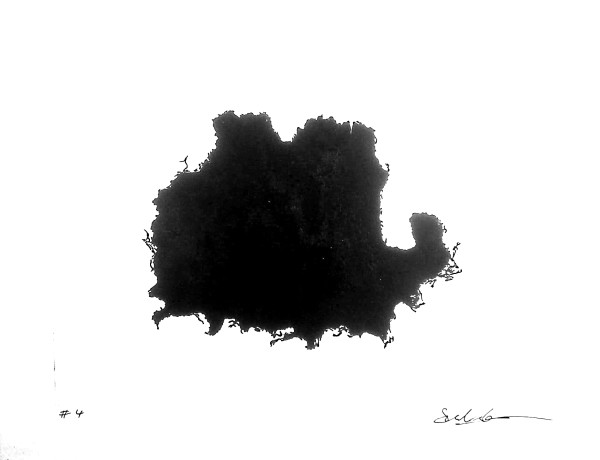
#4
Drypoint
26.7 x 35.1 cm
Sold
#4
Drypoint
27.3 x 34.7 cm
£215
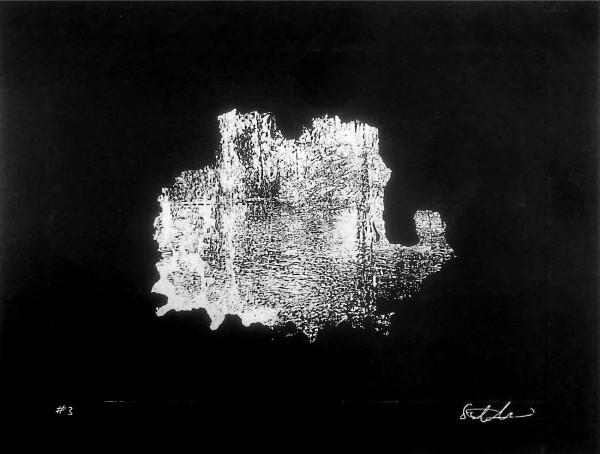
#3
Drypoint
26.4 x 35 cm
£225
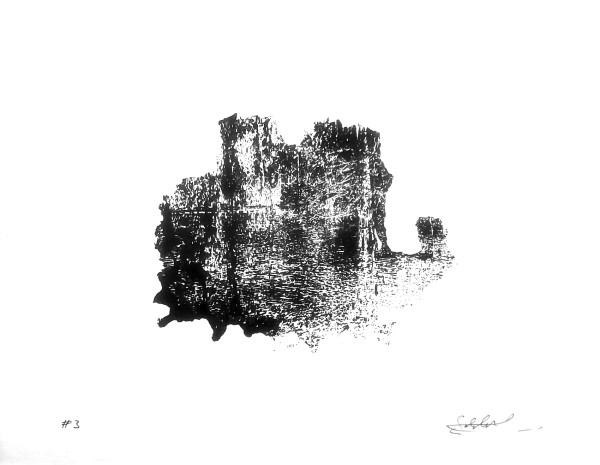
#3
Drypoint
27 x 34.6 cm
£225
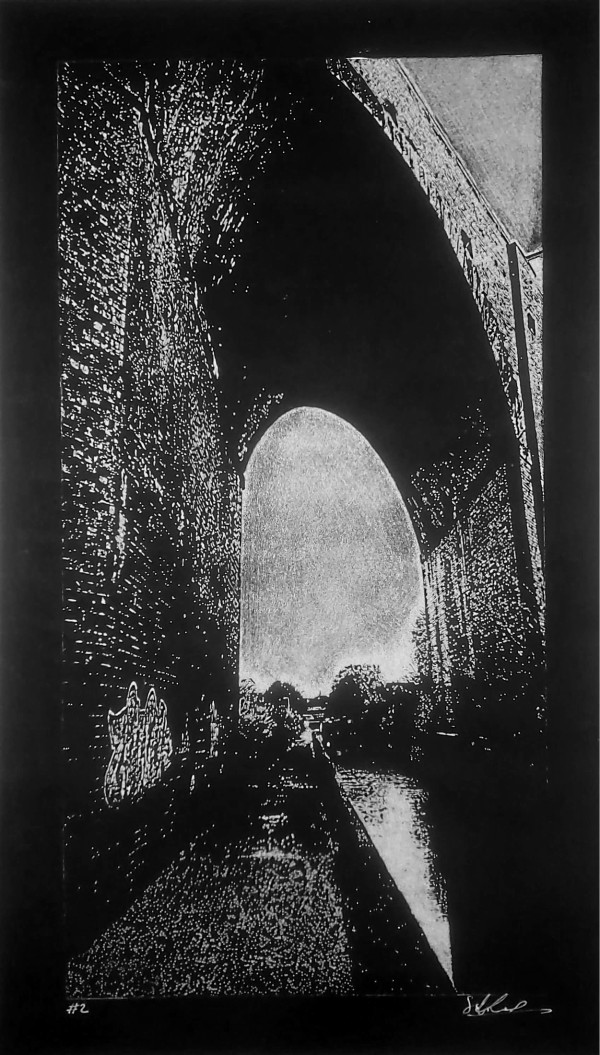
#2
Drypoint
45.7 x 26.6 cm
£300
#2
Drypoint
46.5 x 27 cm
£65
1
2
3
4