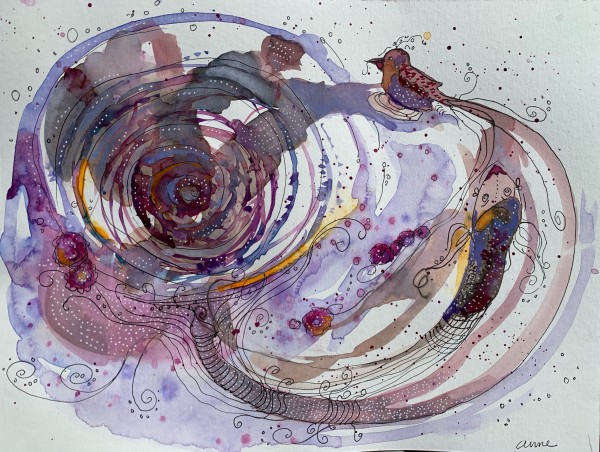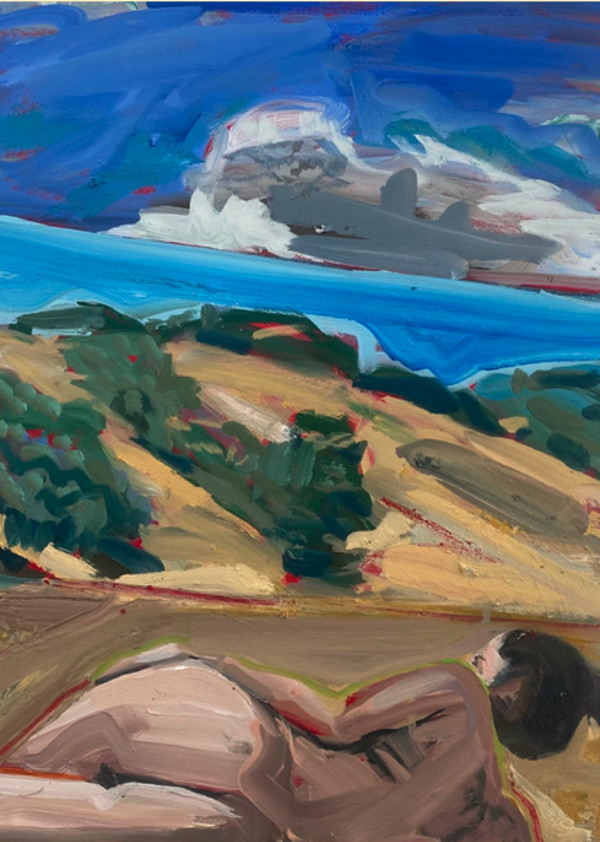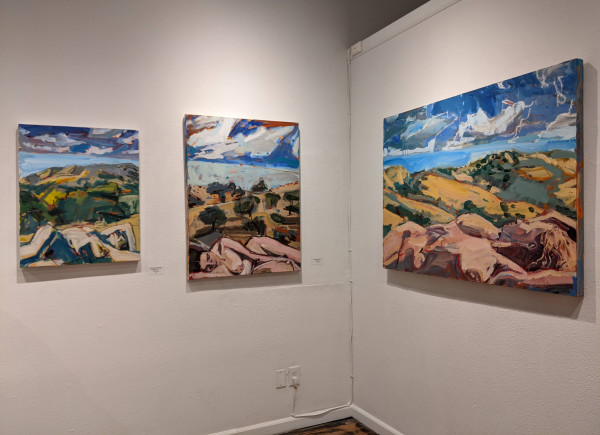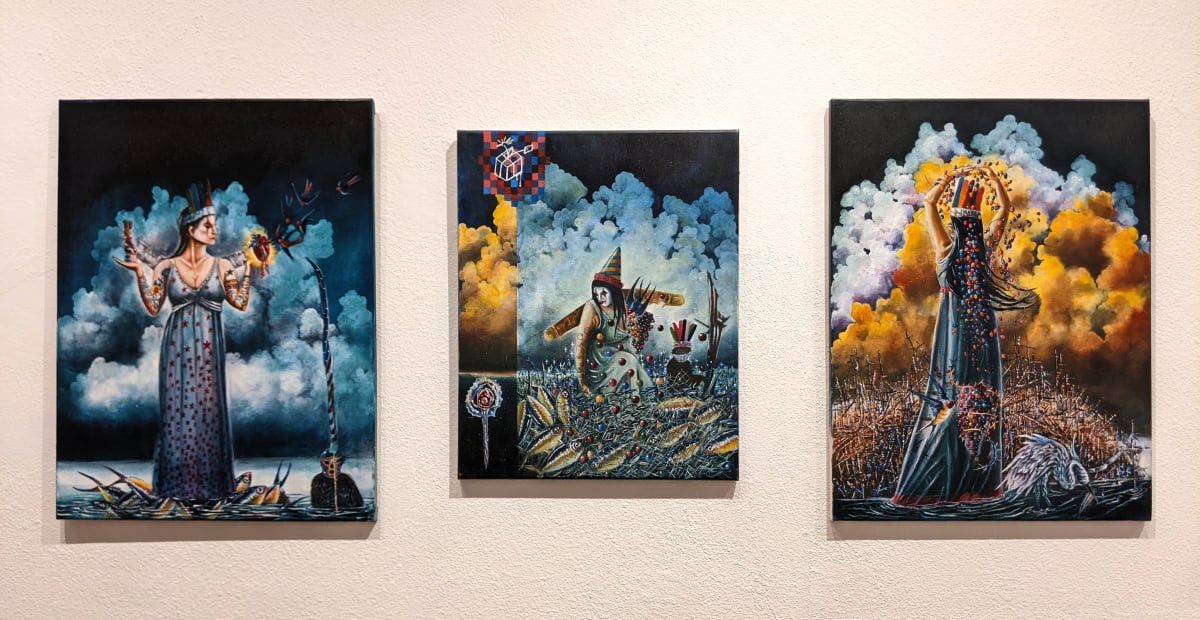
History And Decay I, II and III
- Richard Vargas
- History And Decay I, II and III
- Oil on Canvas
- 24 x 18 in (60.96 x 45.72 cm)
Painting #1 (left) History And Decay I, Size: 24" x 18, Price: $1,200.00; Painting #2 (center) History And Decay II, Size: ......., Price" $1,200.00, Painting #3 (right), Size, 24" x 28", Price: $1,200.00.
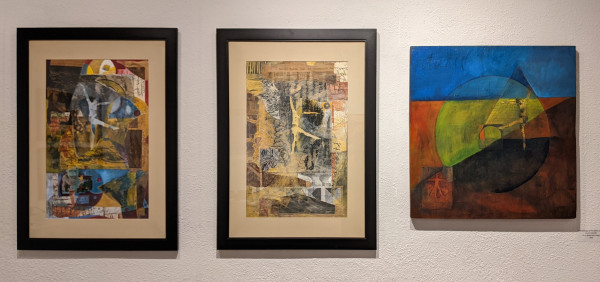
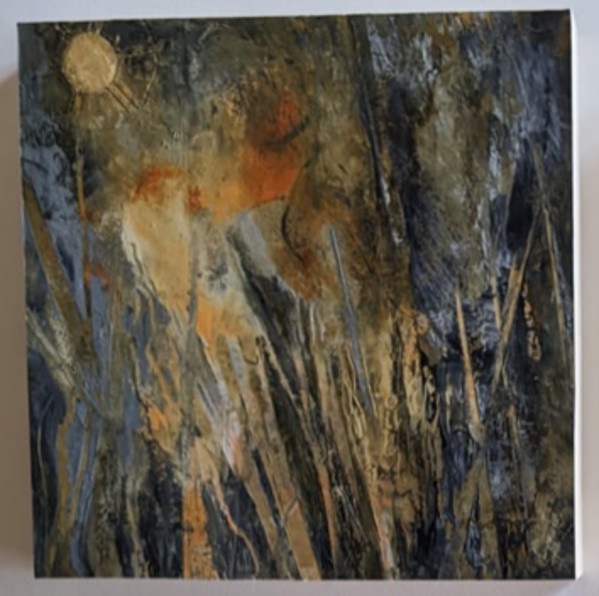
Other Work From Middletown Art Center