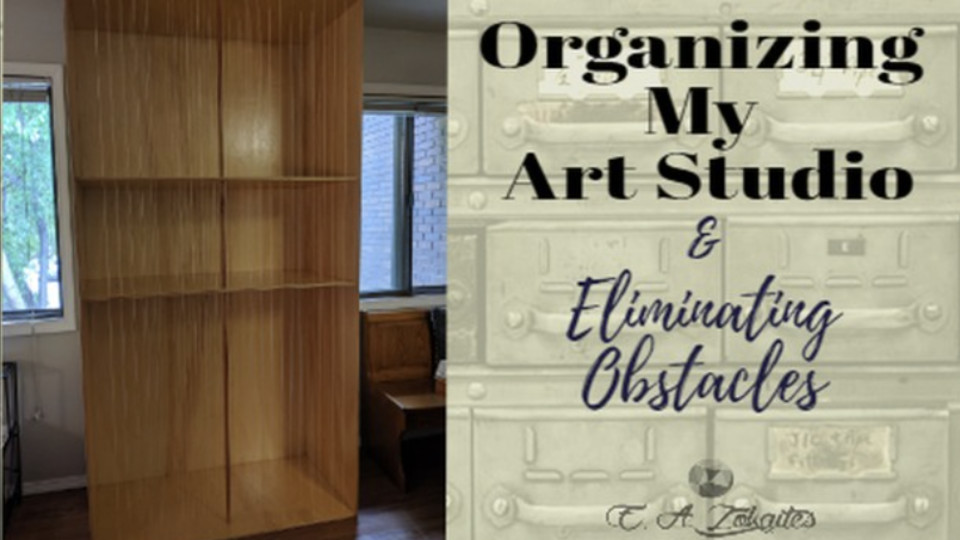
Have you ever seen photos of those beautiful artist studios in magazines? The kind with wall-to-wall storage and a ceiling made of windows?
Well, my studio isn’t like that. More often, my studio looks like this:

A disaster zone. I can’t think in a space like that. So I decided to embark on a quest for artist studio organization.
A Simple Shelf
First, I built a basic shelf for art supplies that always seemed to live on the floor. My first idea was a floating shelf, but I compromised and used brackets. I just hid them above the shelf instead of installing them visibly below.
Since I have a handheld router, I couldn’t resist making the wood’s outer edge pretty. And by the time I made it that far, I decided to stain and varnish it. Now it looks fancy.
A Monster of a Shelving Unit
After the shelf, I needed to deal with my stockpile of canvases. The stockpile wasn’t even that big. Most of what I’d painted lately were my popular mini magnets—and those are only three inches on a side. And yet, at least a few canvases always leaned up against bare walls in my studio. Right at kicking height! That just wouldn’t do.
You may not know this, but stretched canvases are shockingly delicate. I’ve accidentally punched holes in them before. But you know what’s easier to make than holes? Dents! It’s so easy to dent canvases! If you lean one canvas against another for long enough, then there you go, it’s dented. There are ways to fix that, but they’re troublesome and don’t always work. The better plan is always to prevent damage.
I needed a shelving unit. They do actually exist for sale, but they’re too rich for my blood. I enjoy woodworking, so I went the DIY route.
My dad helped me build a custom storage unit. He’s got that engineer’s brain. Plus, this shelf? We made it 7.5 feet tall, 4 feet wide, and 2 feet deep. That’s pretty hard to assemble alone. Due to its size, we actually had to partially disassemble it to get it up the stairs from the garage. We had measured the ceiling’s height, but not the stairwell’s. Sigh. Oh well.
As for the design, we decided on string to separate the canvases. The shelving unit was already so heavy that we didn’t want any added weight. So we wove hundreds of feet of string through holes drilled out of the shelves. I find now that I have to be slow and careful moving artwork in and out, but the system works well.

The process of building this behemoth took around two months and almost $200 USD in lumber and materials, but I love it. I’m sure there’s a cheaper design out there, but mine makes me happy. I’m so glad I made it.
Eliminating Excuses
Though my goal was artist studio organization, the storage unit is actually not in my studio. It’s in my living room.
This one wall next to my dining table had been purposeless. So if I was looking for somewhere to put an item that didn’t have an assigned home yet, that’s where it ended up. At the foot of the wall in a big pile of stuff I didn’t feel like dealing with.
I custom built the shelves to fit that spot and give it a purpose.
 My beautiful shelving unit, completed!
The canvas storage unit is my brand new warehouse. And right now, it’s mostly empty, calling out to be filled. I don’t have to hold back on painting larger pieces anymore, for lack of a place to put them. My precious new artworks will be safe in there.
And the fewer obstacles between me and art-making, the better.


