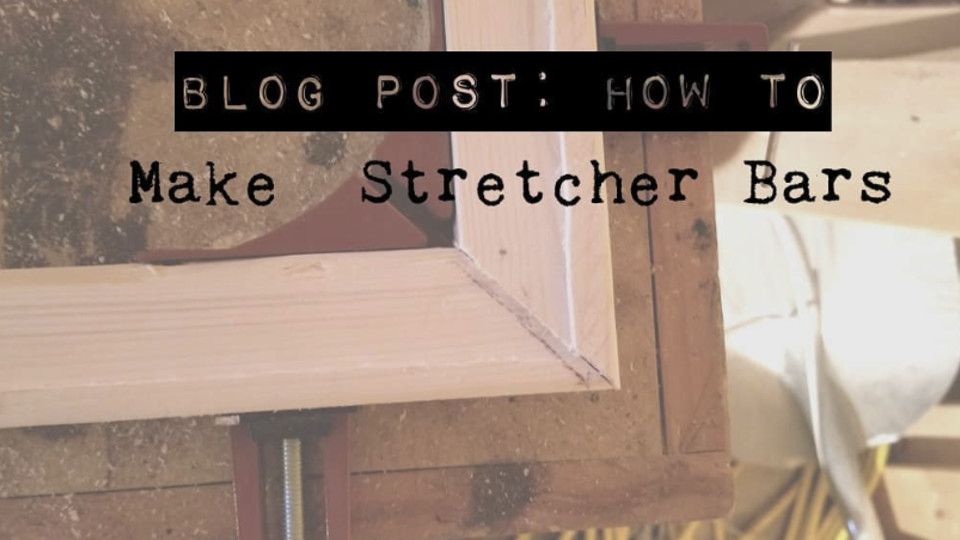
I just got a new compound miter saw for my birthday! So I decided to post about how I build my stretcher bars and canvas frames.
This tutorial is for standard thickness stretcher bars, not the deep gallery wrap. (Look for my supplementary post on gallery wrap frames.) This tutorial also assumes you have a basic knowledge of woodworking.
Let’s get started. Here’s a list of what you’ll need:
Materials:
- 1″ x 2″ furring strip(s), as straight as you can find
- brad nails
- wood glue
Tools:
- router (or quarter round molding)
- miter saw or miter box
- hammer
- regular clamp(s)
- right angle clamp
- 40 grit sandpaper if needed
- Safety gear for using power tools:
- goggles
- face mask
- hearing protection

Chipped, wobbly frame under stretched canvas
First, a few notes on furring strips. This type of lumber is great because of the low cost. The downside is the poor quality. But you’re covering that up with canvas anyway! As long as the wood is straight and one edge looks good, you’re in business. You need that one nice edge for the outside; when you wrap the canvas around it, you don’t want a wobbly looking frame.
Step One: Create Raised Edge
 Lip along outside edge created with router
Now that you have your supplies, your first step is to create a lip around the edge of the lumber. This will lift the stretched canvas away from the wood. If you miss this step, your brush would hit the wood as you paint and leave a mark. You don’t want that.
To create the raised edge, I prefer a router. If you’re using one, don’t forget to wear your safety gear! Go ahead and cut away most of the wood face, leaving a higher strip along the edge as shown. It takes me two passes with a straight bit.
If you don’t have a router, and you don’t want to go out and buy one, you can also glue and nail quarter round molding onto the edge to create a lip.
Note on large canvas frames:
If you are building a large frame, two or three feet across, you may need some additional cross pieces. The tension of stretched canvas can warp larger frames without that support. These cross pieces should also be lower and thinner than that raised lip. If you’re using a router, you’ll have to thin out the entire face of a separate piece for these supports.
Step Two: Cut Miters
-
 Miter saw on the left, miter box on the right
 -
 Two matching trapezoid sides
With the raised edge completed, it’s time to cut some miter corners. You’ll need either a miter box or a miter saw to cut these miters, or 45° angles. Be sure to measure along that outside lip edge for your final frame size. It’s important that the opposite sides of the frame match as closely in length as possible. Today I made a 12″ x 16″ frame, so I cut two identical pieces 12″ long and two that were 16″. Each piece of wood will become a trapezoid, and you will end up with scrap triangular wood chunks. Always remember to keep your fingers away from the blade and clamp down your work piece!
Step Three: Glue and Nail Together
-
 Tools and right angle clamp
 -
 Right angle clamp from above
 -
 Two nails driven into side of frame
Once you have your stretcher bars cut to size, you need to connect everything. This is where the right angle clamp comes in. Smear some wood glue onto the cut miter edge of one piece, and position it and its neighbor into the clamp. Then drive two brad nails into the side to hold them together. I find that the second, farther piece I’m nailing into likes to separate rather than accept the brads, so hold tight to it. Repeat until you’ve got the whole thing connected.
 Don’t do this.
Be careful which sides you nail together, though. Sometimes you make mistakes. Like when you put the pieces together wrong because you were focused on mentally drafting a blog post and taking pictures. Be sure that opposite sides of the frame match in length.
Step 4 (Optional): Sanding
Sometimes the corners don’t quite line up right. Especially after having to fix mistakes like above. That’s okay. That’s what coarse sandpaper is for! I use 40 grit to help the raised edges line up. A sudden jump in height along the lip edge will show when you stretch your canvas, so this step is important, too, though not always necessary.
All Done
 Frame complete!
Hopefully this tutorial was interesting and helpful for you. I greatly enjoy woodworking and building my own custom frames. I can make any size to fit a client’s commission needs. If you have any questions, comments, or suggestions, please reply below.
And be sure to keep an eye out for the next post on gallery wrap frames!

